Working with Multiple Faces
- Snapchat: fully supported
- SPECS: partially supported
- Camera Kit Web: fully supported
- Camera Kit Mobile: fully supported
- SnapchatFully supported
- SPECSPartially supported
- Supports up to two faces
- Camera Kit WebFully supported
- Camera Kit MobileFully supported
Lens Studio supports Face Lenses that apply to multiple faces. You can apply a face effect in your Lens to multiple faces by changing the effect's Face Index property. This guide covers how to apply a variety of effects to more than one face.
When building for SPECS, the face components in the Scene Hierarchy panel's + menu are Head Binding and Face Mesh, and SPECS track up to two faces. To attach content to more than one face, see Face Attached Objects.
Face Mask
To apply Face Mask to multiple faces, you can duplicate the object containing the Face Mask component and change its Face Index. To create a Face Mask, follow the Face Mask guide.
In the Scene Hierarchy panel, right-click the object containing your Face Mask component and select Duplicate. Then increment the Face Index field in the duplicated object's Face Mask component.
Face indexes are zero-based: your first face is 0 and your second face is 1.
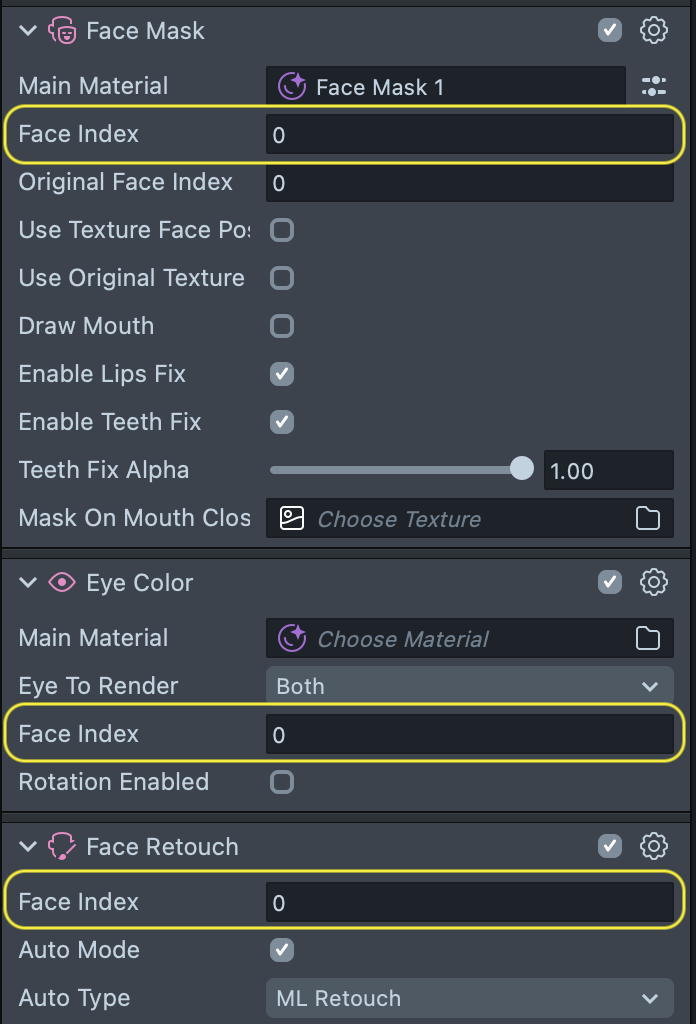
As with Face Mask, to have multiple Face Retouch, Face Stretch and Eye Color, duplicate the object containing the component and increment the Face Index field.
Face Attached Objects
The Head Binding component attaches 2D or 3D objects to parts of the user's face.
To create a Face Image, follow the Face Image guide.
To apply your attachments to multiple faces, right-click the object containing your Head Binding in the Scene Hierarchy panel and select Duplicate.
Then select the new copy and, in its Head Binding component, increment Face Index by 1.
You can have different children for each binding if you want different attachments for each face.
Face Inset
Face Inset combines a Head Binding component for the position and a Face Inset component for the texture. To apply this effect to multiple faces, change the Face Index in both components.
In the Scene Hierarchy panel, right-click the Face Inset Binding object (it has the Head Binding component) and select Duplicate. Select the new object and increment its Head Binding's Face Index by 1. Then select its child object with the Face Inset component and increment that Face Index by 1 too.
Learn more about Face Inset in the Face Inset guide.
Face Liquify
Face Liquify combines a Head Binding component and a Liquify component on the same object. The Head Binding component positions the liquify, and the Liquify component distorts around that position.
In the Scene Hierarchy panel, right-click a Liquify Visual object (under Face Liquify) and select Duplicate. Then increment the Face Index in the new object's Head Binding component by 1.
Learn more about Face Liquify in the Face Liquify guide.