Overview
Learn what Sync Kit provides for building real-time multiplayer AR experiences with synchronized state and entities.
- Snapchat: not supported
- SPECS: fully supported
- Camera Kit Web: not supported
- Camera Kit Mobile: not supported
- SnapchatNot supported
- SPECSFully supported
- Camera Kit WebNot supported
- Camera Kit MobileNot supported
Prerequisites
- Lens Studio v.5.4 or later
- SPECS SnapOS v.5.59 or later
About Sync Kit
Sync Kit is a Lens Studio package that enables the development of Connected Lenses for SPECS. The package includes scripts and components that can be used to sync data among SPECS users in shared experiences.
To start building Connected Lenses using Sync Kit, follow the instructions below to start a new project or update an existing project in Lens Studio.
Key Features
This list outlined key features to be familiar with when building Connected Lenses with Sync Kit.
- SessionController: Access information about the current session using SessionController APIs.
- SyncEntity: Turn any script into an entity that can synchronize data using the SyncEntity class.
- Storage Properties: Add storage properties to SyncEntities to store data and notify the network of state changes.
- Networked Events: Add networked events to SyncEntities to send one-time messages across the network.
- Instantiator: Instantiate prefabs across the network.
- Lifecycle: Understand the setup flow of a Connected Lens session and when features are ready to use.
Package Resources
The Sync Kit package includes the following resources when imported into your Asset Browser:
- Interaction Kit: Included in the package, does not need to be installed separately.
- UI Kit: Included in the package, does not need to be installed separately.
- Connected Lens Module: Required to connect to the Connected Lenses backend.
- Location Cloud Storage Module: Required for colocated mapping.
- Core: TypeScript files required for Connected Lenses to function.
- Components: TypeScript components and helpers to aid Lens development.
- Examples: Resources that demonstrate features and components, including TypeScript and JavaScript files.
Starting a New project
Option 1: Starting a New Connected Lenses Project from Template
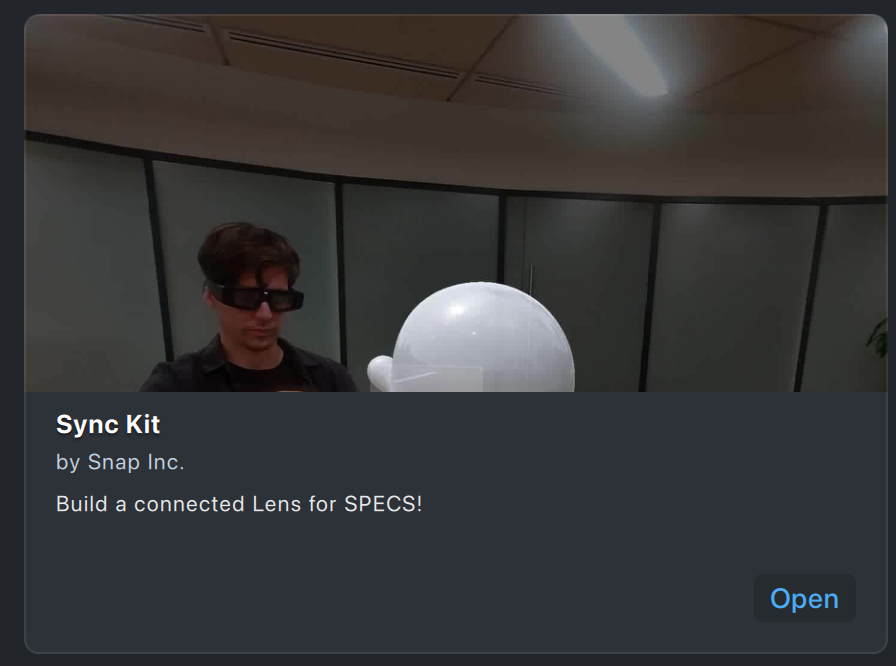
- In the Lens Studio home under Sample Projects, open the Sync Kit project. This project already includes the Sync Kit package and is configured for SPECS development.
-
Check that you are logged in to Lens Studio. If not, log in.
-
The project is ready to use. Navigate the examples, reuse them or delete them from the Scene Hierarchy, and start building your Connected Lens.
Option 2: Importing Sync Kit into a New Lens Studio Project
To start building a Connected Lenses project for SPECS from scratch, follow these steps:
- Install the latest Sync Kit version from the Asset Library via Window > Asset Library > SPECS > Sync Kit.
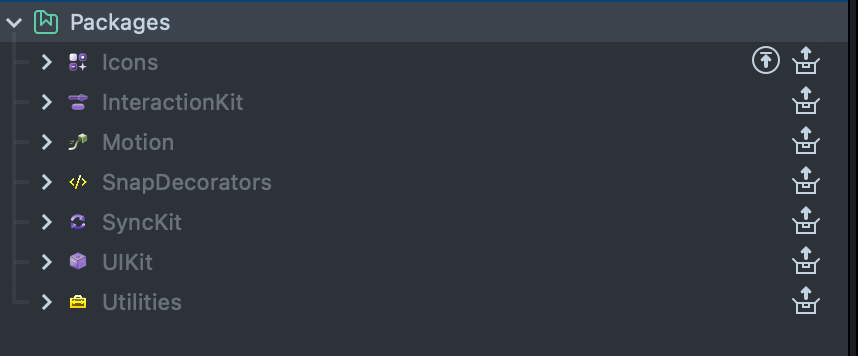
- All the associated packages will be installed automatically into Asset > Packages.
- After the TypeScript Status panel confirms that compilation is complete, click the Refresh button on the Preview panel.

You can also unpack the Sync Kit package by right-clicking and selecting Unpack. Unpacking enables direct editing of Sync Kit but may complicate future upgrades to newer versions. Additionally, when unpacked, import components and modules in your TypeScript files using SyncKit rather than SyncKit.lspkg in your import path.
- From the Asset Browser, first, drag
Assets/InteractionKit/Prefabs/InteractionKit.prefabinto the Scene Hierarchy and then dragAssets/SyncKit/SyncKit.prefabinto the Scene Hierarchy.
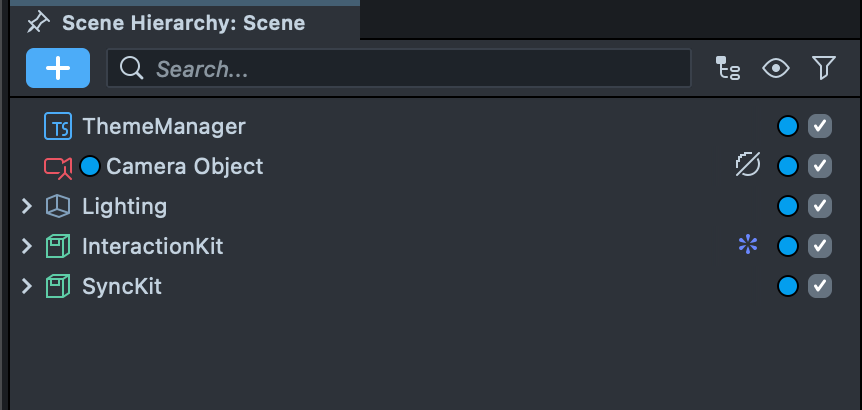
Instantiating the prefab before TypeScript compilation is complete may result in a corrupt prefab with missing links to TypeScript script components. Ensure that TypeScript compilation is fully complete before adding a prefab instance to the scene hierarchy.
-
If the Examples included in the SyncKit prefab are no longer needed, disable or delete them from the Scene Hierarchy under
ColocatedWorld [CONFIGURE_ME]>EnableOnReady>Examples. -
The import is complete. You can start building your Connected Lens!
Updating an Existing Project
To import Sync Kit into an existing project that already contains Interaction Kit, follow these steps:
Importing Sync Kit into an Existing Lens Studio Project that Contains Interaction Kit
To import Sync Kit to an existing project that already contains Interaction Kit, follow these steps:
- Check if there is any update available for Interaction Kit. If there is, update it first by right click on the package > Pull Update from Library. See Upgrading Interaction Kit Guide
- Install the latest Sync Kit version from the Asset Library via Window > Asset Library > SPECS > Sync Kit.
- All the associated packages will be installed automatically into Asset > Packages.
- Follow the steps above under Starting a New Project > Option 2: Importing Sync Kit into a New Lens Studio Project.
- The Interaction Kit references in your project (for example, in the scene hierarchy and prefabs) should automatically relink to the InteractionKit included in the imported SyncKit package.
Importing Sync Kit before deleting Interaction Kit may cause Lens Studio 5.4 to freeze. This issue will be resolved.
Updating Sync Kit Within a Project
To upgrade Sync Kit in a project that already includes the package, follow these steps:
-
Open your project in Lens Studio.
-
Log in to Lens Studio.
-
In the Asset Browser panel, right click on the
SyncKitpackage folder. Select Pull Update from Library. If this option is not available in the context menu, check that you are logged in to Lens Studio.
In the Asset Library, the Sync Kit package thumbnail will show if an update is available. The method outlined above is the recommended way to update your package, rather than selecting Update on the Asset Library thumbnail.
See Also
Building Connected Lenses
More information about building and testing Connected Lenses in Lens Studio and on SPECS.
Sample Projects
Examples demonstrating Sync Kit features and components.