Asset Library
The Asset Library is a repository of a wide variety of assets and helpers that you can use to build your unique Lens Experiences or to refine your Lenses.
- Available on all platforms
The Asset Library is a repository containing a wide variety of assets and helpers that allows you to build your unique Lens Experiences or to refine your Lenses. It contains everything from basic reusable assets, to packages and components that get installed to your Lens Studio. Or even plugins, that add a whole new functionality.
What’s in it
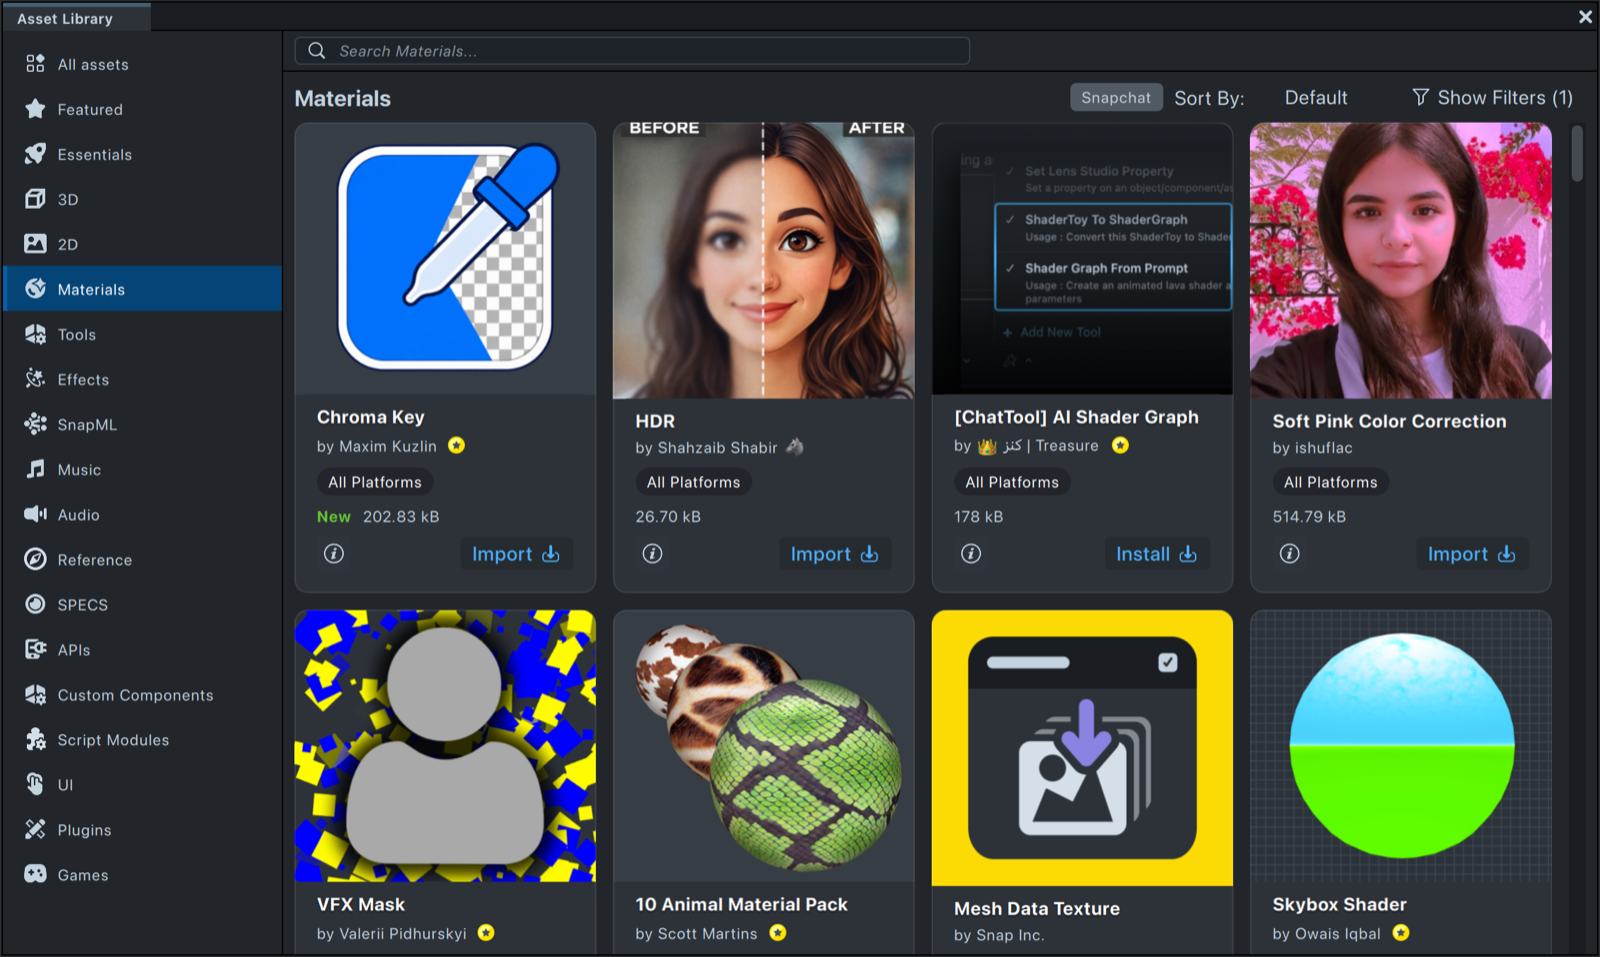
The Asset Library sidebar groups assets into these categories:
- All assets: Every asset in the library in one grid.
- Featured: Assets the Lens Studio team highlights.
- Essentials: A selection of frequently used assets and components.
- 3D: 3D models that can be added to your Lenses.
- 2D: Textures, hints, masks, and more for 2D design.
- Materials: Custom Materials to change the appearance of any mesh in your scene.
- Tools: Helper scripts that enhance the capabilities of your Lens.
- Effects: Custom shaders, particles, VFX, and full-screen effects.
- SnapML: Machine Learning models that extend the capabilities of Lens Studio. Learn more about SnapML
- Music: A library of Licensed Music for use in your Lenses.
- Audio: Audio and Voice related assets.
- Reference: Helpful 3D models, materials, textures, reference assets.
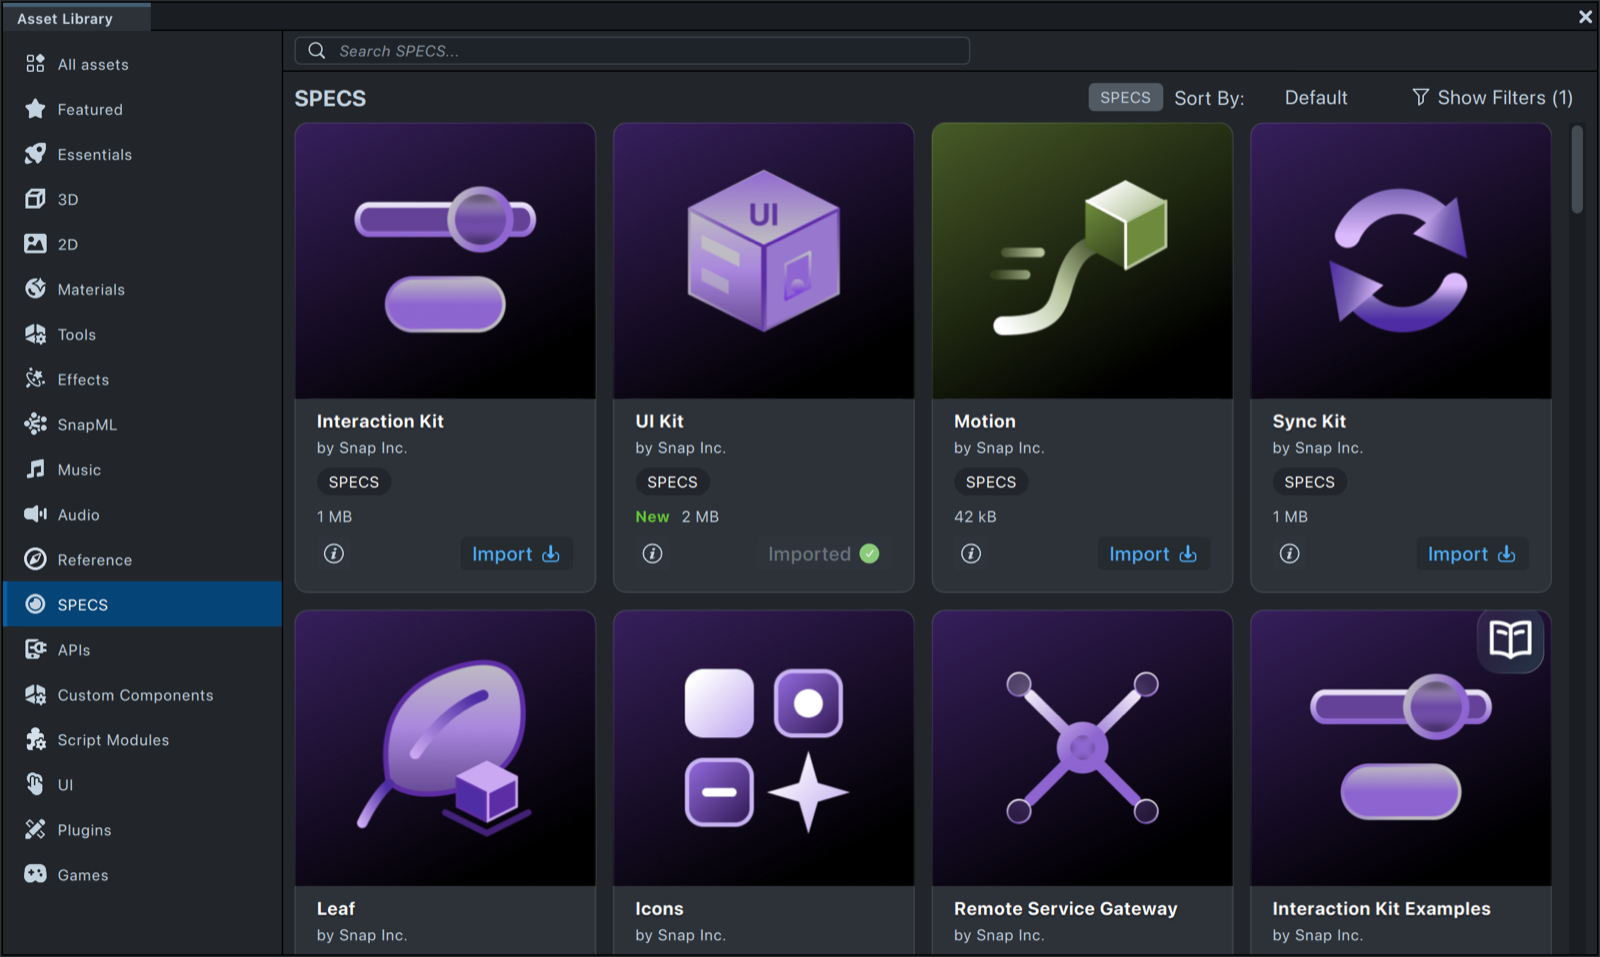
- SPECS: Tools specifically for developing Lenses for SPECS: Interaction Kit, UI Kit, Sync Kit and the SPECS helper packages. The SPECS packages catalog under Resources lists each one with its source on GitHub.
- APIs: A collection of Remote API modules that serve as higher-level interfaces, utilizing remoteServiceModule under the hood to enable your Lens to communicate with external services.
- Custom Components: Scripts with bundled resources that are installed into Lens Studio and can be added across projects. Learn more about Custom Components.
- Script Modules: Modules that facilitate code reuse in your scripts and custom components.
- UI: A collection of assets for Lens UI design.
- Plugins: A collection of Lens Studio plugins. Plugin utilizes the Editor API, enabling Lens developers to extend the functionality of Lens Studio.
- Games: Assets for building games in your Lenses.
Using the Asset Library
You can open the Asset Library within your project, by clicking the Asset Library button in the toolbar at the top left of Lens Studio, next to Lens Studio AI.

Once the Asset Library is open, you’ll find the categories of assets in the sidebar, and a grid of assets on the right. The tag next to Sort By shows the platform of your project, Snapchat or SPECS, and Show Filters opens the filters for the grid.
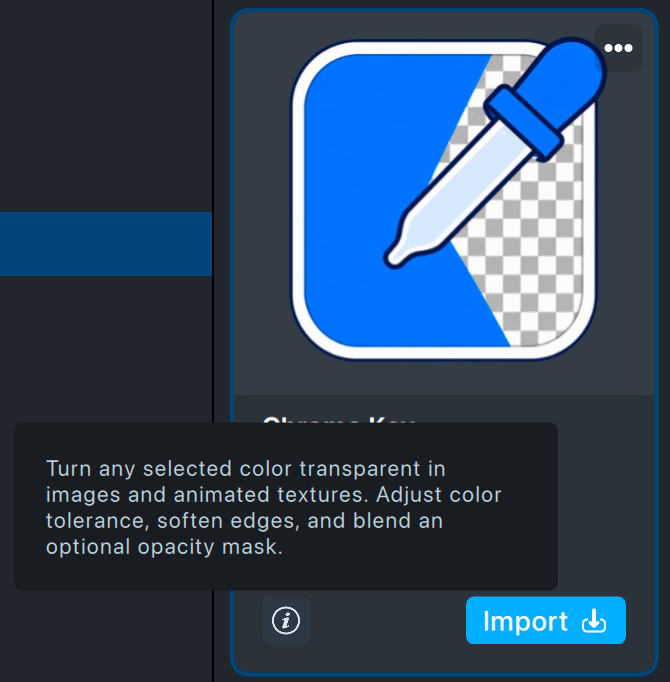
For each asset, you can find an (i) button that tells you more about the asset on hover.
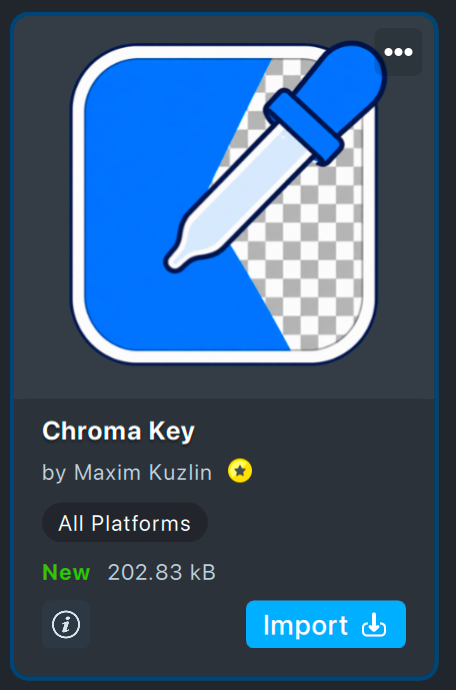
To import an asset, click the button at the bottom of its tile.
-
Import on most assets, including Custom Components and asset packages. Once imported, the tile shows Imported.
-
Install on Plugins.
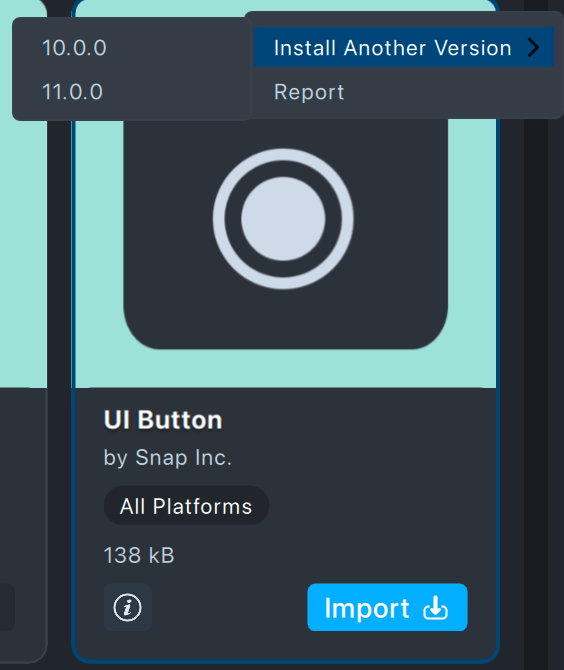
To get a specific version, click the three dots in the top-right corner of the tile, then choose a version under Install Another Version.
Using the Assets
You can bring the imported assets into your Lens in different ways depending on its type.
Prefab
Most commonly, your assets will come in a Prefab which you can find in the Asset Browser panel. To use it, drag the prefab from the Asset Browser panel into the Scene Hierarchy panel based on the instructions. Once added, you can select the assets you need and remove those you don’t.
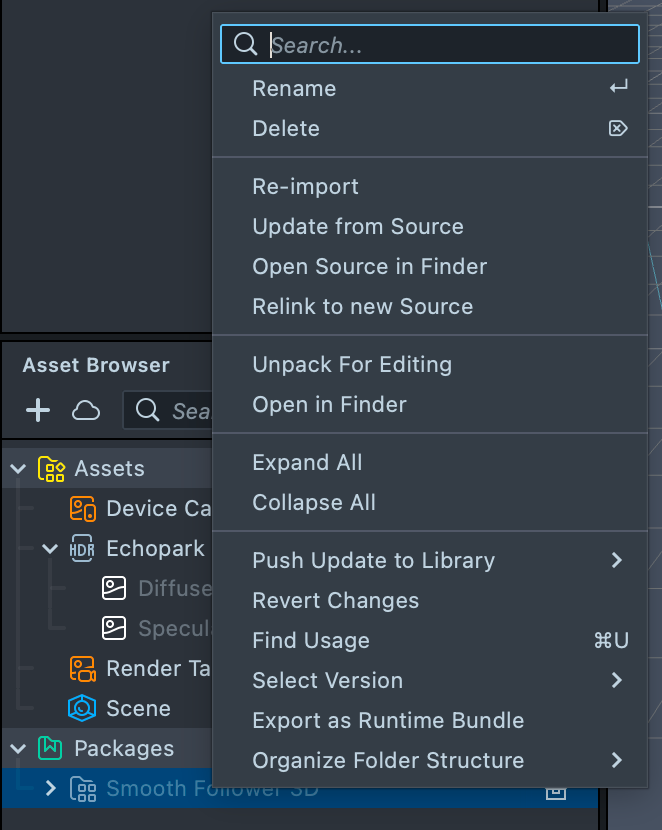
Asset can come in as an Asset Package. Most often the prefab will in the Package and follow the following steps to use the Prefab. You can right click on the Package and Unpack For Editing to modify the resources in the Package.
A Prefab name usually ends with one of three common instructions after the asset name.
-
__PLACE_IN_SCENE: Drag the prefab from the Asset Browser panel into the Scene Hierarchy panel. -
__PUT_IN_ORTHO_CAM: If your project doesn't have an existing Orthographic camera. Create a new Orthographic Camera and place the prefab under it. -
__PUT_UNDER_MAIN_CAM: Drag the prefab from the Asset Browser panel into the Scene Hierarchy panel and place the prefab under the Camera Object.
Scripts and Packages
Some assets get installed to your Lens Studio instead of being added to the current project. For example items from the Custom Components section or other assets that support versioning. Click Import on the asset tile, or click the three dots in its top-right corner and choose a version under Install Another Version. Learn more about Custom Components and Asset Packages.
Uninstall removes the asset from Project Installable Content, but the asset stays in Lens Studio Installable Content. To remove the asset from Lens Studio, open the Package Manager page in the Lens Studio Preferences and choose Uninstall from the asset's gear menu. Learn more in Package Manager.
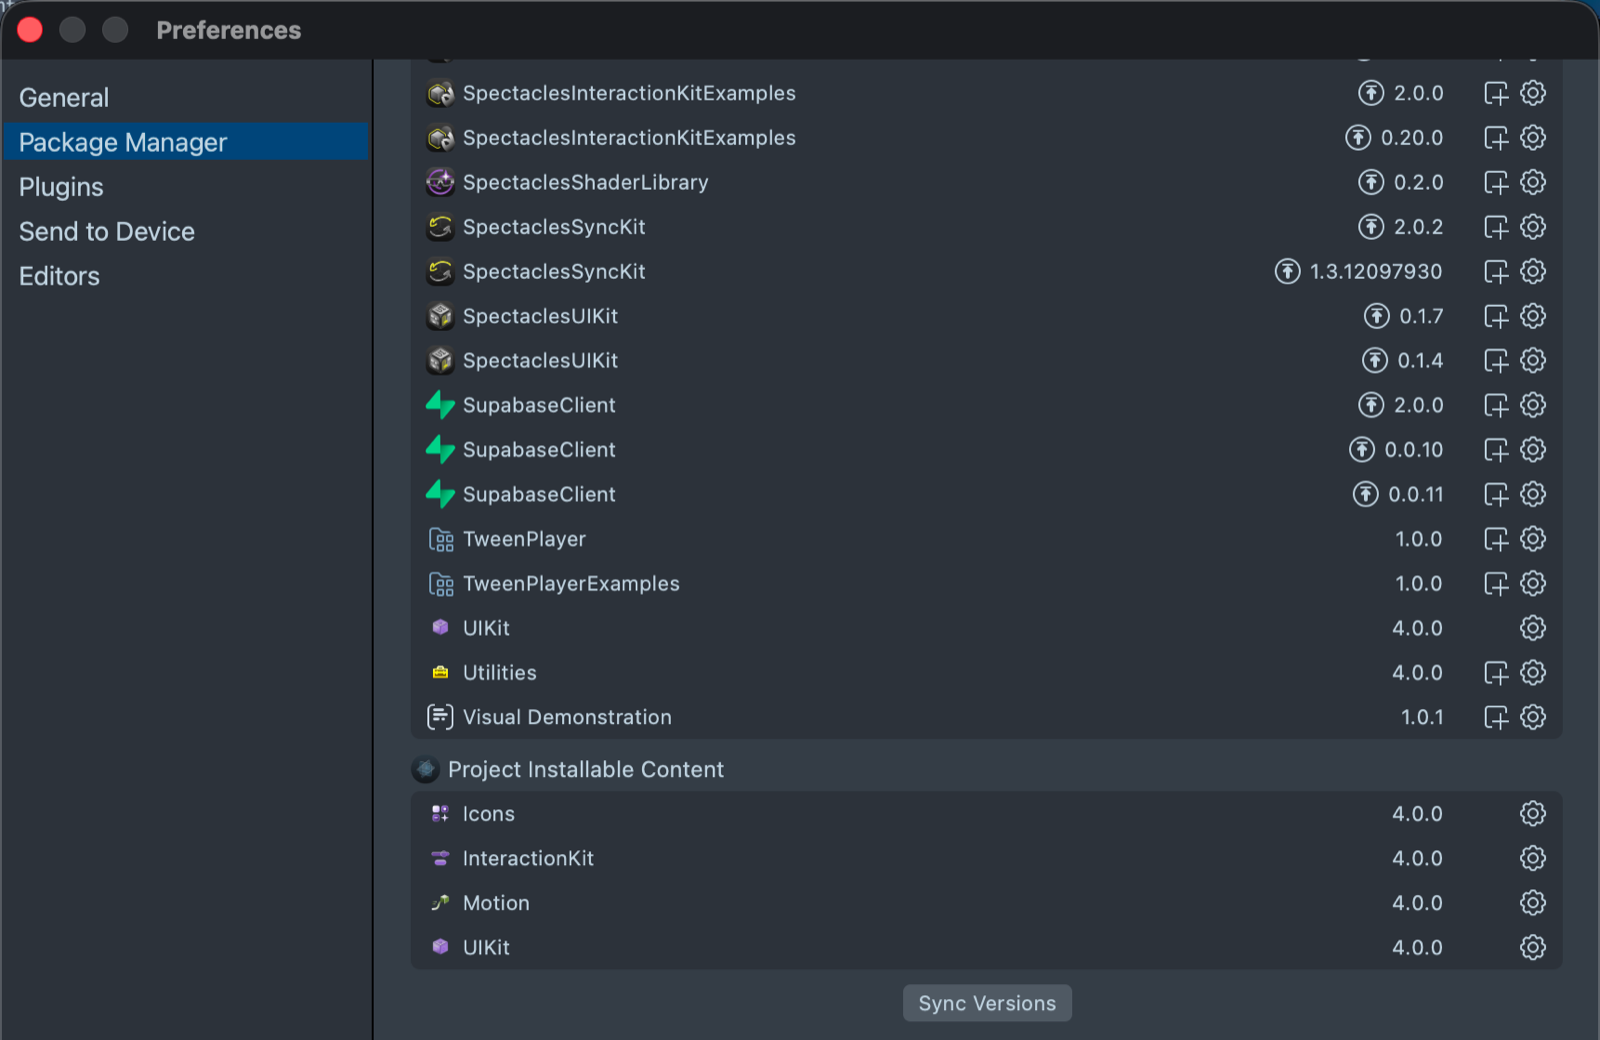
The most relevant version of it could be added to the Asset Browser panel by clicking on the + button or directly in Scene Object inspector by clicking on Add Component Button.
Plugin
Plugins enable Lens Developers to extend the functionality of Lens Studio. You can manage the plugins in the Lens Studio Preferences. Learn more about Plugins.
LSO (Deprecated)
Some older assets may import as an LSO. In these cases, the asset will automatically be added into the Scene Hierarchy panel. This occurs more frequently when the asset requires different Cameras to achieve the effect.
Asset Instructions
Some assets may come with additional instructions on how to integrate it into your scene. In these cases, you might either have an image with instructions found in the Asset Browser panel, or a print out in the Logger panel with a link that you can go to.
You can open the image with instructions by using the viewer in the Inspector panel by clicking on the item in the Asset Browser panel. Alternatively, you can use another photo application installed on your computer.
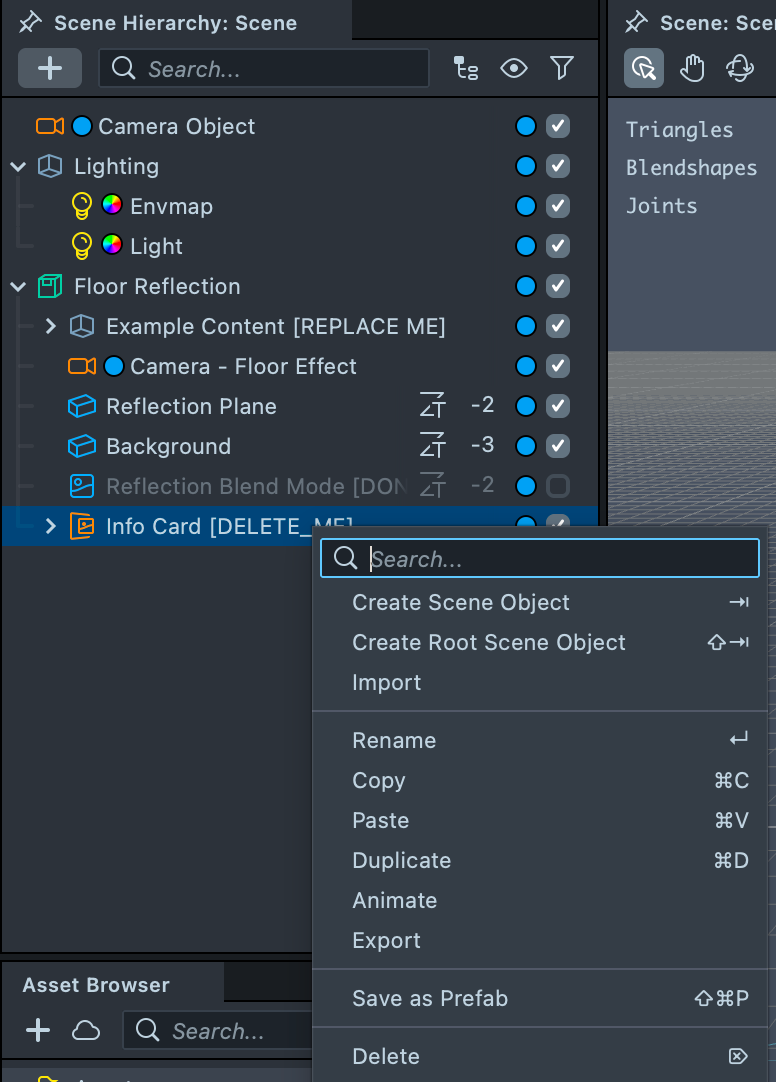
Additional assets may require further setup once imported into your project. In these cases, you will see an object marked with [DELETE_ME] in the Scene Hierarchy panel, which you can right-click and delete once you've read it.
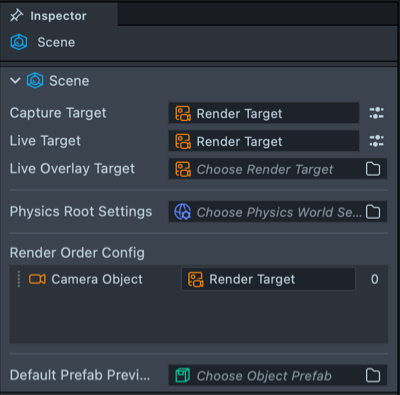
If the asset utilizes cameras, take a look at the Scene Asset to further customize how the assets are used in your Lens. Learn more about Cameras, Render Targets and Layers
Submitting Your Assets to the Asset Library
Are you interested in contributing your assets to the Asset Library? We welcome creative and useful submissions from our community directly through My Lenses. Please refer to Asset Library Publishing Guide to get started.