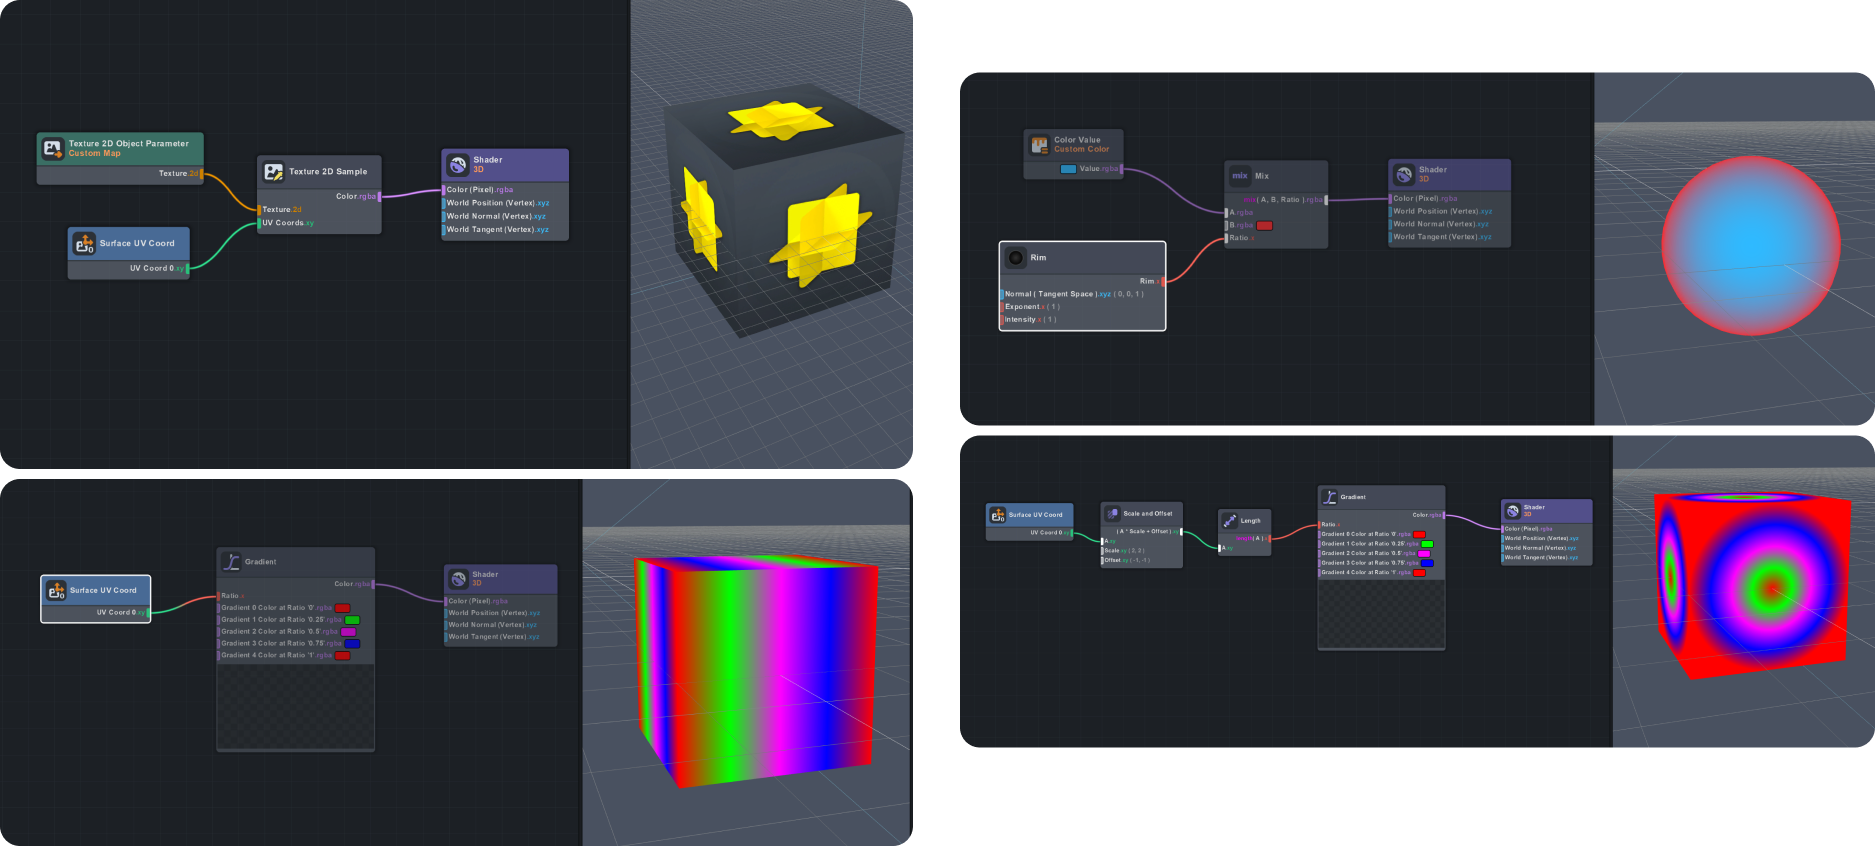
Shaders
What a shader does, how to choose between unlit, lit, and PBR, and lightweight techniques for convincing surfaces on SPECS.
A shader controls how the surface of a 3D object looks: its color, lighting, reflections, transparency, and surface response. In Lens Studio, different shaders can produce different visual results, at different performance costs.
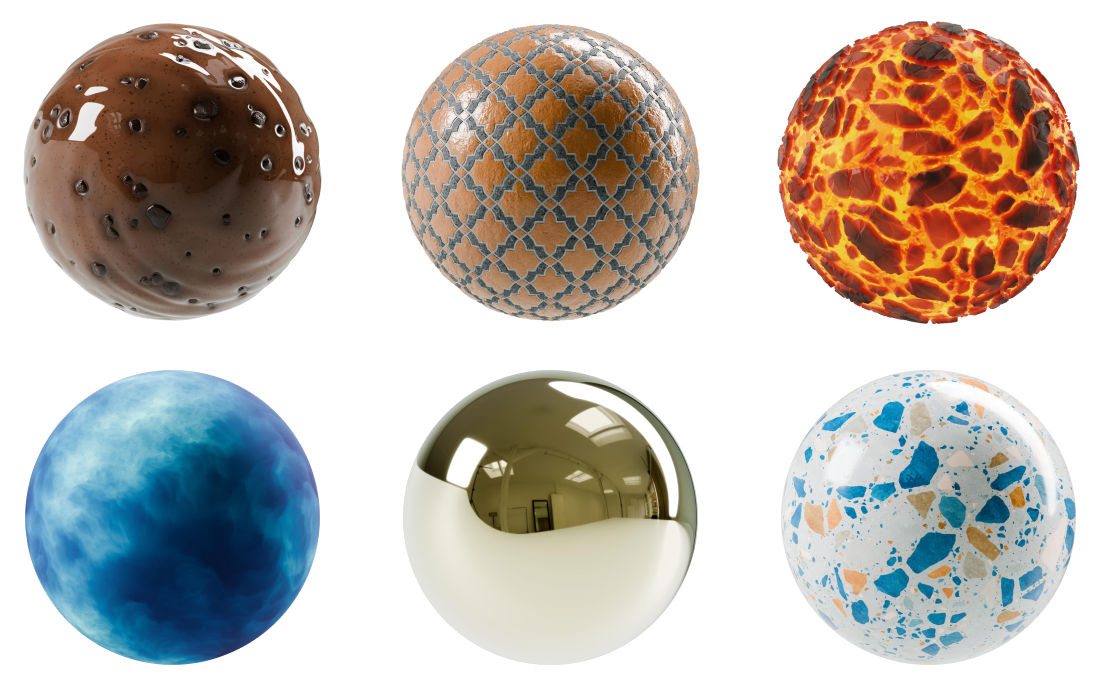
Choosing the right shader
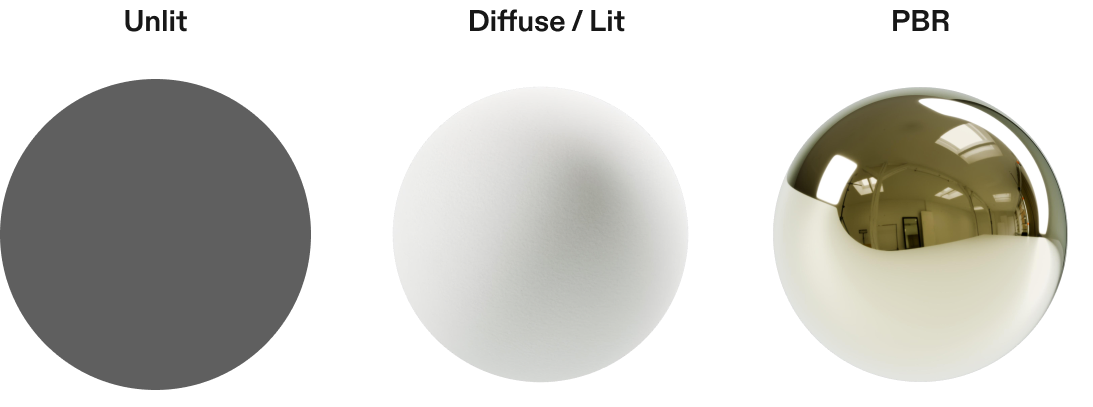
- Unlit: no scene lighting. Best for UI, stylized graphics, and emissive assets.
- Diffuse (lit): responds to lighting. Good for basic 3D objects that need depth.
- PBR: a more realistic material response. Best for hero assets where realism matters.
Types of shaders
- Texture-based: uses image textures to define the material's appearance, such as color, roughness, normal detail, and opacity. For example, a wood material made with image textures in Substance 3D Designer and Blender.
- Procedural: generates patterns and surface detail mathematically inside the shader, rather than relying mainly on image textures. For example, a wood material made with shader nodes in Blender.
Lightweight shader techniques
Complex-looking materials don't always need complex shaders. Simple Reflection and MatCap Reflection can create convincing surface detail while keeping the material relatively lightweight.
- MatCap Reflection: maps a 2D texture based mainly on the surface normal. Fast and predictable; ideal for stylized, art-directed reflections.
- Simple Reflection: calculates a reflection vector from the view direction and the surface normal, then uses it to sample a reflection texture. Better for environment-like reflective surfaces.
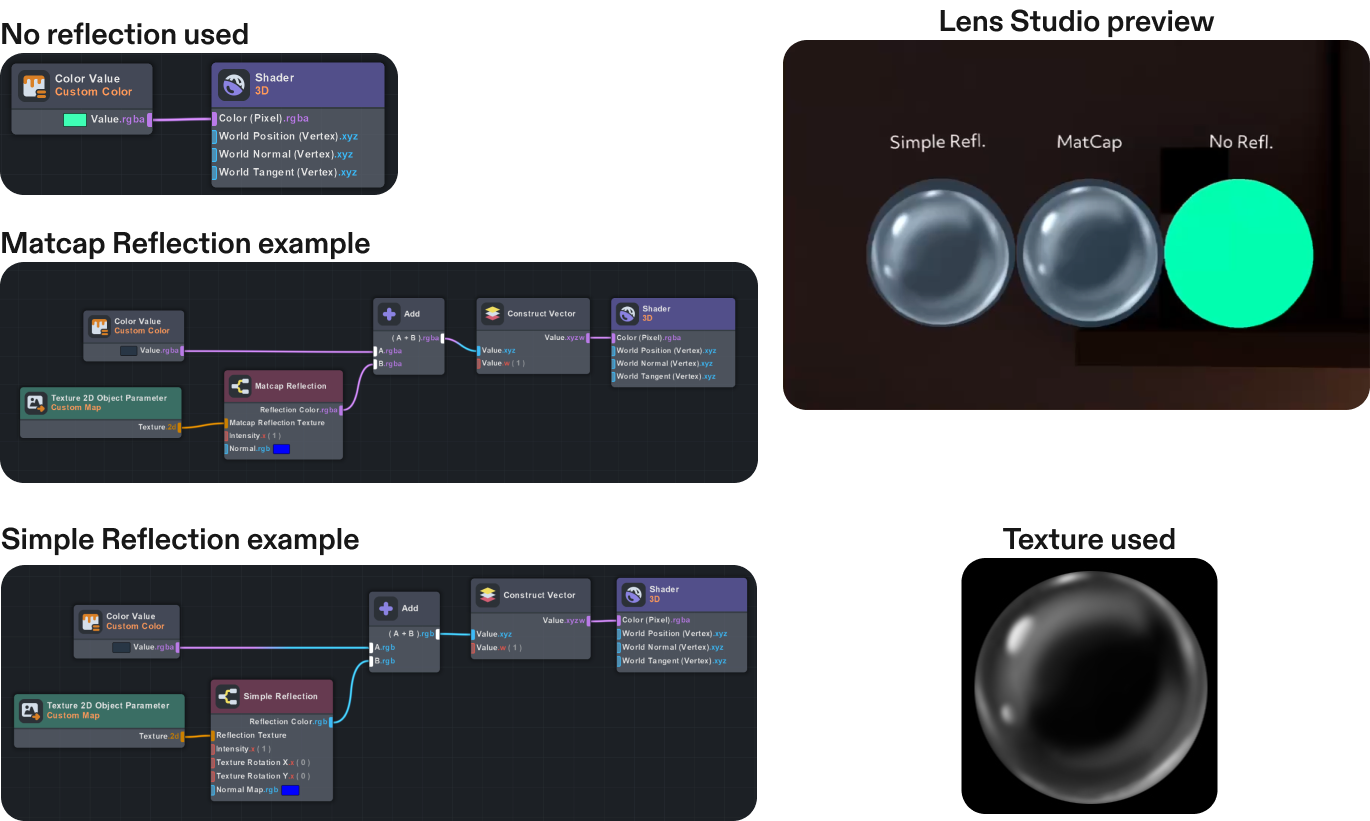
Shader examples