3D Models and Textures
Where to get 3D models for a SPECS Lens, how to start making your own, the mesh and UV terms you need to optimize them, and how big to make textures.
Where to get 3D models
- Download or purchase ready-made assets on popular marketplaces: Superhive (Blender Market), Adobe Substance 3D Assets, Fab, Sketchfab, TurboSquid, and CGTrader.
- Create your own in Blender, Maya, 3ds Max, Cinema 4D, or any other 3D software.
- Generate them with AI: AI tools can quickly create 3D models from text or images. Keep optimization in mind.
Wherever an asset comes from, always check its topology, polygon count, textures, materials, and file size before you use it. Optimize when needed, especially for real-time AR.
Creating your own 3D models
You don't need to be a 3D expert to start designing for AR. Work with any 3D software you're comfortable with.
Blender is a great place to start: it's free and open source, with a huge number of tutorials for everyone from complete beginners to advanced users. Learning the fundamentals of modeling, materials, UVs, rigging, and animation will help you create and optimize assets for Lens Studio.
Lens Studio is the engine you use to build Lenses for SPECS. It brings your 3D assets, materials, interactions, animations, and logic together into the final AR experience.
3D glossary
A few basic 3D terms make it easier to build and optimize assets for real-time AR.
- Vertex: a single point in 3D space. Vertices connect to create the shape of a model.
- Edge: a line connecting two vertices.
- Polygon (face): a surface created by connected edges. Faces together form a 3D object.
- Mesh: a collection of vertices, edges, and faces that defines the shape of a 3D object.
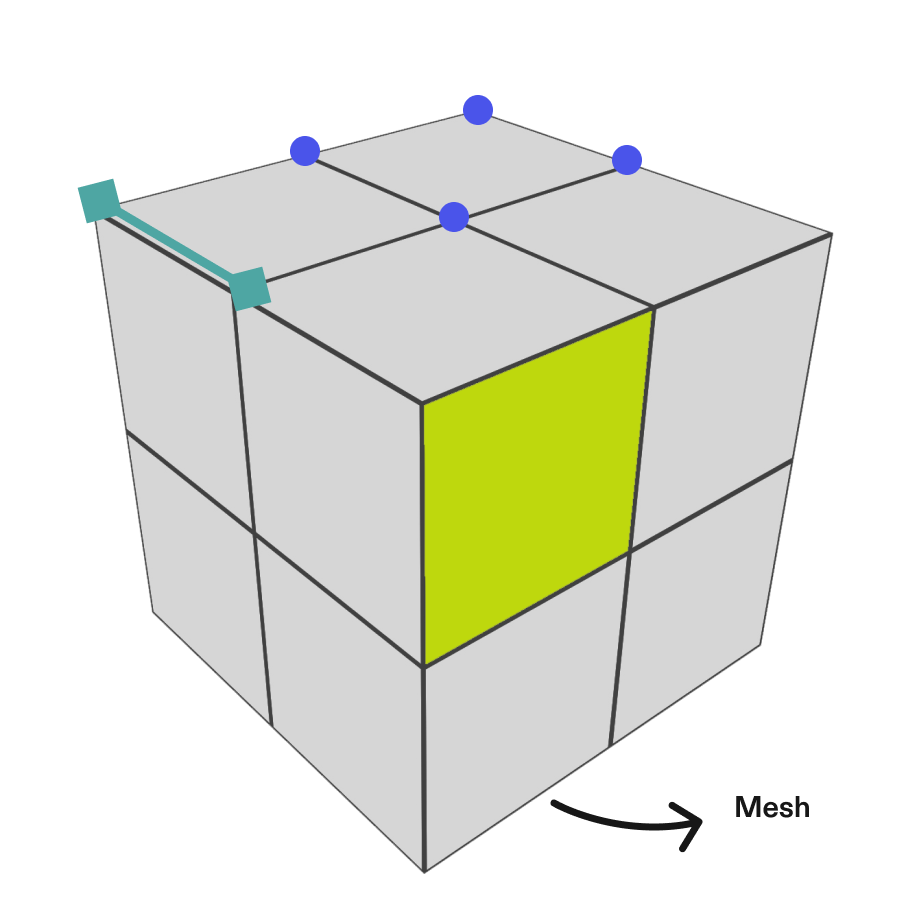
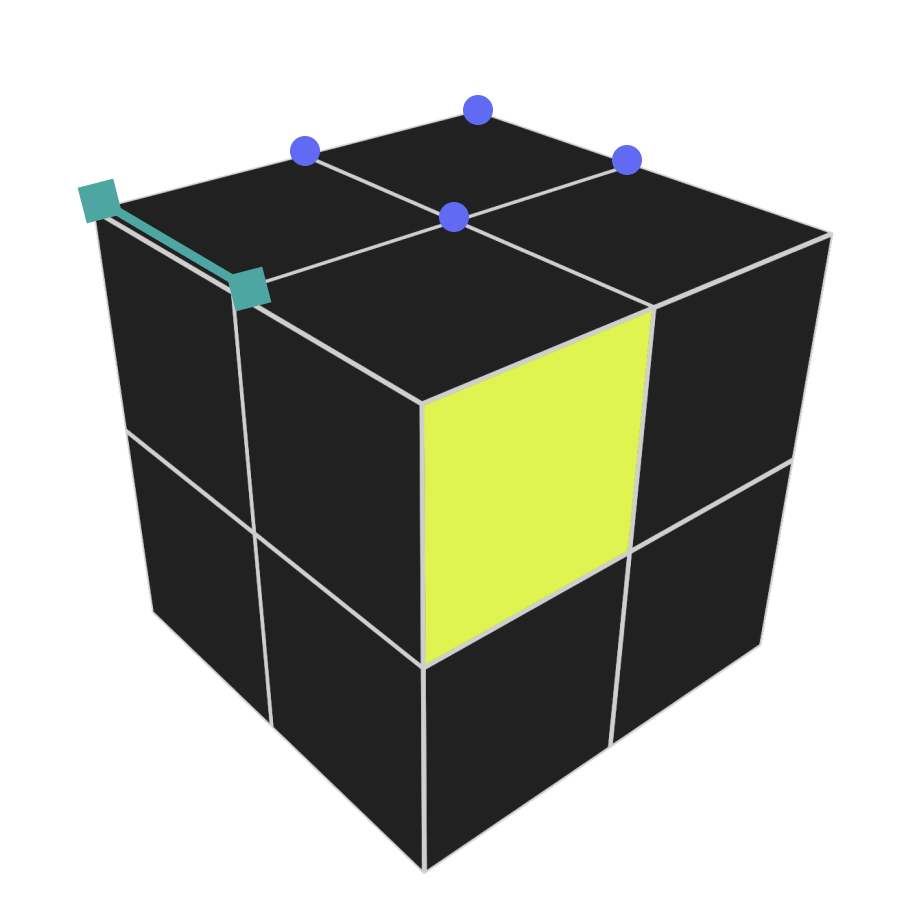
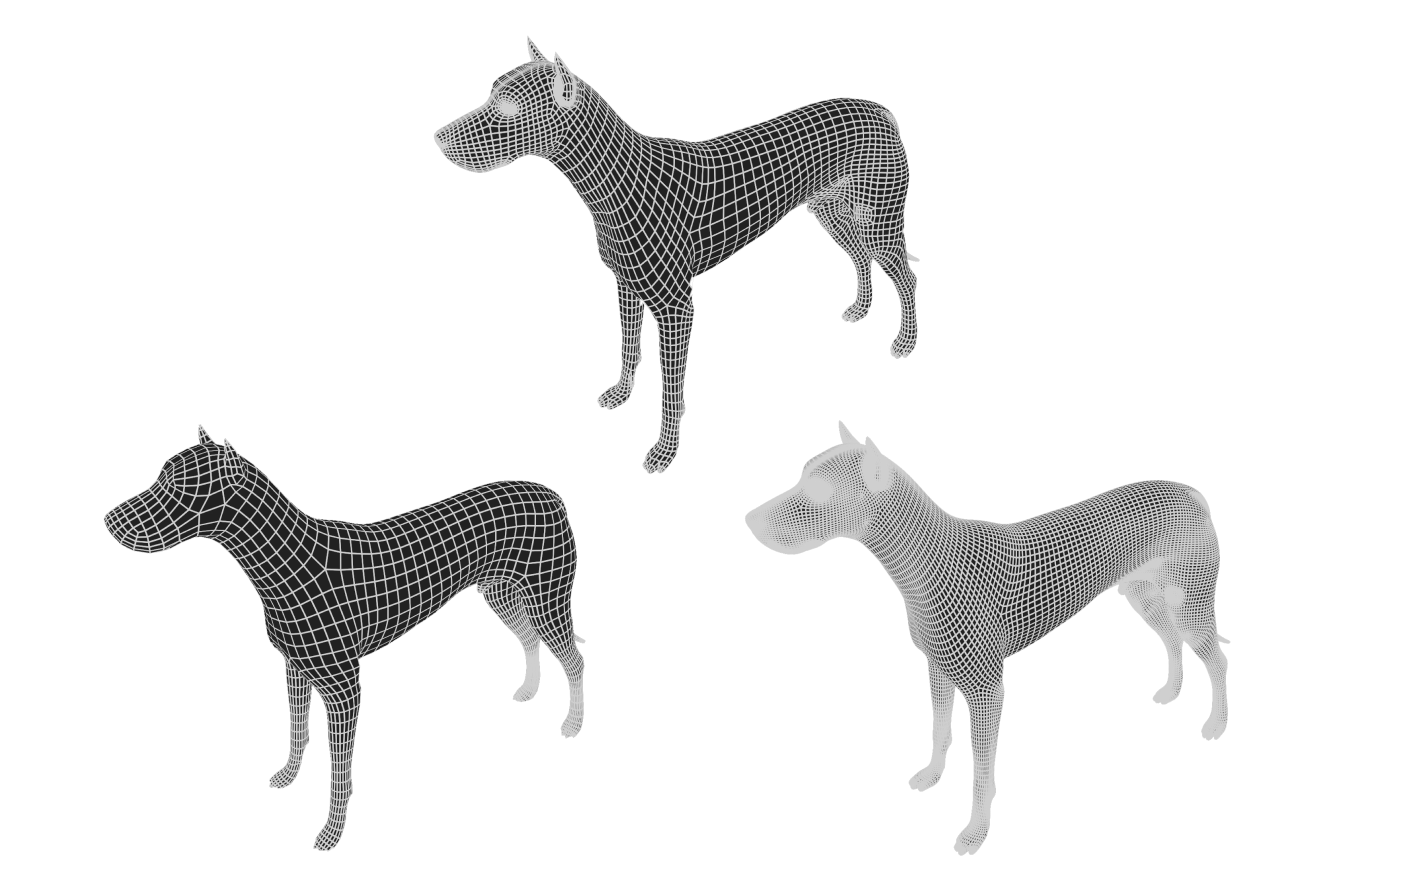
- Mesh density: how much geometry (triangles or quads) a mesh contains. Higher density gives more detail but takes more processing.
- Subdivision: adds geometry to a mesh so it can look smoother or hold more detail.
- Decimation: reduces the amount of geometry while trying to preserve the object's overall shape.
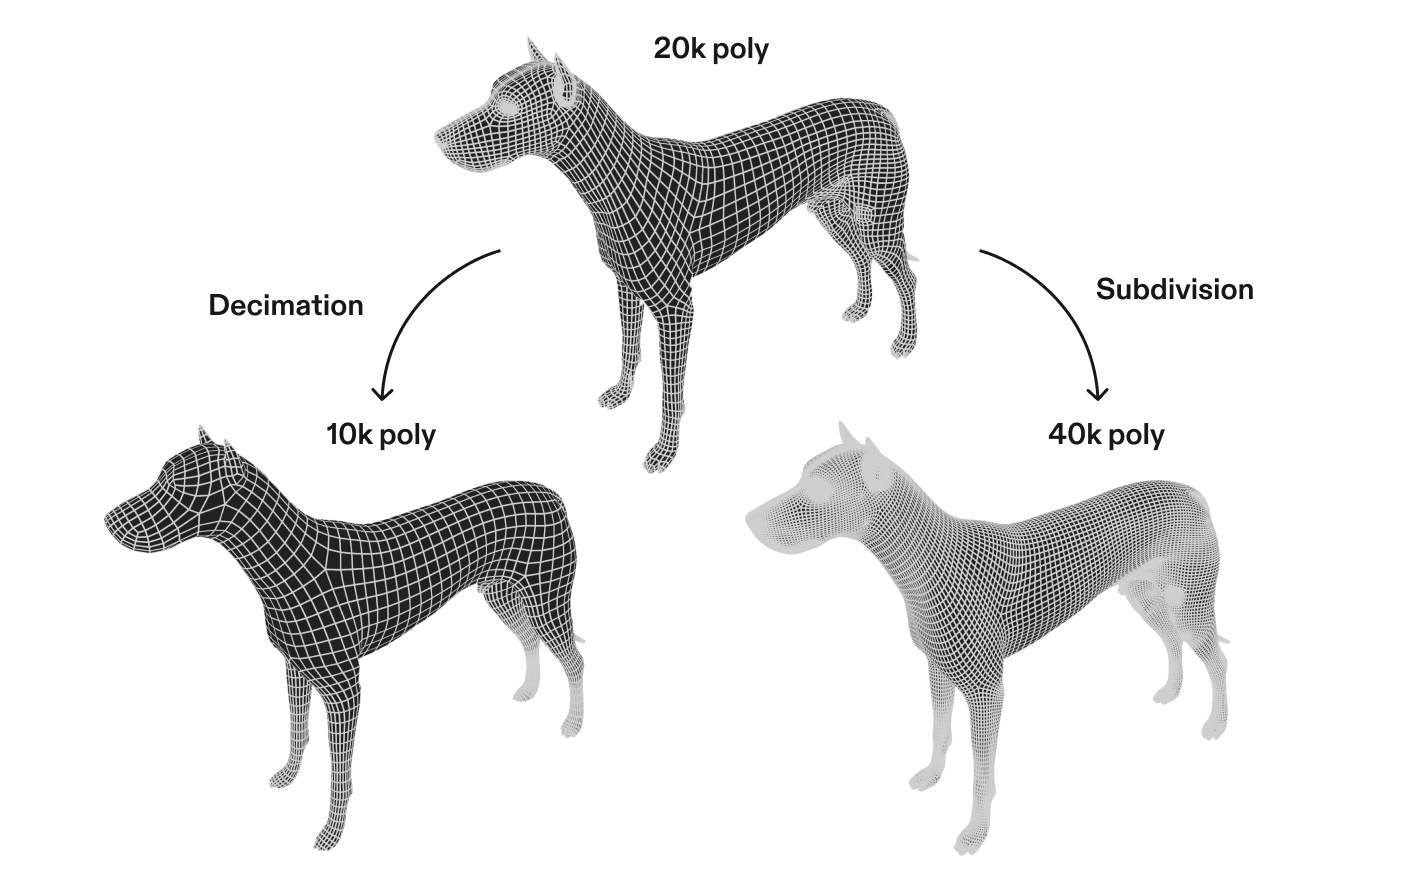
To reduce geometry in Lens Studio, see 3D Meshes.
UV maps
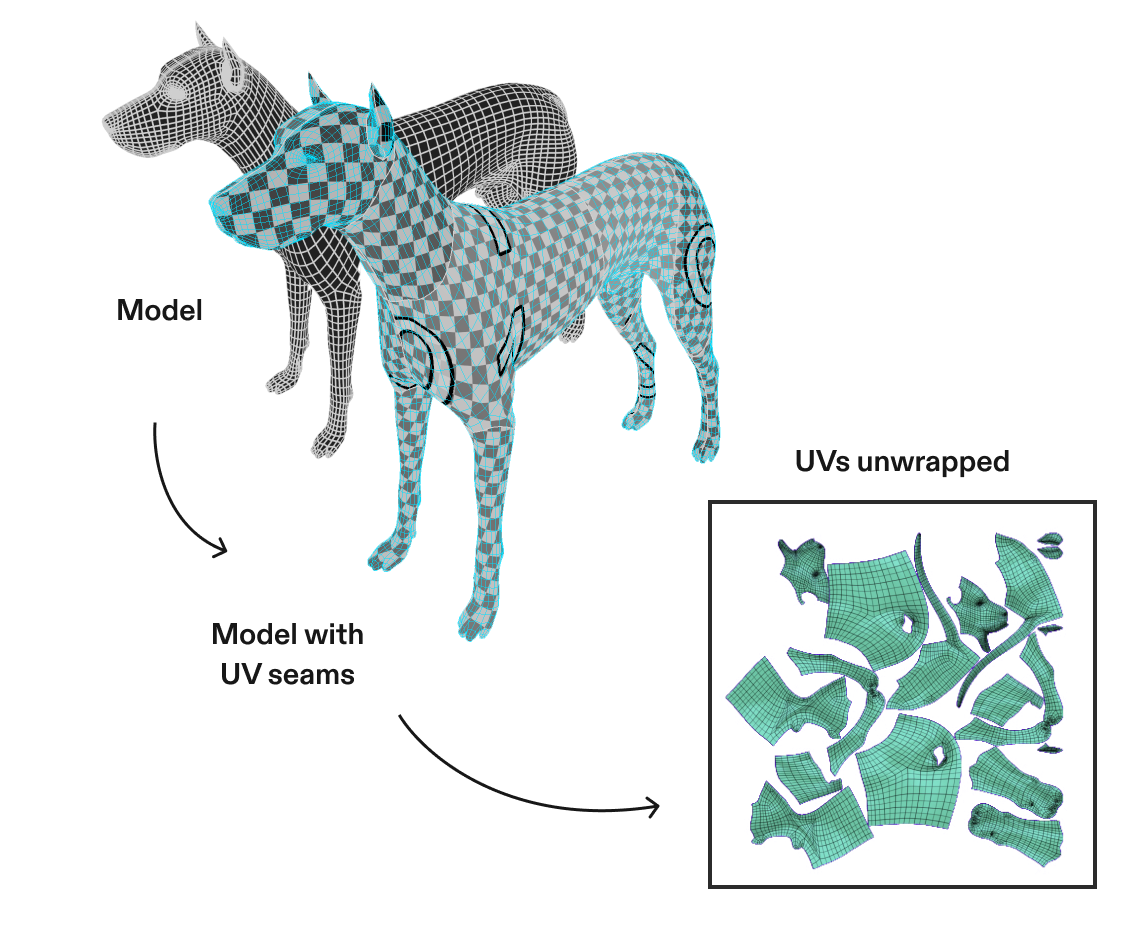
A UV map is a 2D representation of a 3D model's surface. It tells Lens Studio where each part of a texture appears on the mesh.
Think of it as carefully unfolding a 3D object into a flat pattern, applying artwork to that pattern, then wrapping it back around the model:
3D mesh → UV map → texture → textured mesh
UVs let textures sit accurately and consistently across a 3D object. A well-organized UV map also makes better use of the available texture resolution, preserving visual quality without unnecessarily large textures. Good UVs give you more visible detail with fewer resources.
Textures
Texture resolution has a direct impact on memory use and performance. Larger textures hold more detail, but take more resources to store, load, and render.
For SPECS, start small and increase the resolution only when the visual result needs it.
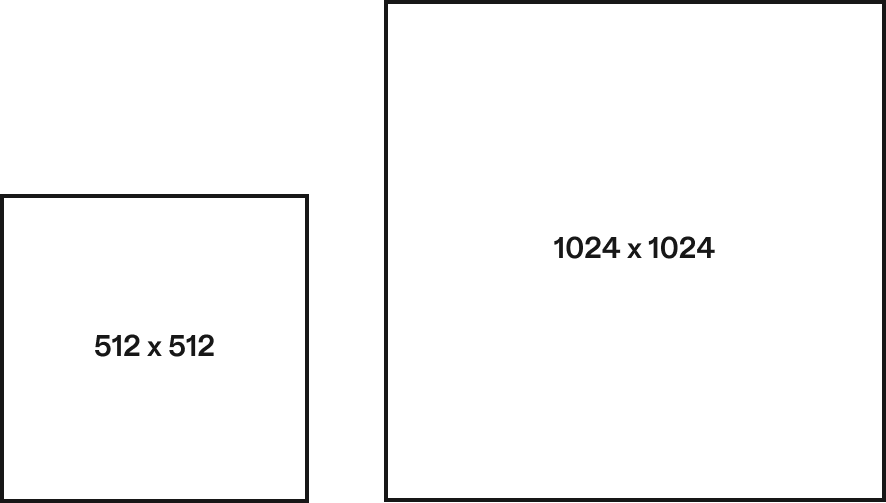
- 512 × 512 or smaller: preferred wherever possible.
- 1024 × 1024: use when the extra detail is visible and necessary.
- Avoid high-resolution textures on small or distant objects.
Use texture sizes that are powers of two, such as 256, 512, 1024, or 2048 px. These sizes are GPU-friendly, work efficiently with mipmaps and compression, and improve performance and memory use.
Match the texture resolution to how large and important the asset appears in the experience. A texture should only contain detail the user can actually see.

For compressing textures in Lens Studio, see Texture Optimization.