Convert a Project to SPECS
Change an existing Lens Studio project so it targets SPECS and CLAD can build SPECS features in it, or let CLAD make the changes for you.
- Snapchat: not supported
- SPECS: fully supported
- Camera Kit Web: not supported
- Camera Kit Mobile: not supported
- SnapchatNot supported — the steps set a project's target platform to SPECS
- SPECSFully supported
- Camera Kit WebNot supported — the steps set a project's target platform to SPECS
- Camera Kit MobileNot supported — the steps set a project's target platform to SPECS
CLAD is optimized for SPECS. To use it on a project that started on another platform, convert the project to target SPECS first. To start a new SPECS project instead, see Set Up Lens Studio for SPECS.
CLAD can make these changes for you. Ask it to set up the project for SPECS, or ask it for a SPECS experience: it updates the project with the steps on this page before it builds.
Convert a Lens Studio project to SPECS
-
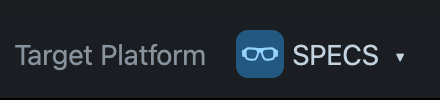
Select File > Project Settings and set Target Platform to SPECS.
-
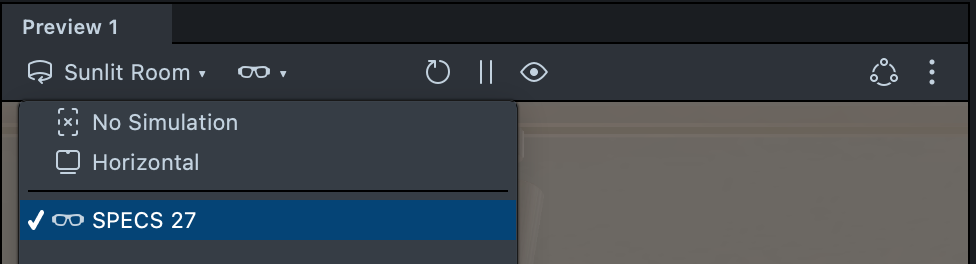
In the Preview panel toolbar, check that the device menu (the glasses icon) shows SPECS 27, and select it if it doesn't. Do this for each Preview panel you have open.
-
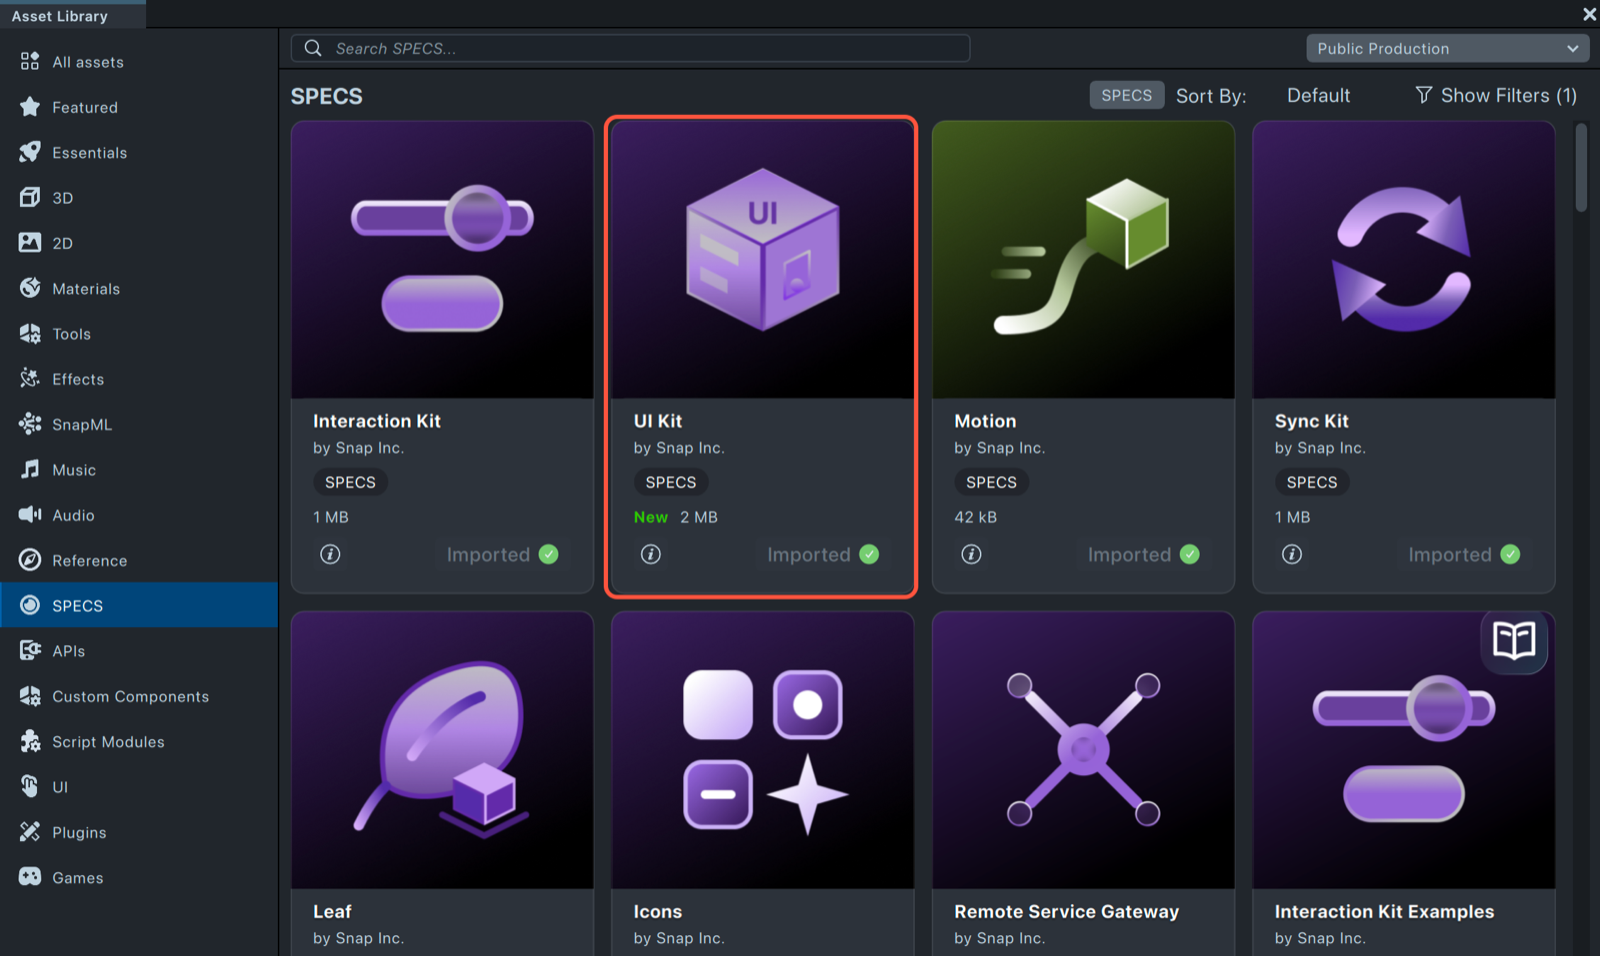
Select Asset Library in the toolbar, then the SPECS category, and install UI Kit. Lens Studio also installs the packages UI Kit depends on: Interaction Kit, Icons, and Motion. Check that they appear under Packages in the Asset Browser.
-
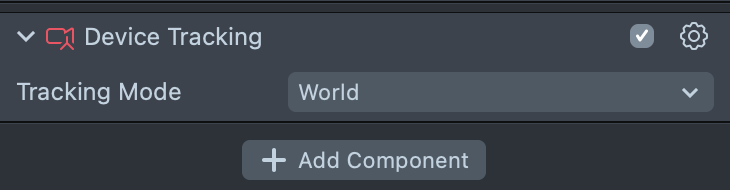
For each camera in the scene, add a Device Tracking component and set its Tracking Mode to World, so the camera follows the wearer's head through the room.
-
For each camera, set Far to a large value, such as
100000. The default is1000centimeters (10 meters), so content farther away than that isn't drawn.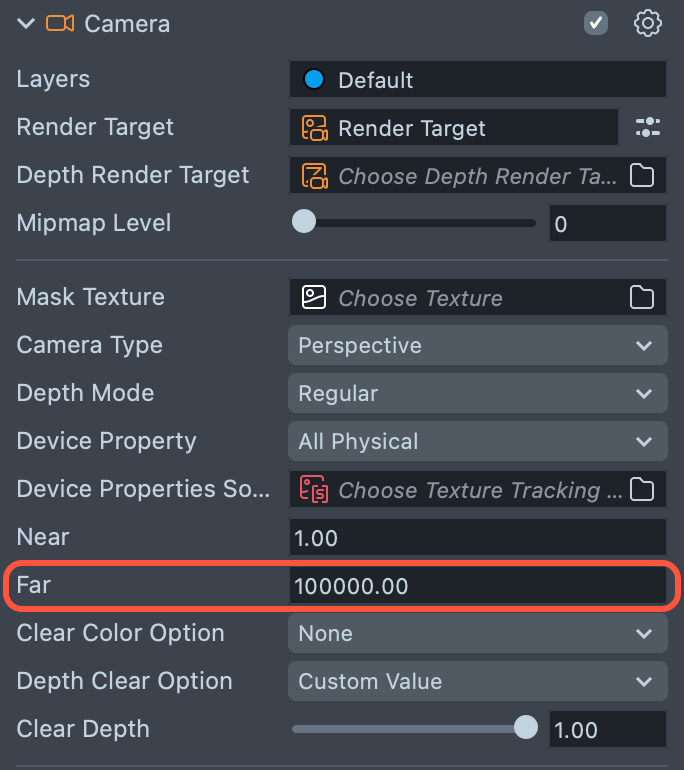
-
In the Asset Browser, expand Packages > InteractionKit > Prefabs, and drag the InteractionKit prefab into the Scene Hierarchy.
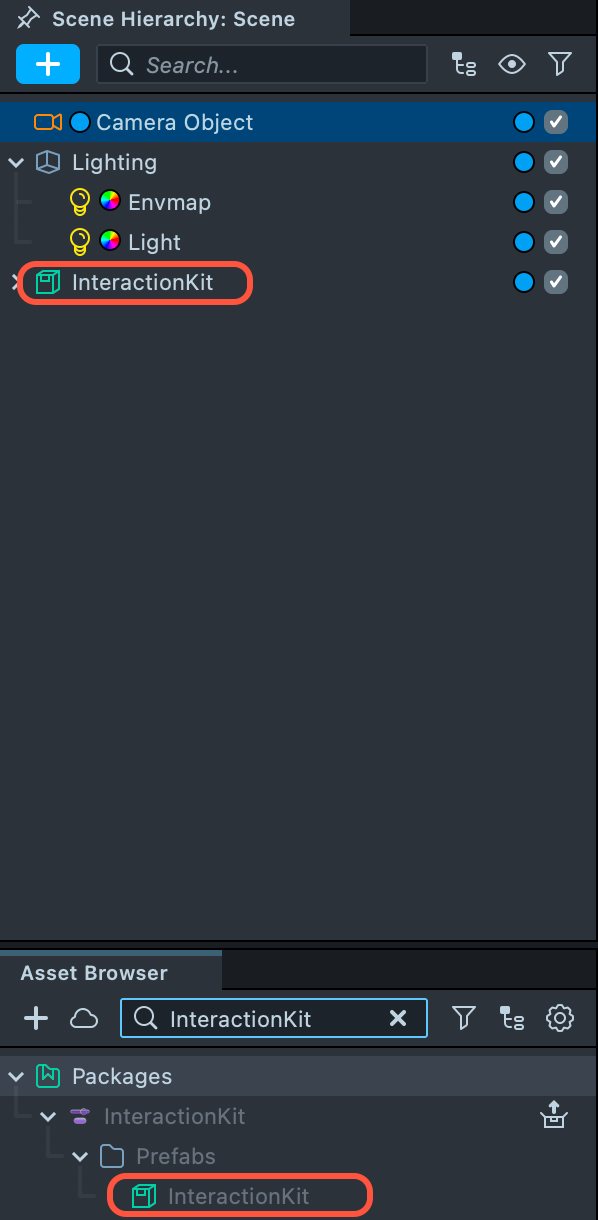
The Scene panel now shows two simulated hands. If the Logger still lists errors from before these changes, clear it and check that the project compiles: see Refresh the Logger.
These are the minimum changes to run a project on SPECS. Some features need more: the top of each feature's page shows which platforms it supports and any limits.
Related
- Set Up Lens Studio for SPECS: start a new SPECS project from a template.
- Preview Lenses for SPECS: the SPECS 27 Preview.
- What Is CLAD: what CLAD can build once the project targets SPECS.