3D Asset Generation
Generate and edit 3D assets from a text prompt or a reference image with the 3D Asset tool in Lens Studio AI, then import them into your Lens.
- Available on all platforms
3D Asset Generation creates and customizes 3D assets for your Lenses from a text prompt, with an optional reference image. In Lens Studio it's the 3D Asset tool. This page covers every feature of the tool, from the first prompt to importing the asset into your project, and ends with prompt guidelines for 3D Asset Generation that help you get better results.
Open the 3D Asset tool in Lens Studio AI
-
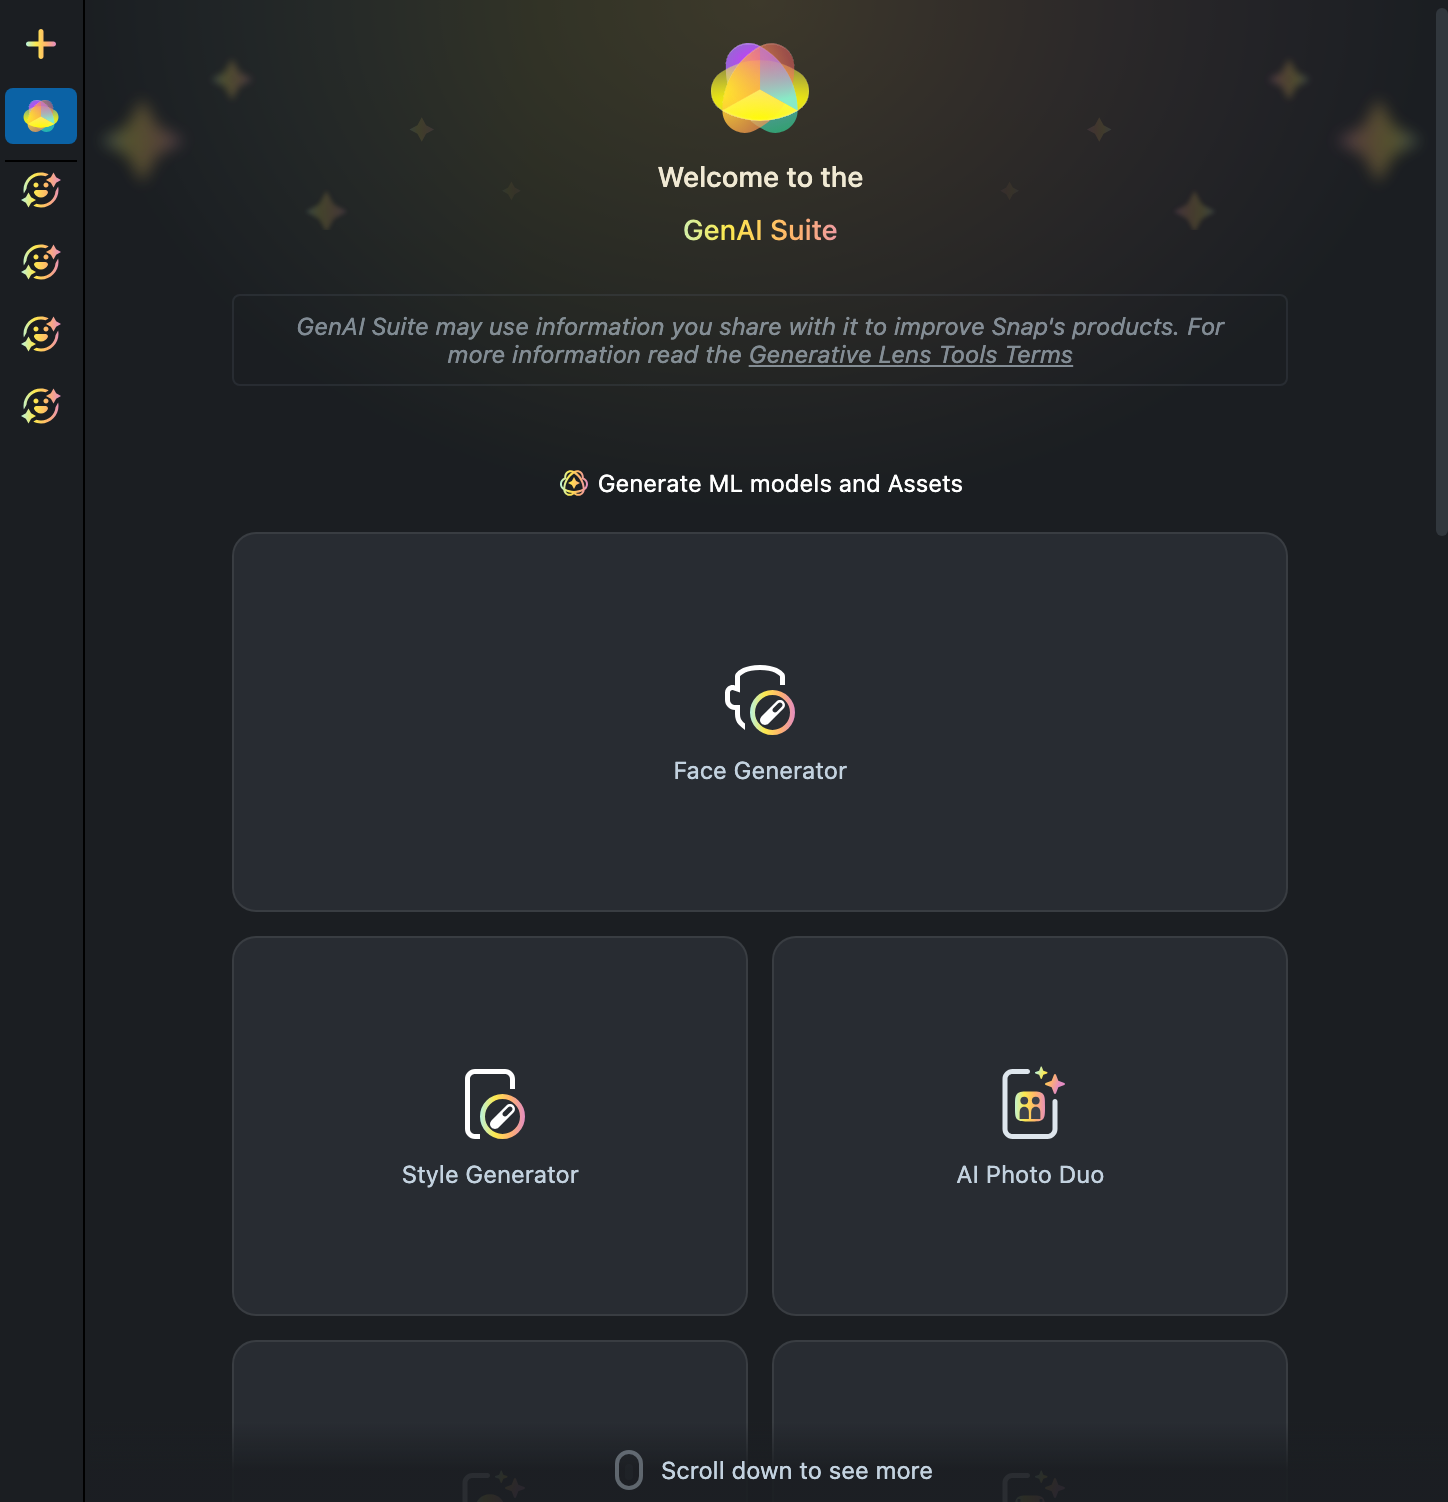
In the Lens Studio toolbar, select Lens Studio AI.

The Lens Studio AI panel opens on the GenAI Suite home, a grid of tool cards under Generate ML models and Assets.
-
Scroll the panel to the 3D Asset card, near the end of the grid, and select it.
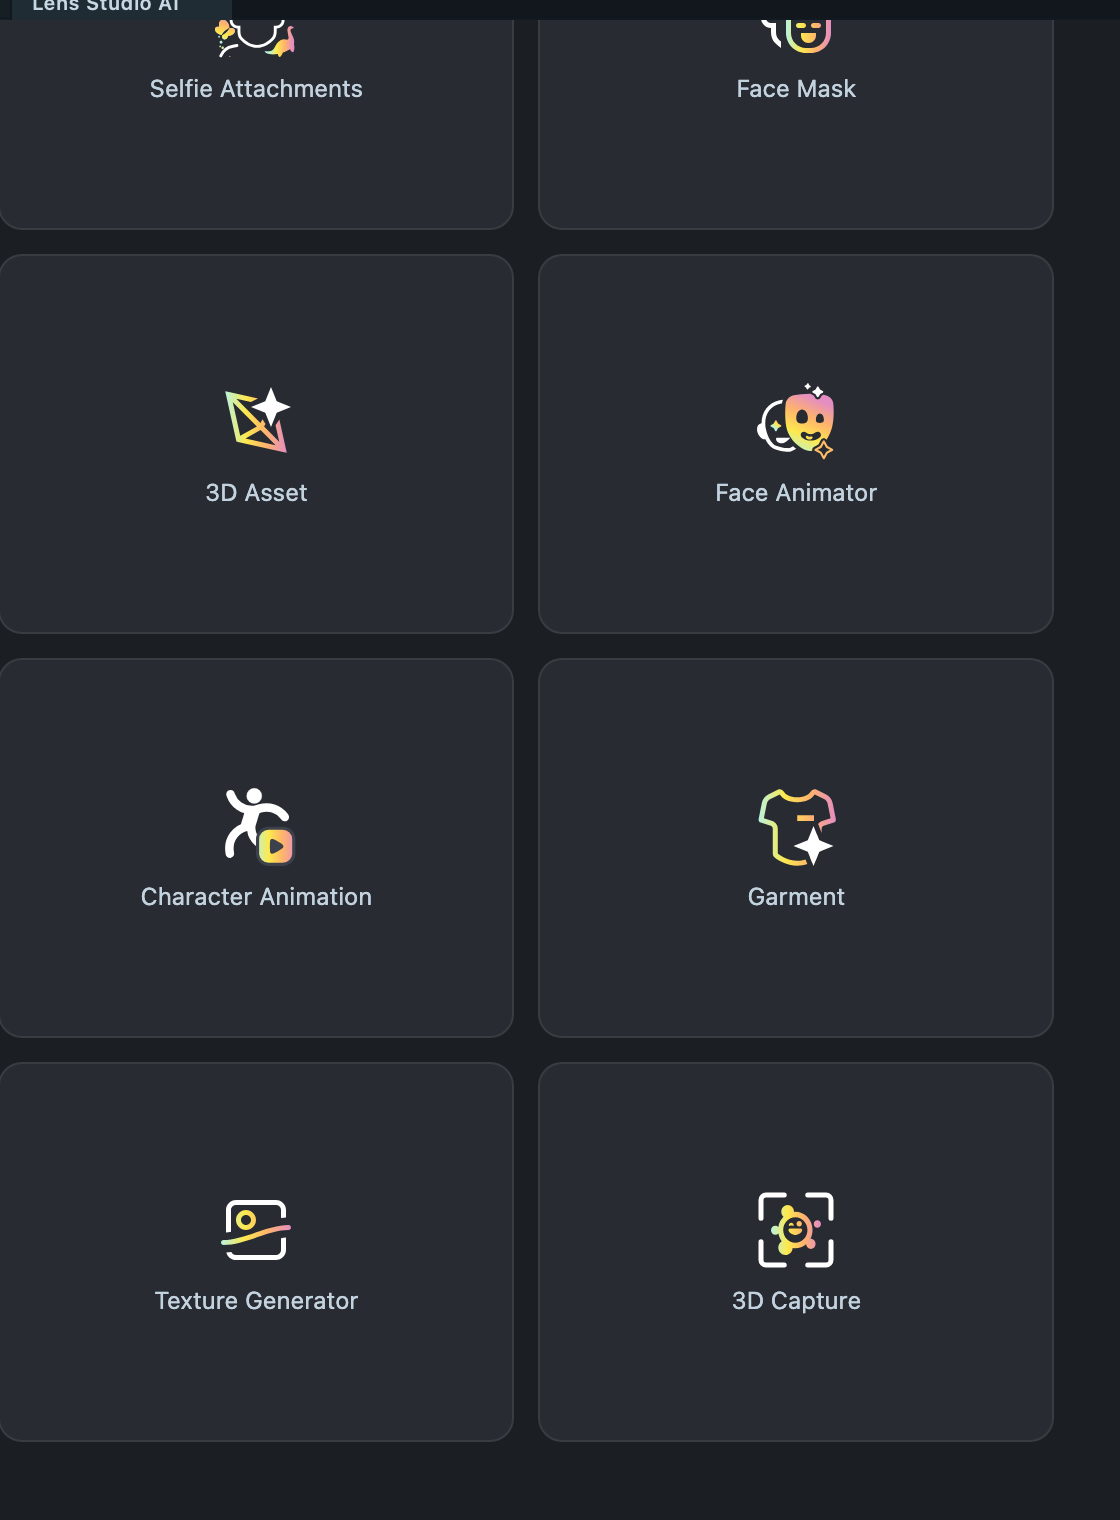
3D Asset Generation is also an Asset Library plugin. If the 3D Asset card isn't in the grid, install the 3D Asset plugin from the Asset Library. Once installed, you can also open it from the Asset Browser.
Find your way around the 3D Asset tool
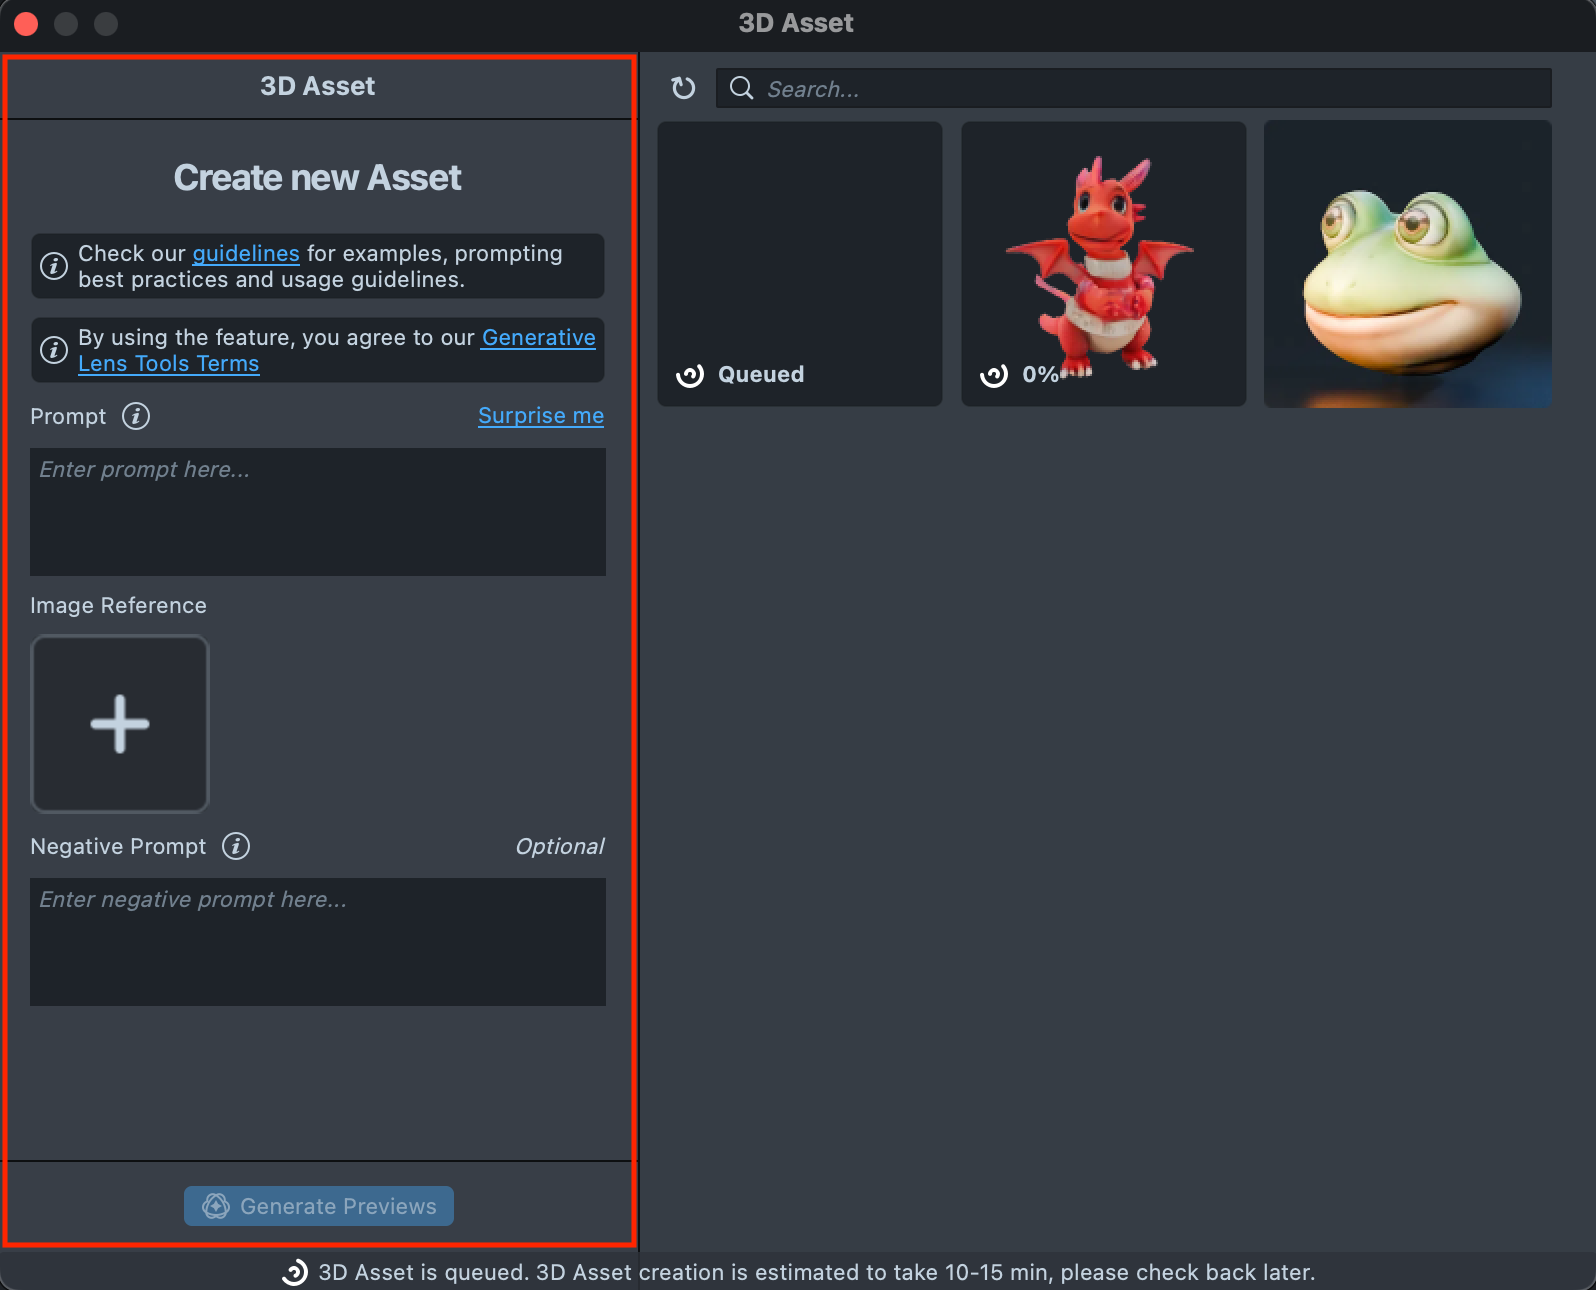
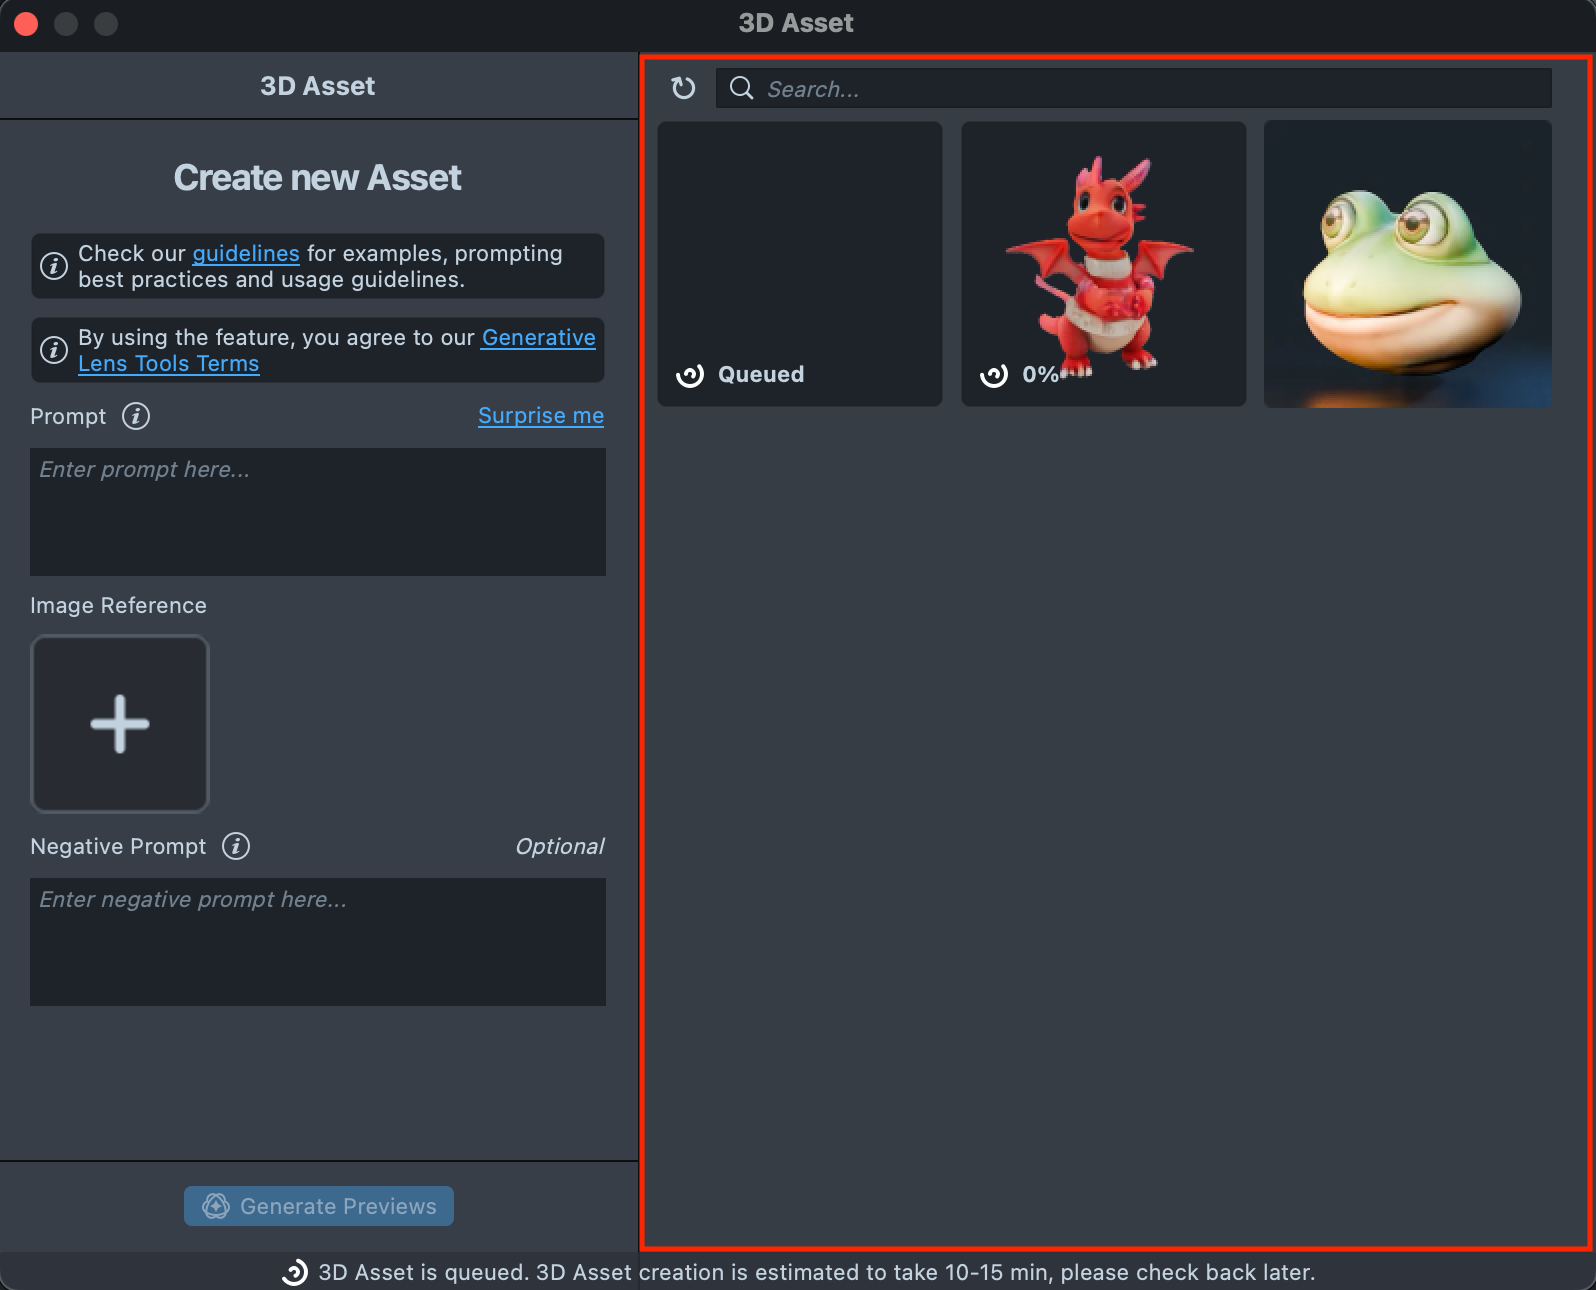
The 3D Asset tool has three areas:
-
Create new Asset: the toolbar where you create and edit models.
-
Gallery: every asset you created, with its status.
-
Search: a search field for finding an asset among the ones you created. The All Effects filter beside it narrows the Gallery.

Create a 3D asset with 3D Asset Generation
Describe the asset in a text prompt
In Prompt, describe the asset you want to create. To start from a random prompt instead, select Surprise me. For wording that works well, see Write prompts that get good 3D assets.
Add a reference image (optional)
In Image Reference, upload an image from your computer. The tool still needs a text prompt when you add an image: it uses both.
Exclude details with a negative prompt
In Negative Prompt, describe what you want to keep out of the generated asset.
Pick one of four previews
-
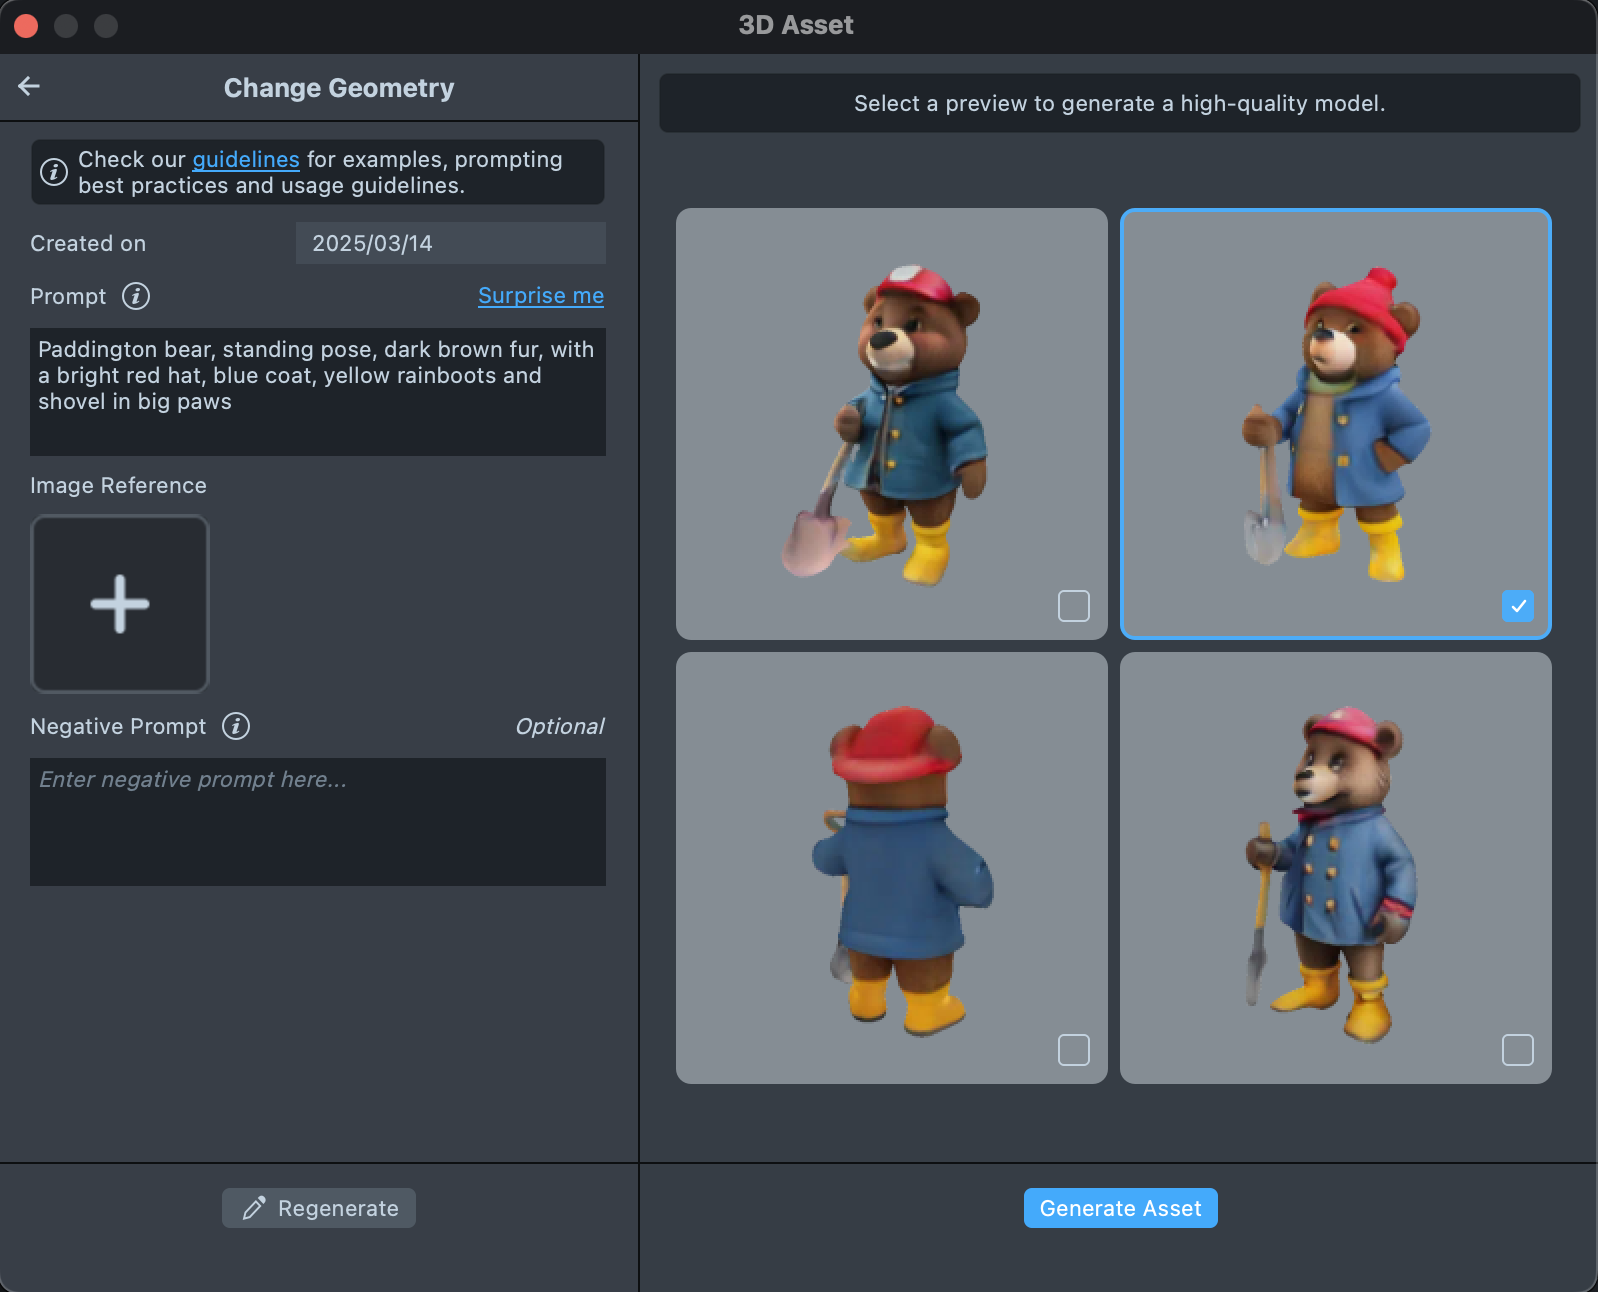
Select Generate Previews. The tool shows four previews of the future asset.
-
Select the preview that best fits your needs. The tool prompts "Select a preview to generate a high-quality model."
-
If none of the previews fit, edit the prompt or settings and select Regenerate to get new previews.
Generate the 3D asset
-
When you've selected a preview, select Generate Asset.
-
Follow progress in the status bar. 3D asset creation takes about 10–15 minutes.

Preview and edit a generated 3D asset
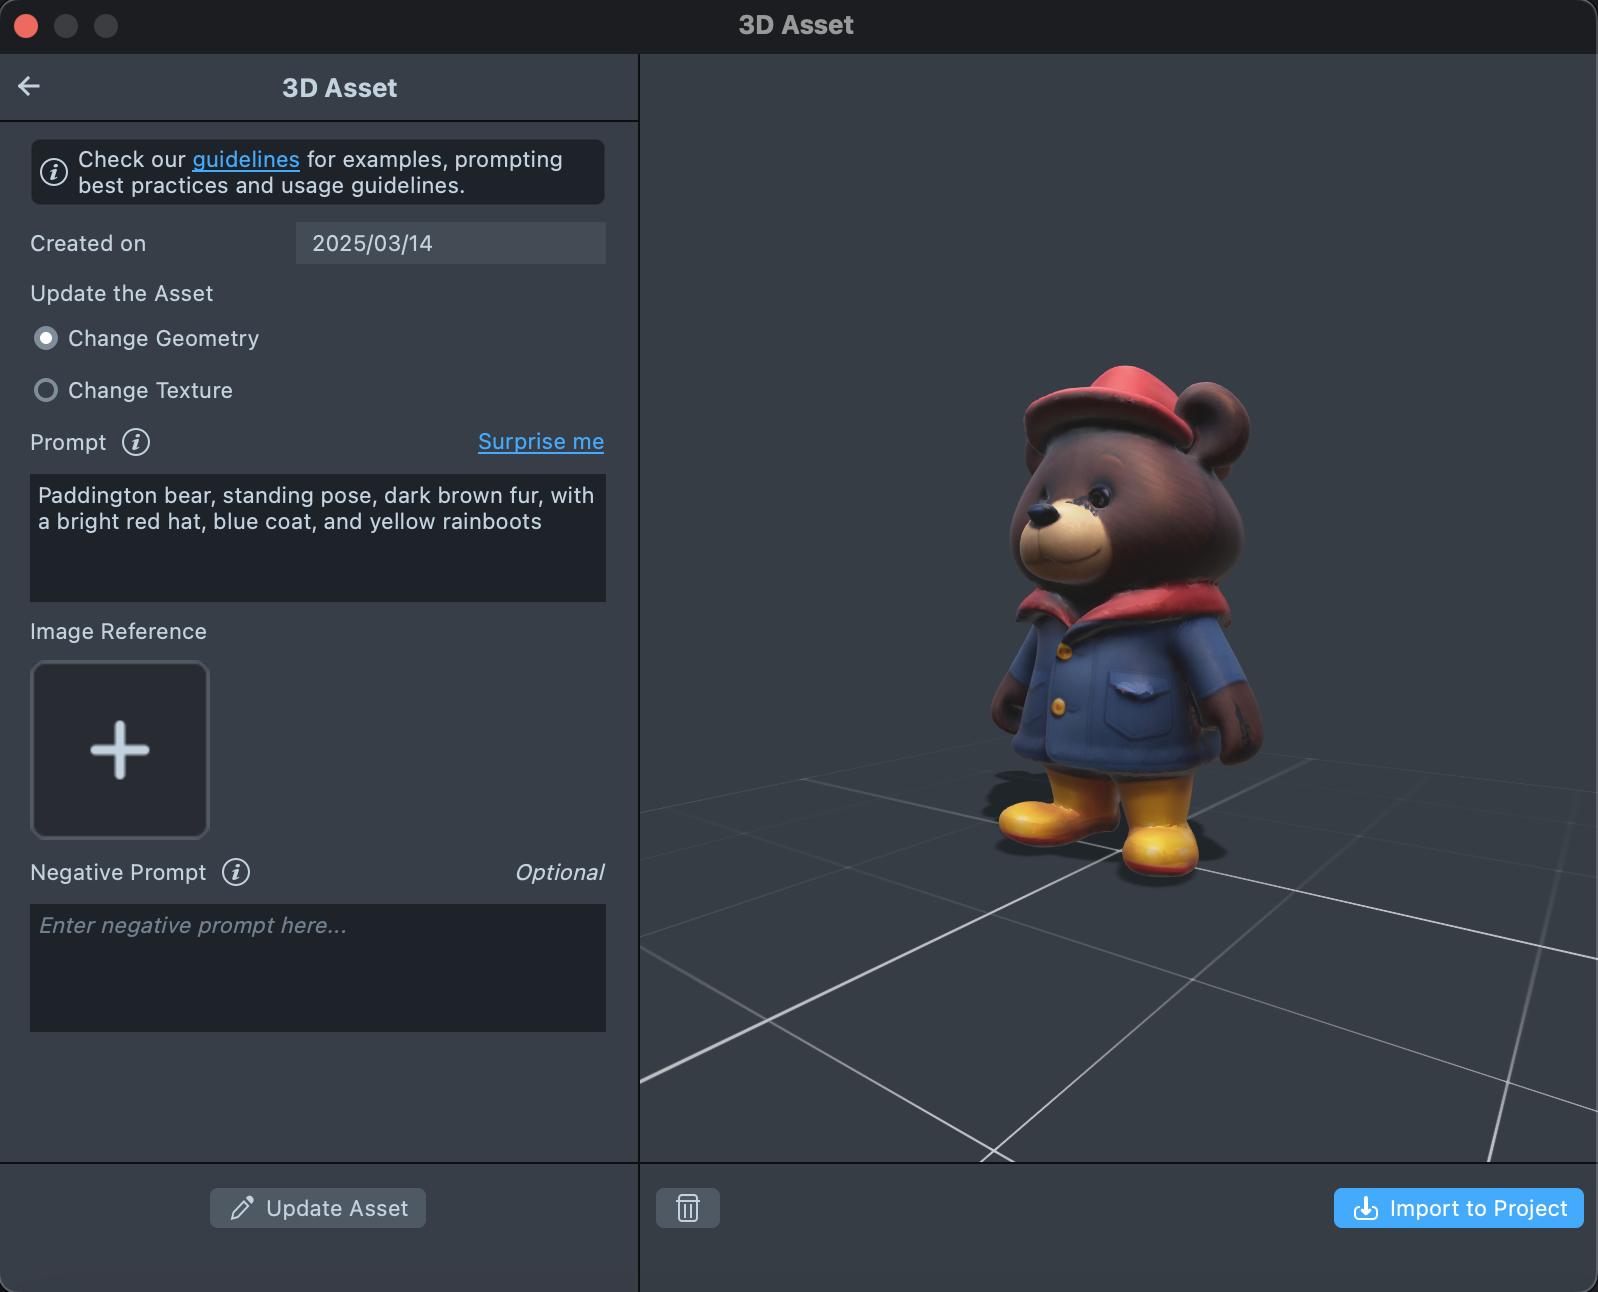
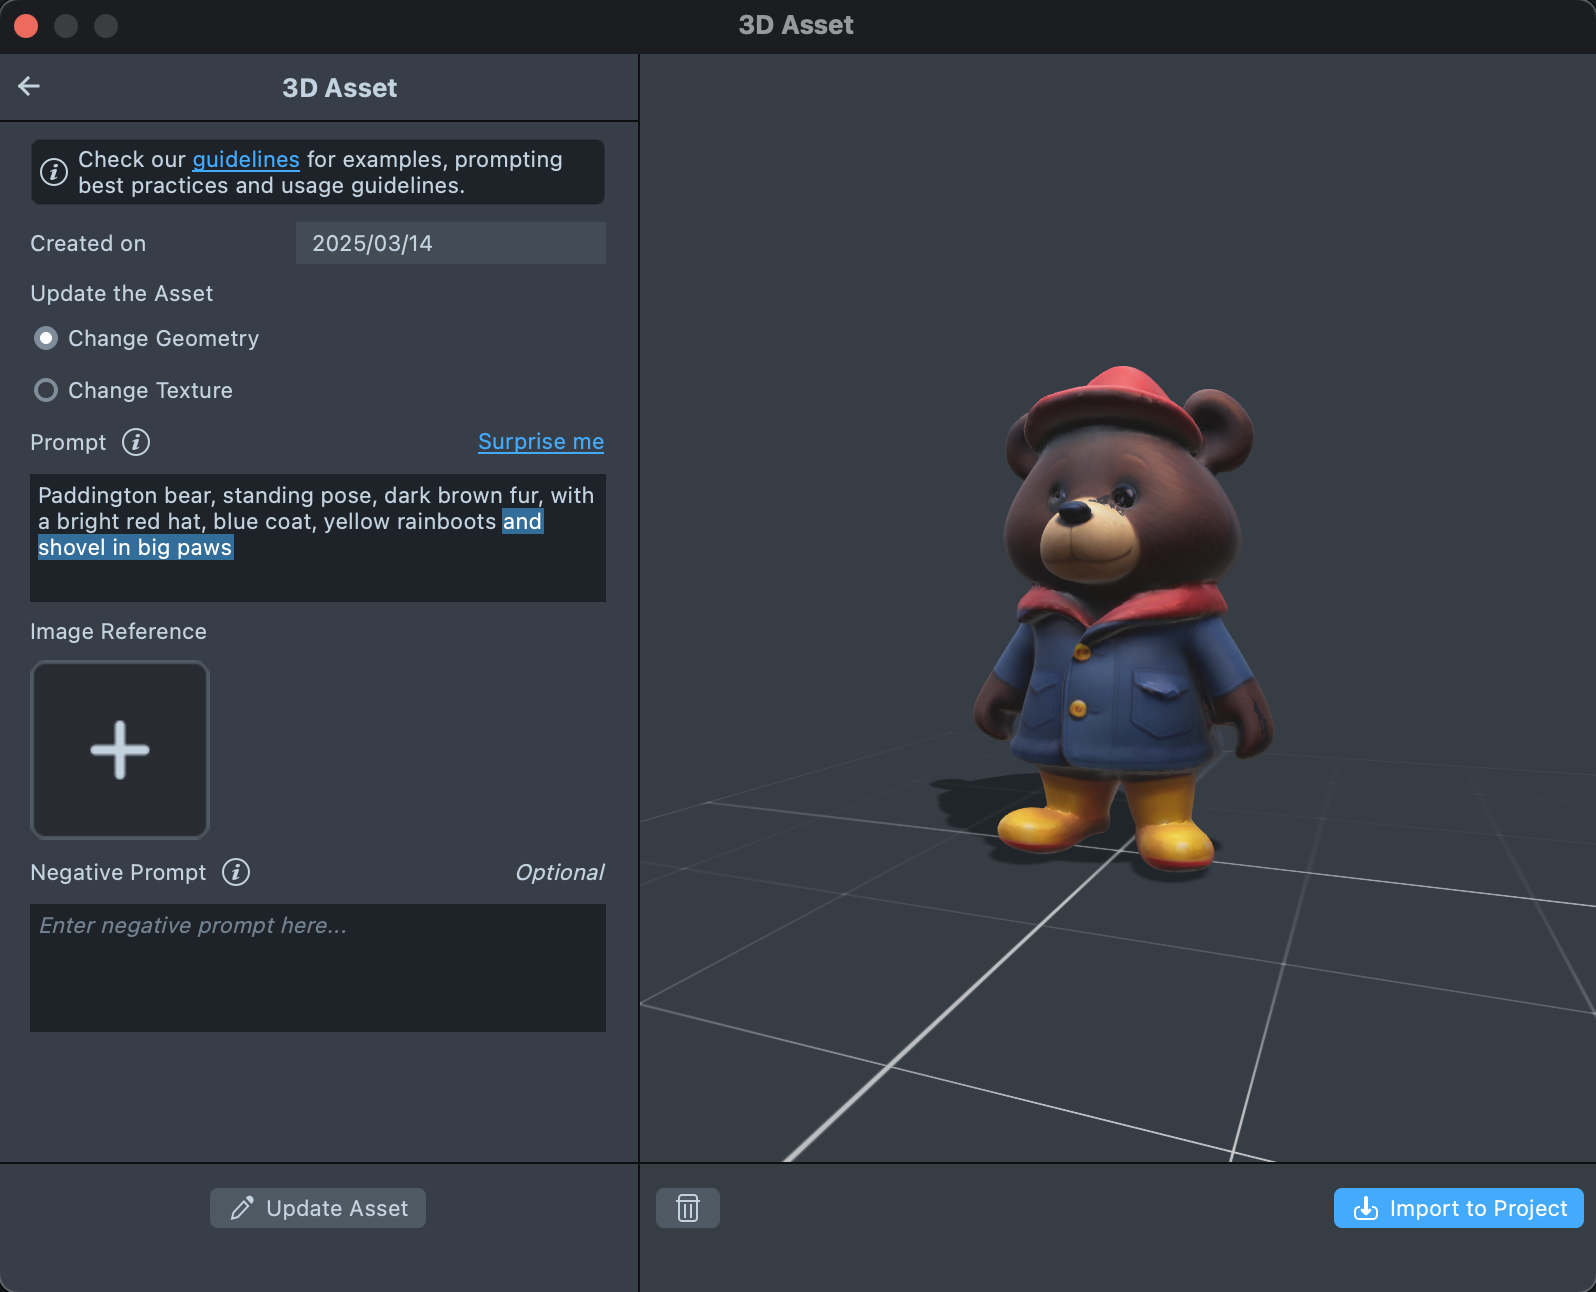
When generation finishes, open the asset from the Gallery to preview it and change it.
Change the geometry or texture of a 3D asset
- Under Update the Asset, select Change Geometry or Change Texture.
- Add details to Prompt, add a reference image, or adjust the other settings.
- Select Update Asset and wait for the result. The tool creates the updated asset as a new effect and shows it in the Gallery.
Delete a 3D asset
To remove an asset you no longer need, open it and select the trash can button (Delete).

Import a 3D asset into your Lens
-
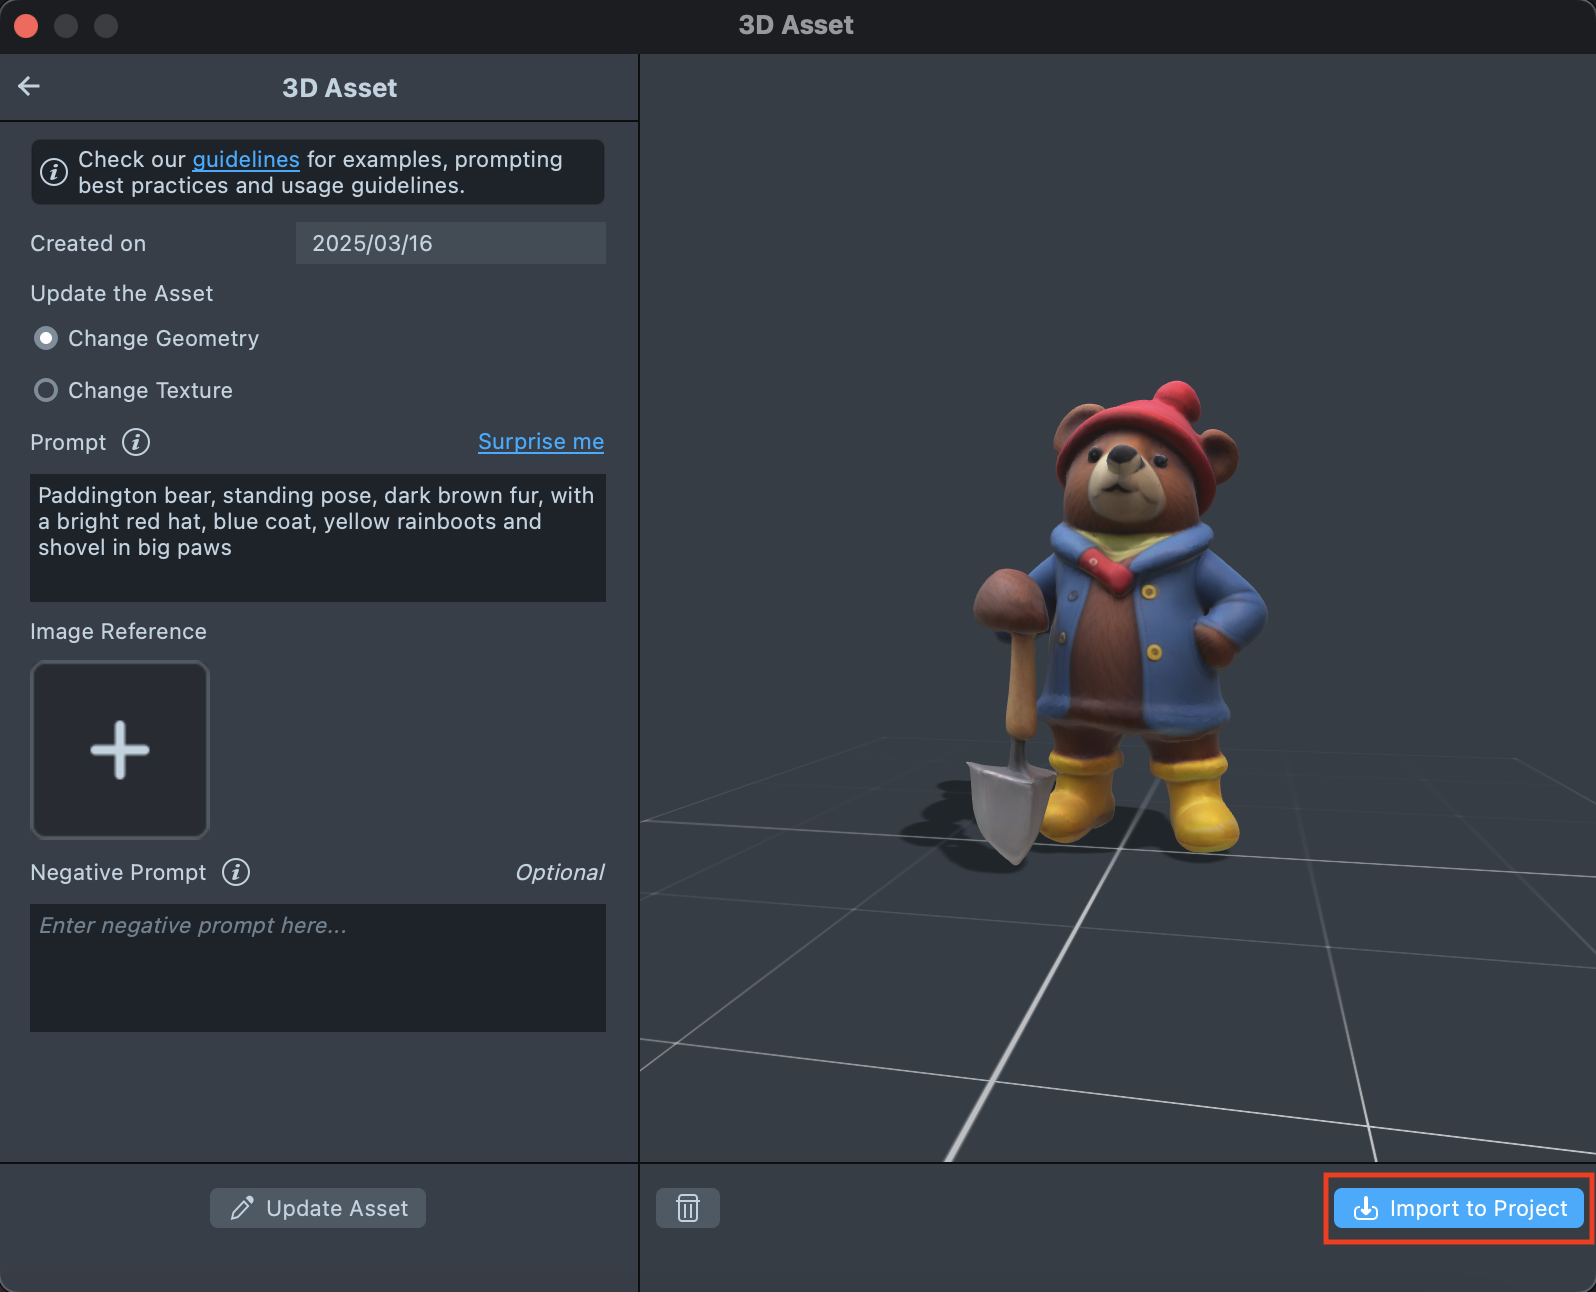
Select Import to Project to start building a Lens with your 3D asset.
-
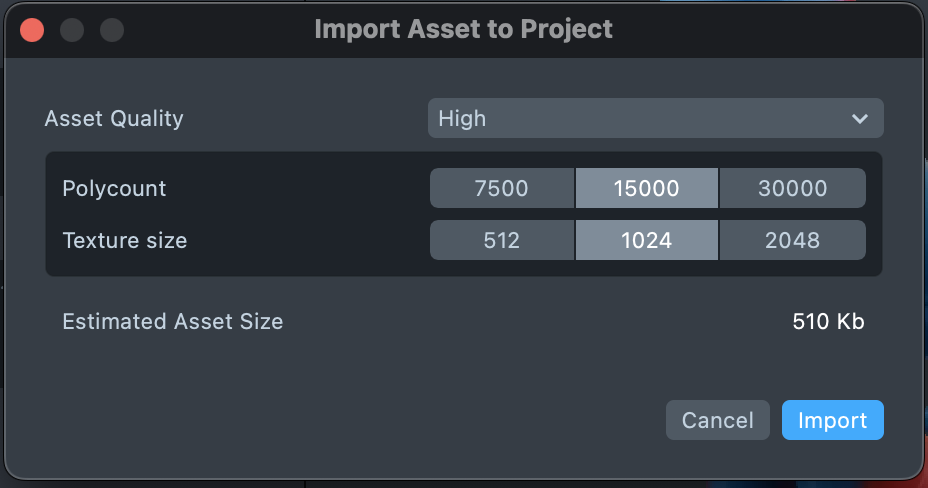
In the import dialog, set Asset Quality to Low, Medium, High, or Max, keeping the asset size in mind. Higher quality gives a higher Polycount and Texture size, and a larger Estimated Asset Size.
-
Select Import. Lens Studio unpacks the asset into your project as a Generative 3D Package, an object prefab that holds the mesh.
Save and test the Lens
When you're satisfied with the result, save your project.
Then export the Lens to test it on Snapchat.
When building for SPECS, test the Lens in the Preview set to SPECS 27 and send it to SPECS: see Preview Lenses for SPECS and Send a Lens to SPECS.
Write prompts that get good 3D assets
Write a text prompt for 3D Asset Generation
-
Avoid too many details. Describe the asset's main properties, such as its main color or the attributes you want it to have, but keep to a few key attributes.
- ✅ Good:
dragon with emerald green scales, large wings, fiery eyes - 👎 Bad:
dragon, deep emerald green scales with subtle blue undertones, massive wings spanning twenty feet with intricate vein patterns, fiery eyes glowing with a detailed fiery texture, sharp claws detailed with worn edges
- ✅ Good:
-
Use comma-separated phrases, not sentences. Split a long description into phrases of 2–3 words separated by commas.
- ✅ Good:
unicorn, white fur, spiraled horn, golden hooves, highres - 👎 Bad:
Create a unicorn with white fur, a spiraled horn, and golden hooves; ensure it's a high-quality, high-resolution, high-polygon model
- ✅ Good:
-
Don't write "a 3D model of…" or similar. Saying explicitly that you want a 3D model can make the generated asset less detailed.
- ✅ Good:
a playful corgi dog - 👎 Bad:
a playful corgi dog as a 3d model
- ✅ Good:
-
Describe the object, not the scene. The tool doesn't reconstruct 3D scenes: it generates a single 3D model.
- ✅ Good:
an american eagle statue, high quality - 👎 Bad:
an american eagle flying in an empty forest, high quality statue
- ✅ Good:
-
Put the concept first. The words at the start of your prompt have the most influence, so they should fully describe the concept.
- ✅ Good:
big sunglasses, green good quality, highres, - 👎 Bad:
highres, hi-poly, good quality, 3D model, sunglasses
- ✅ Good:
Choose a reference image for 3D Asset Generation
-
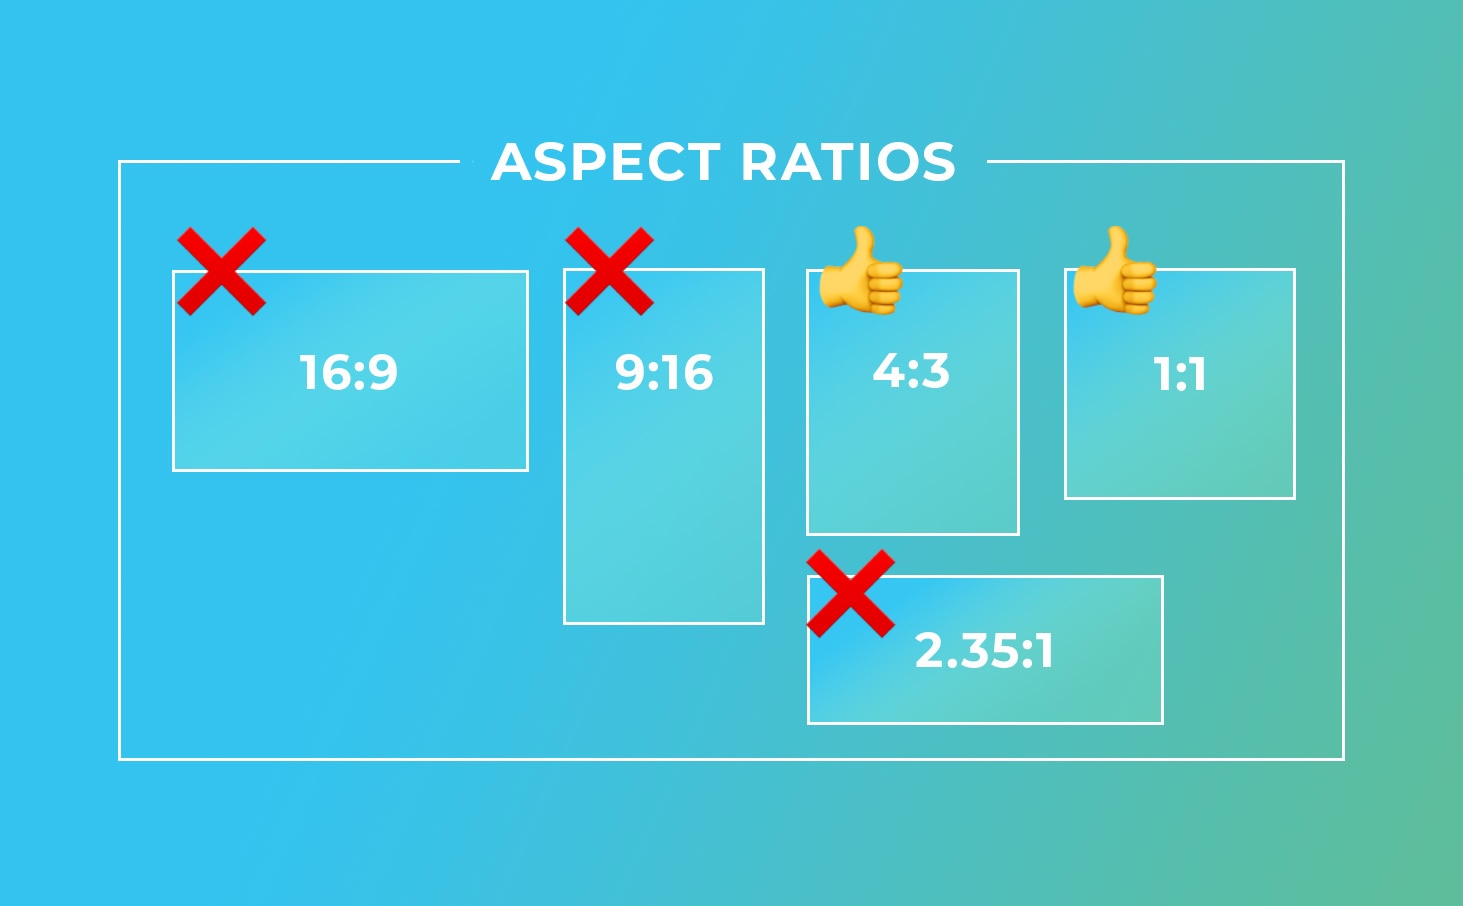
Use an image that is close to square. The tool center-crops the image, so a nearly square image keeps the important content.
-
Show a single, distinguishable object. The tool reconstructs a single 3D asset, so for the best result make sure that:
- The image has a single object (no groups of objects or environments).
- The object is distinct from its background.
- No people are in the shot.
- The whole object is in the frame, not cut off.
✅ Good:
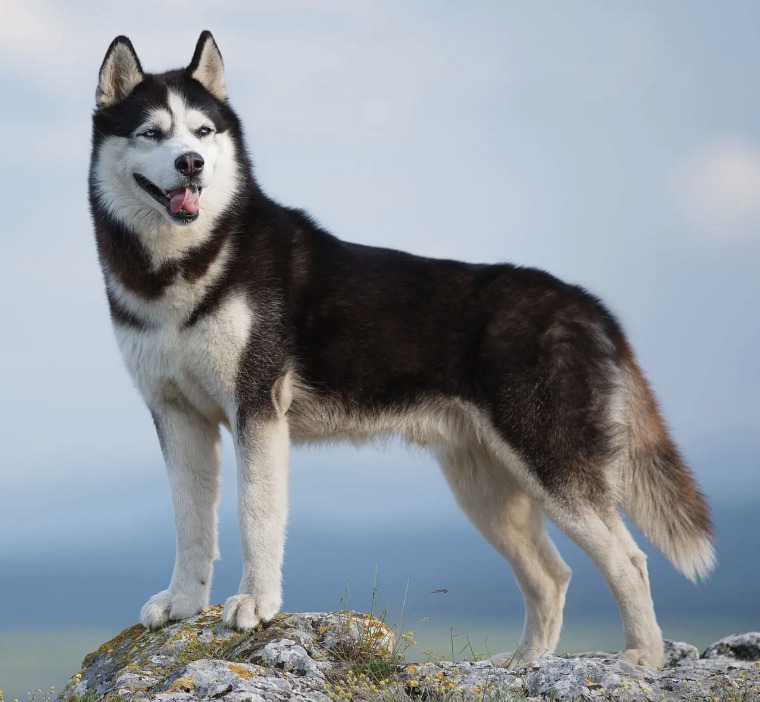

👎 Bad:
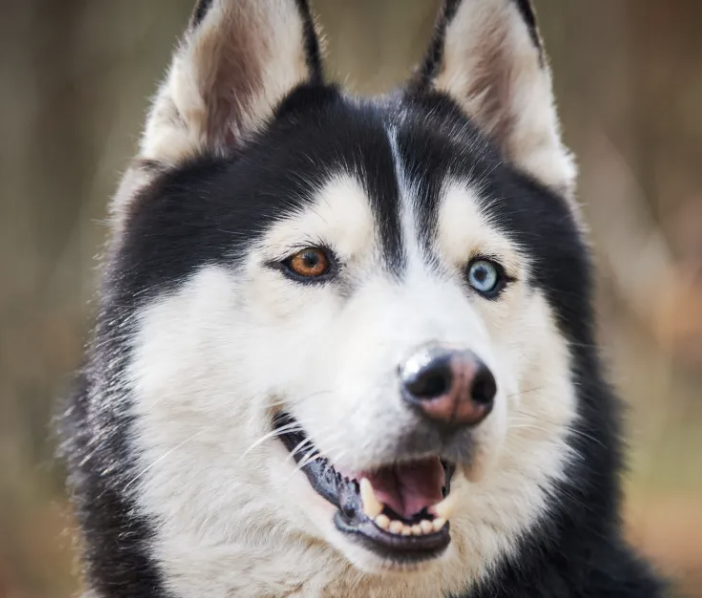

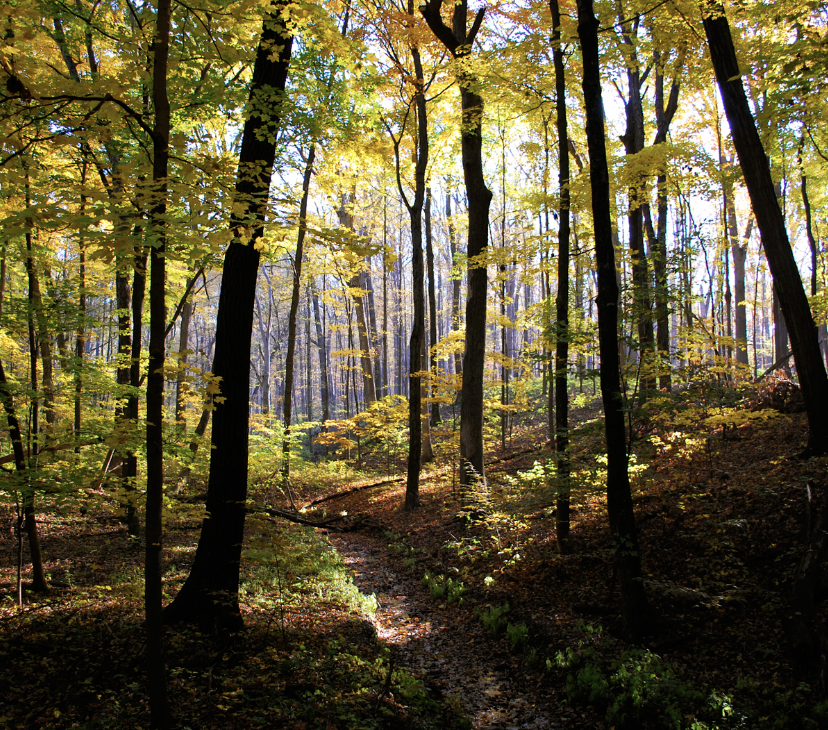
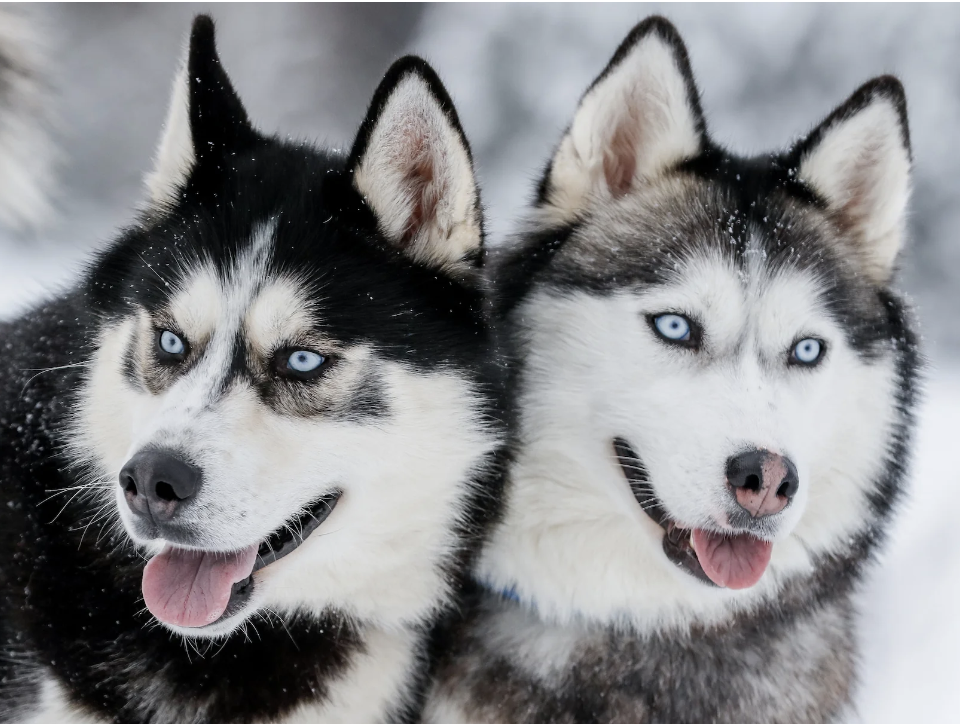
-
Write a matching prompt. The tool uses the text prompt even when you add an image, so write one that matches the image, following Write a text prompt for 3D Asset Generation.