Face Mask Generator
Generate a face mask texture from a text prompt with the Face Mask tool in Lens Studio's GenAI Suite and apply it to the face in your Lens.
- Snapchat: fully supported
- SPECS: partially supported
- Camera Kit Web: not supported
- Camera Kit Mobile: not supported
- SnapchatFully supported
- SPECSPartially supported
- Camera Kit WebNot supported
- Camera Kit MobileNot supported
The Face Mask tool generates a face texture from a text prompt and applies it to the face in your Lens right away. When you import the result, the tool creates a Face Mask component (FaceMaskVisual) with a Face Mask material for you, so you don't have to set up the effect by hand.
The Lens Studio AI assistant can also generate a face mask texture for you in chat, through its GenerateFaceMaskTexture tool.
Open the Face Mask tool
-
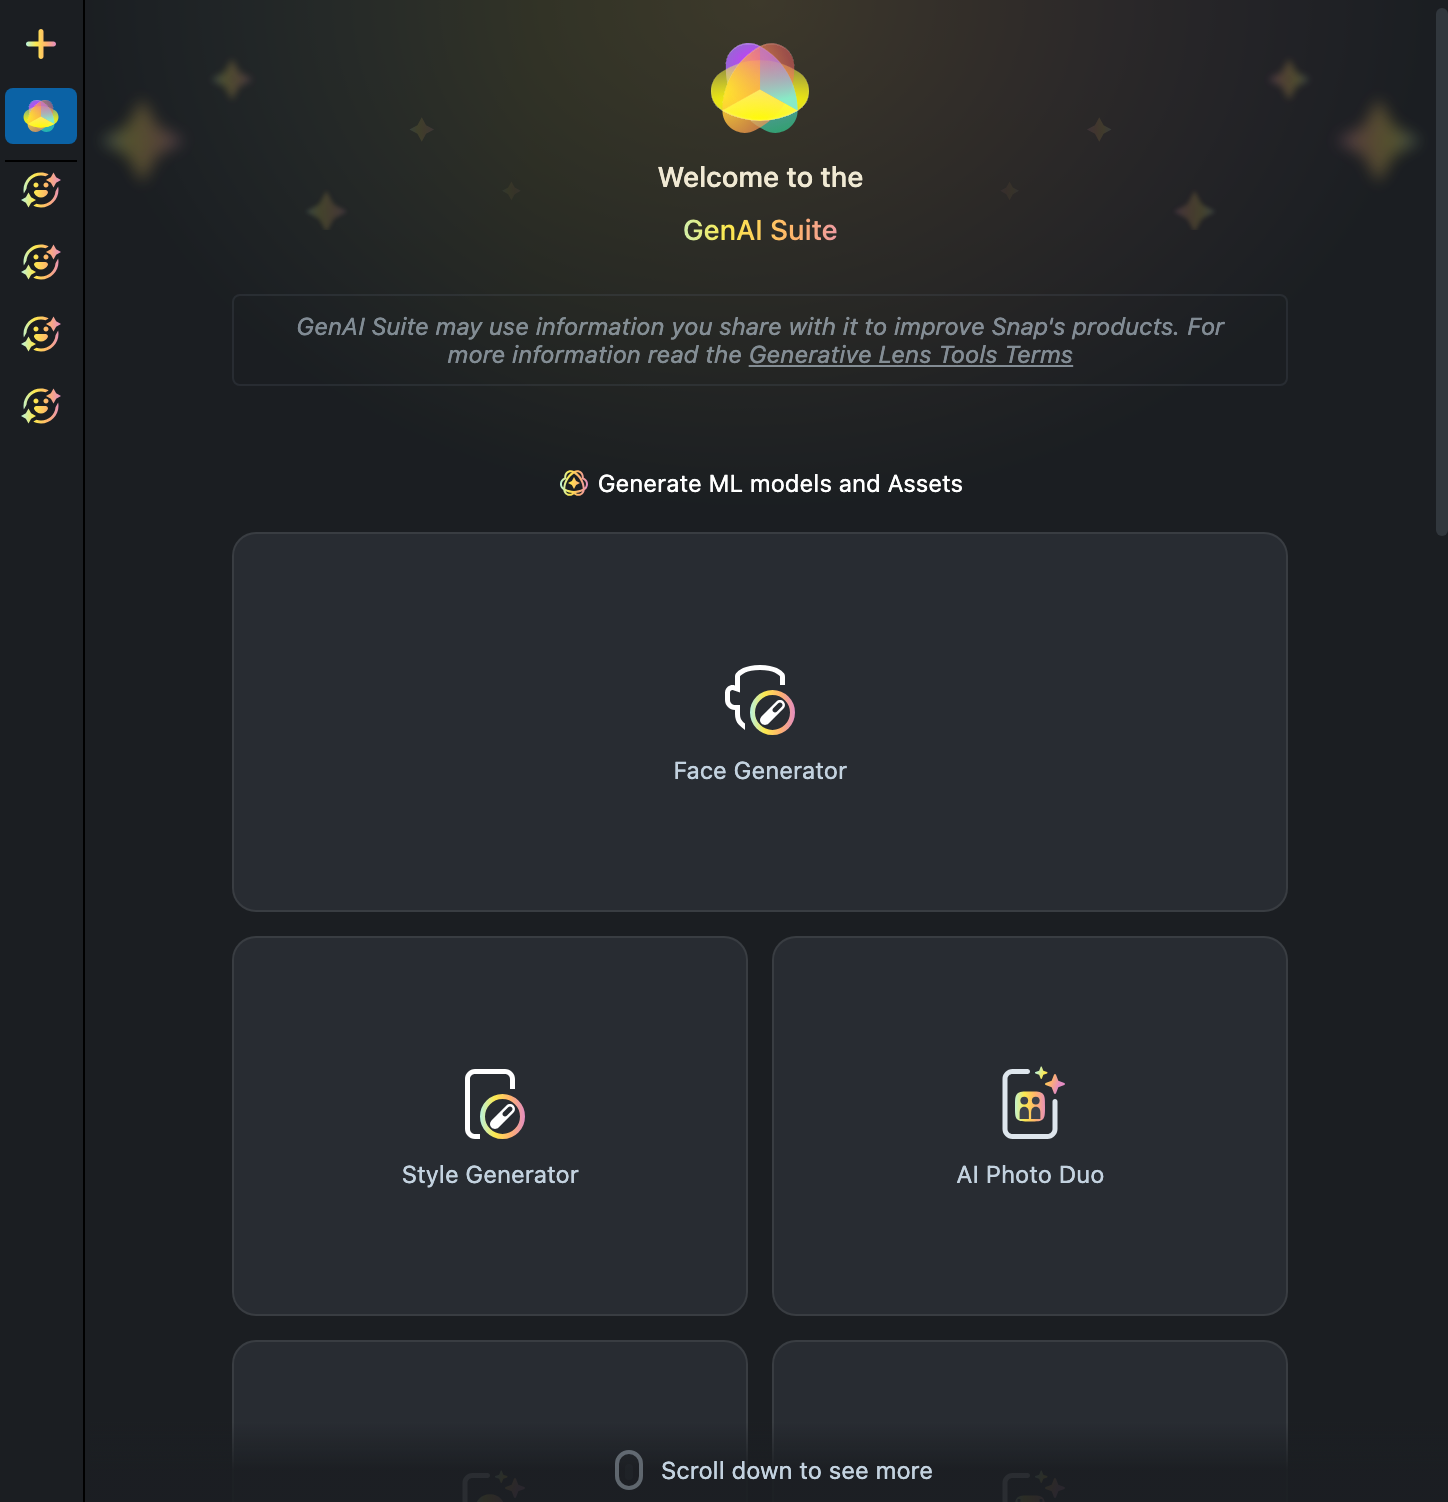
In the Lens Studio toolbar, select Lens Studio AI. The Lens Studio AI panel opens on the GenAI Suite home, a grid of tool cards under Generate ML models and Assets.

-
Scroll toward the end of the tool grid and select the Face Mask card.
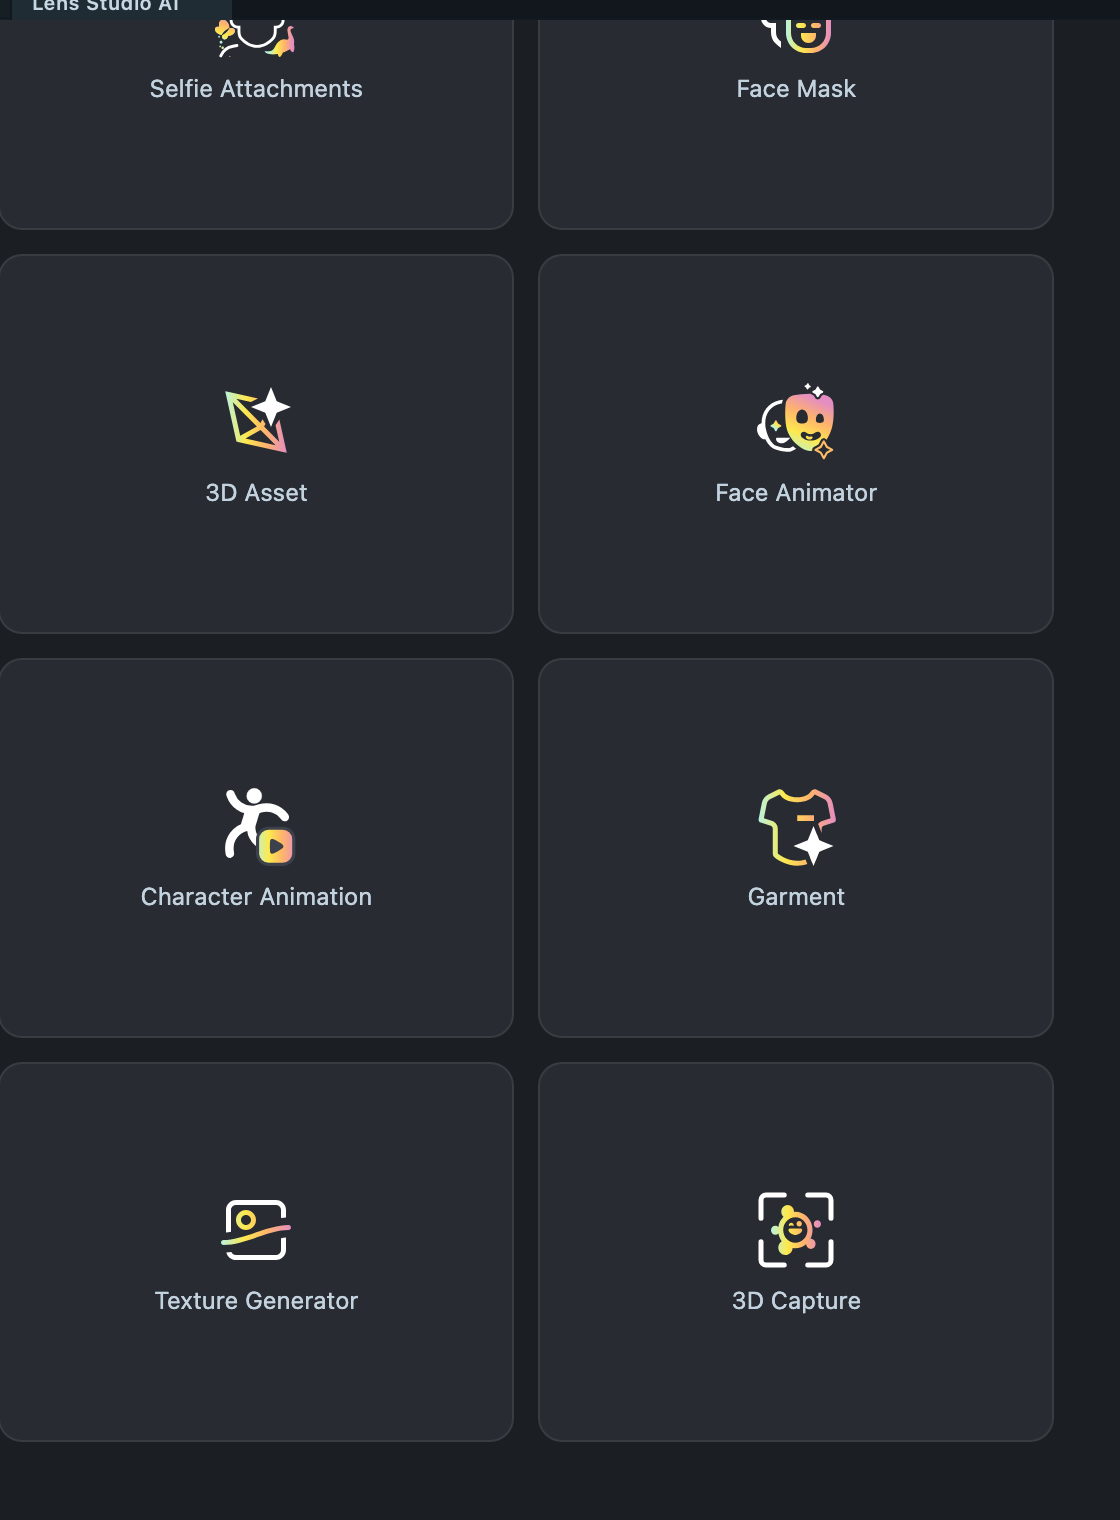
If the Face Mask card is missing, install the tool from the Asset Library, where it is listed as the Face Mask plugin. Once installed, you can also open it from the Asset Browser.
Generate and import a face mask texture
-
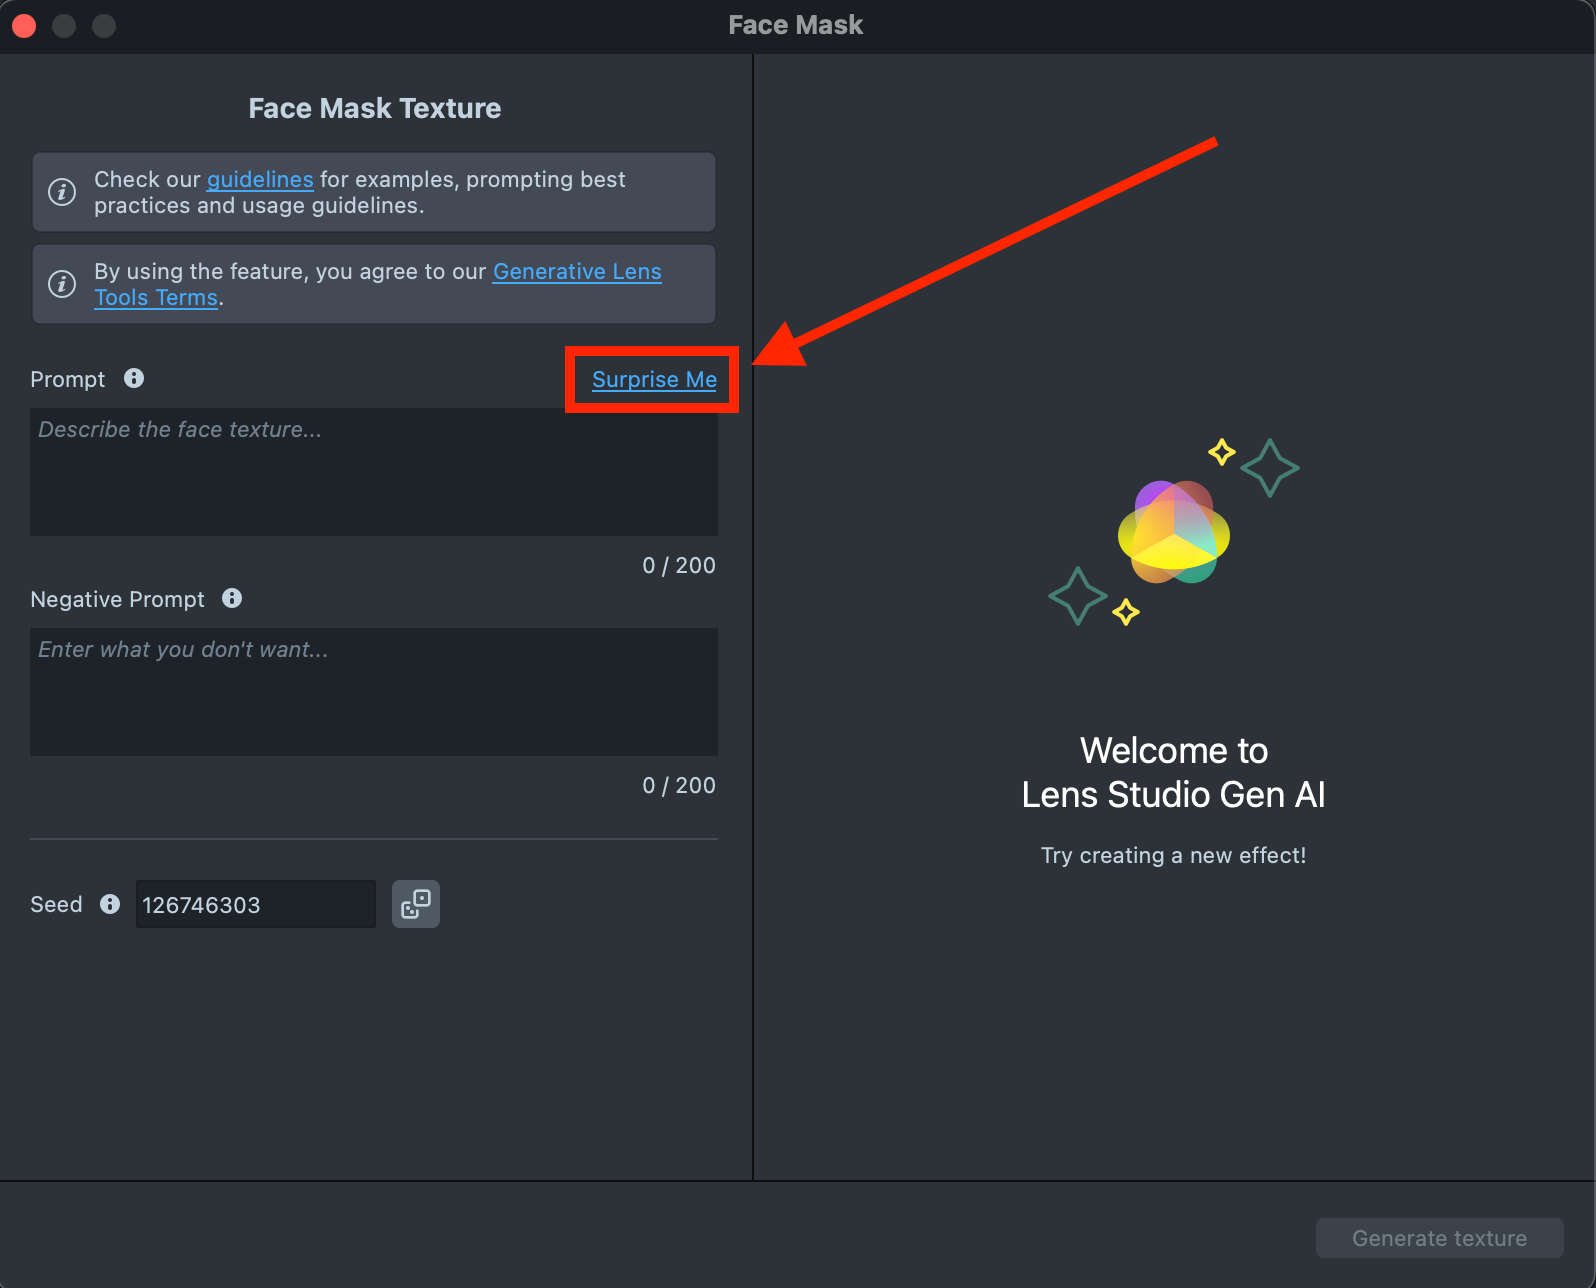
To try one of the default prompts and get familiar with the model, select Surprise Me.
-
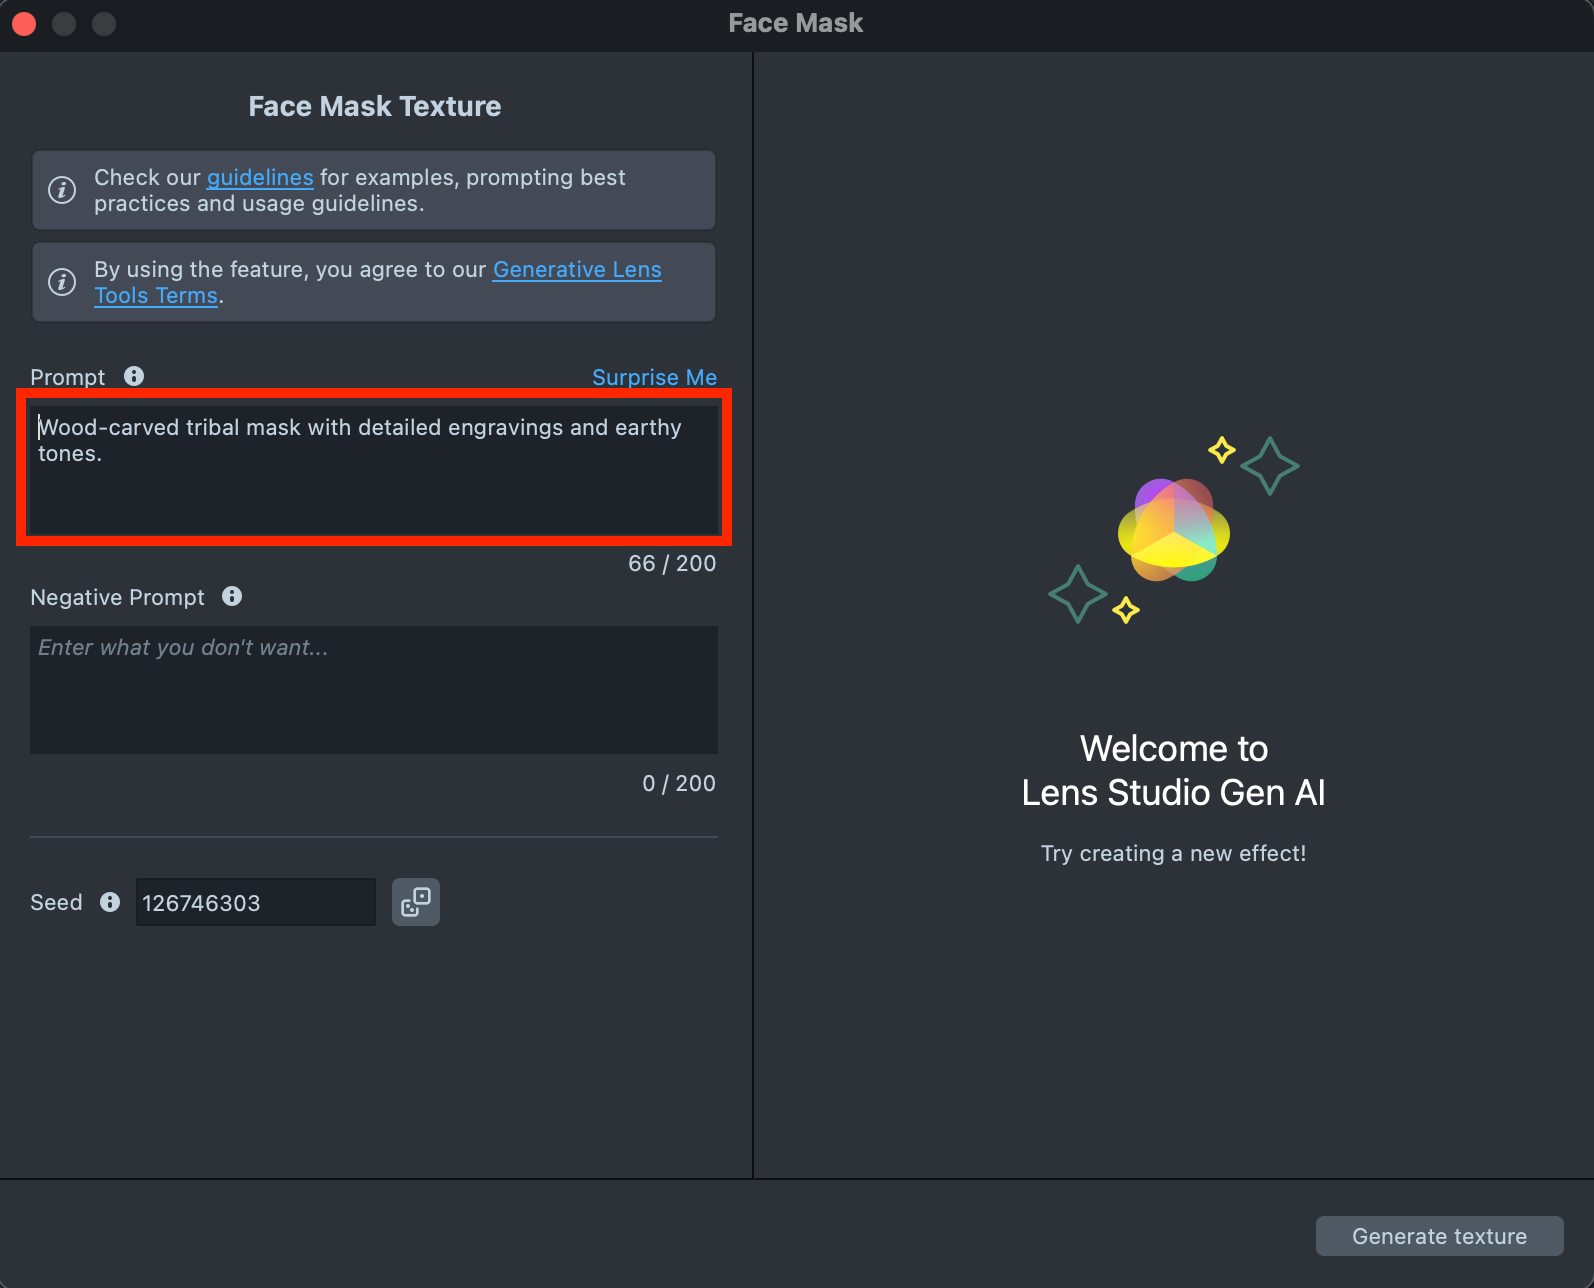
To use your own prompt, enter a description of the face mask you want to generate in the Prompt field, up to 200 characters.
-
Optionally, use the Negative Prompt field, also up to 200 characters, to list what you don't want on your mask. It can include visual aspects, such as specific colors, shapes, or styles, and texture-quality issues you want to avoid.
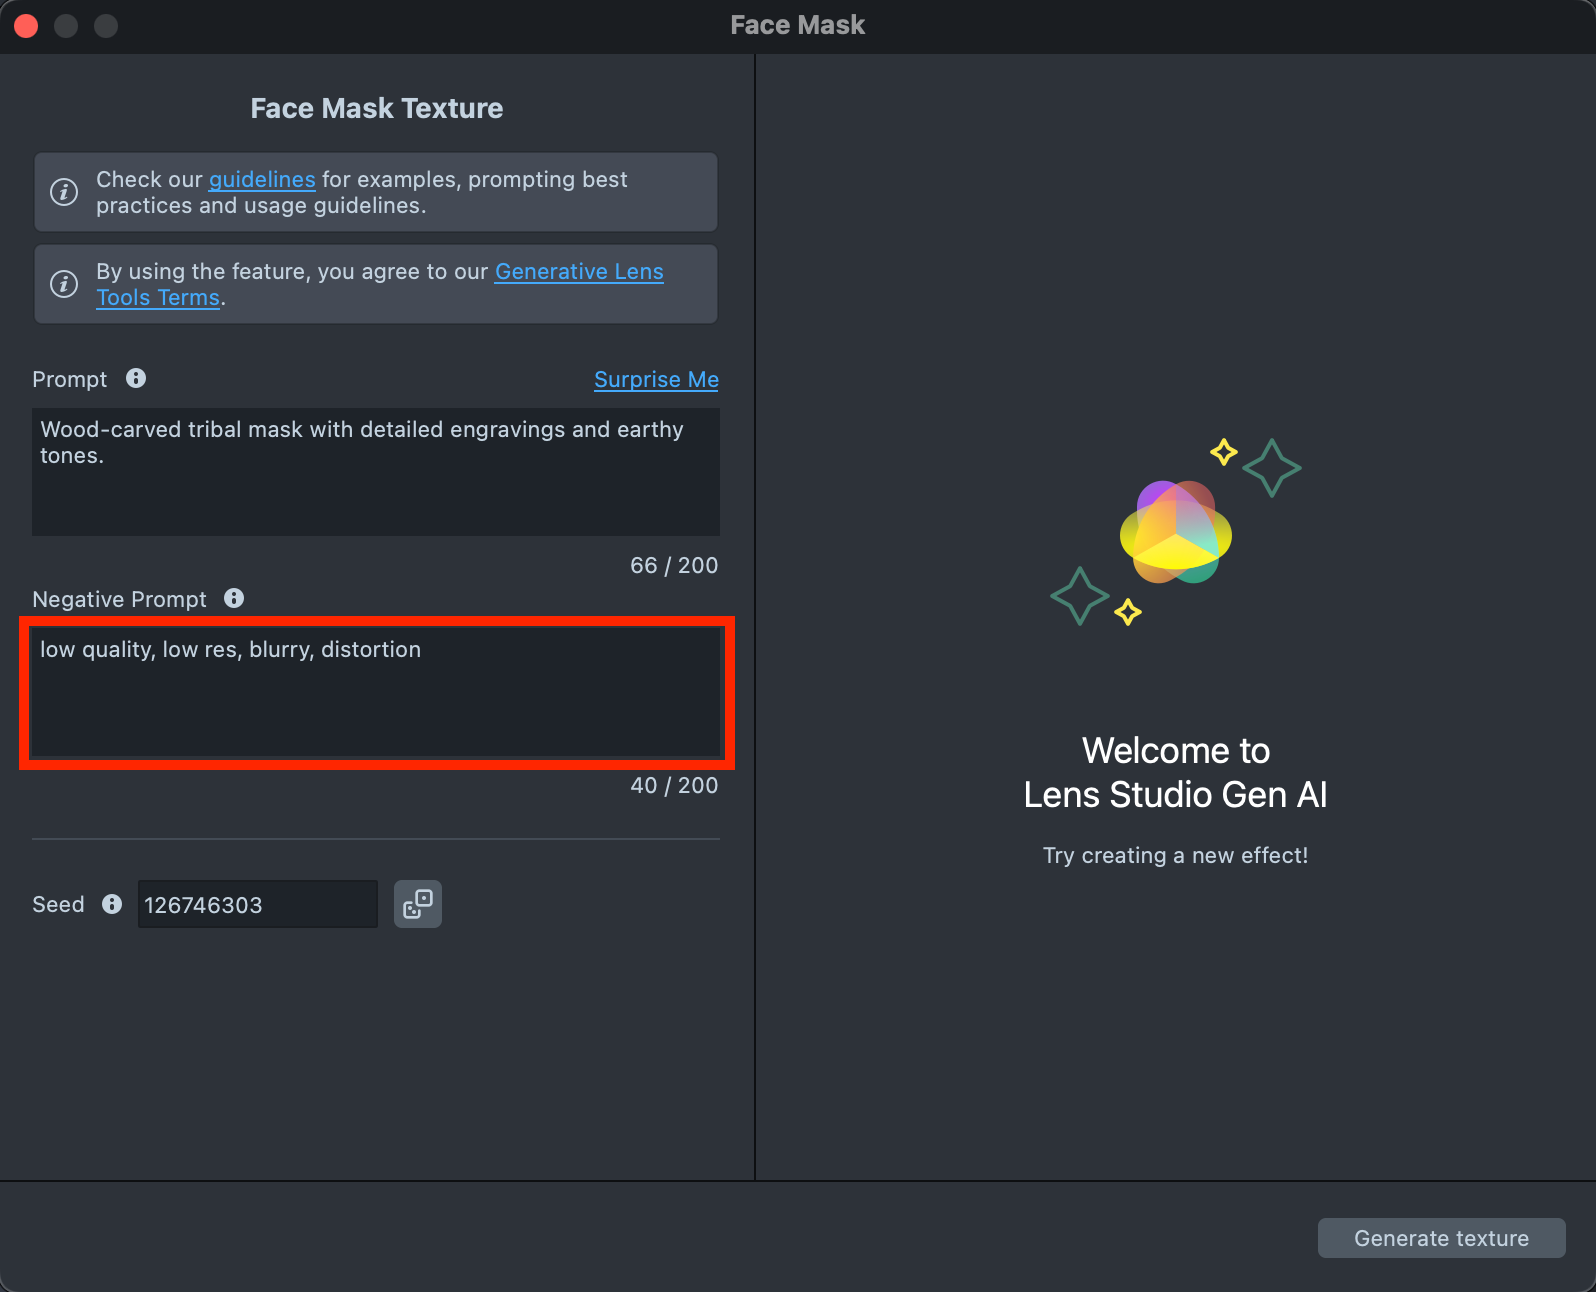
-
When your prompt is ready, select Generate texture. The tool generates a preview of the face texture, which takes up to 7 seconds.
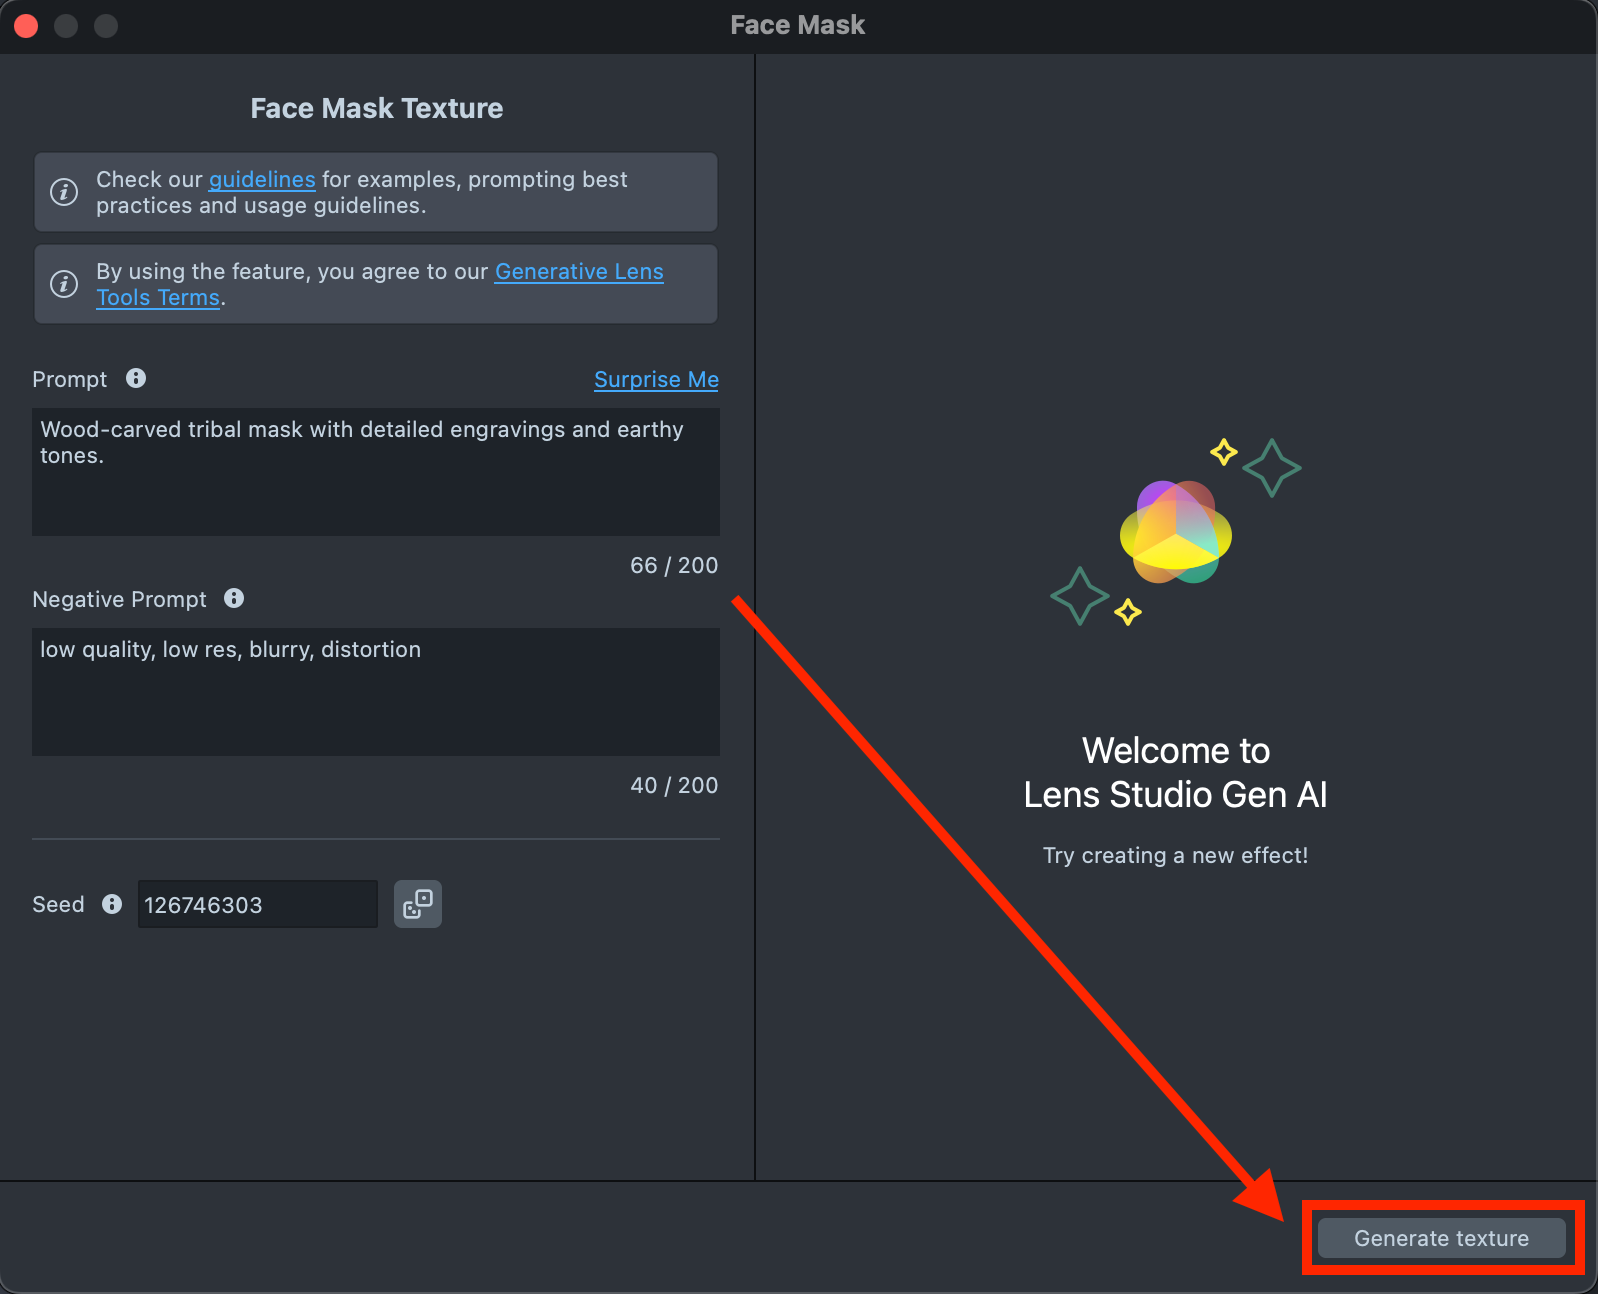
-
If the preview doesn't match what you want, adjust your prompts or change the Seed to explore different visual results, then select Regenerate to create a new preview.
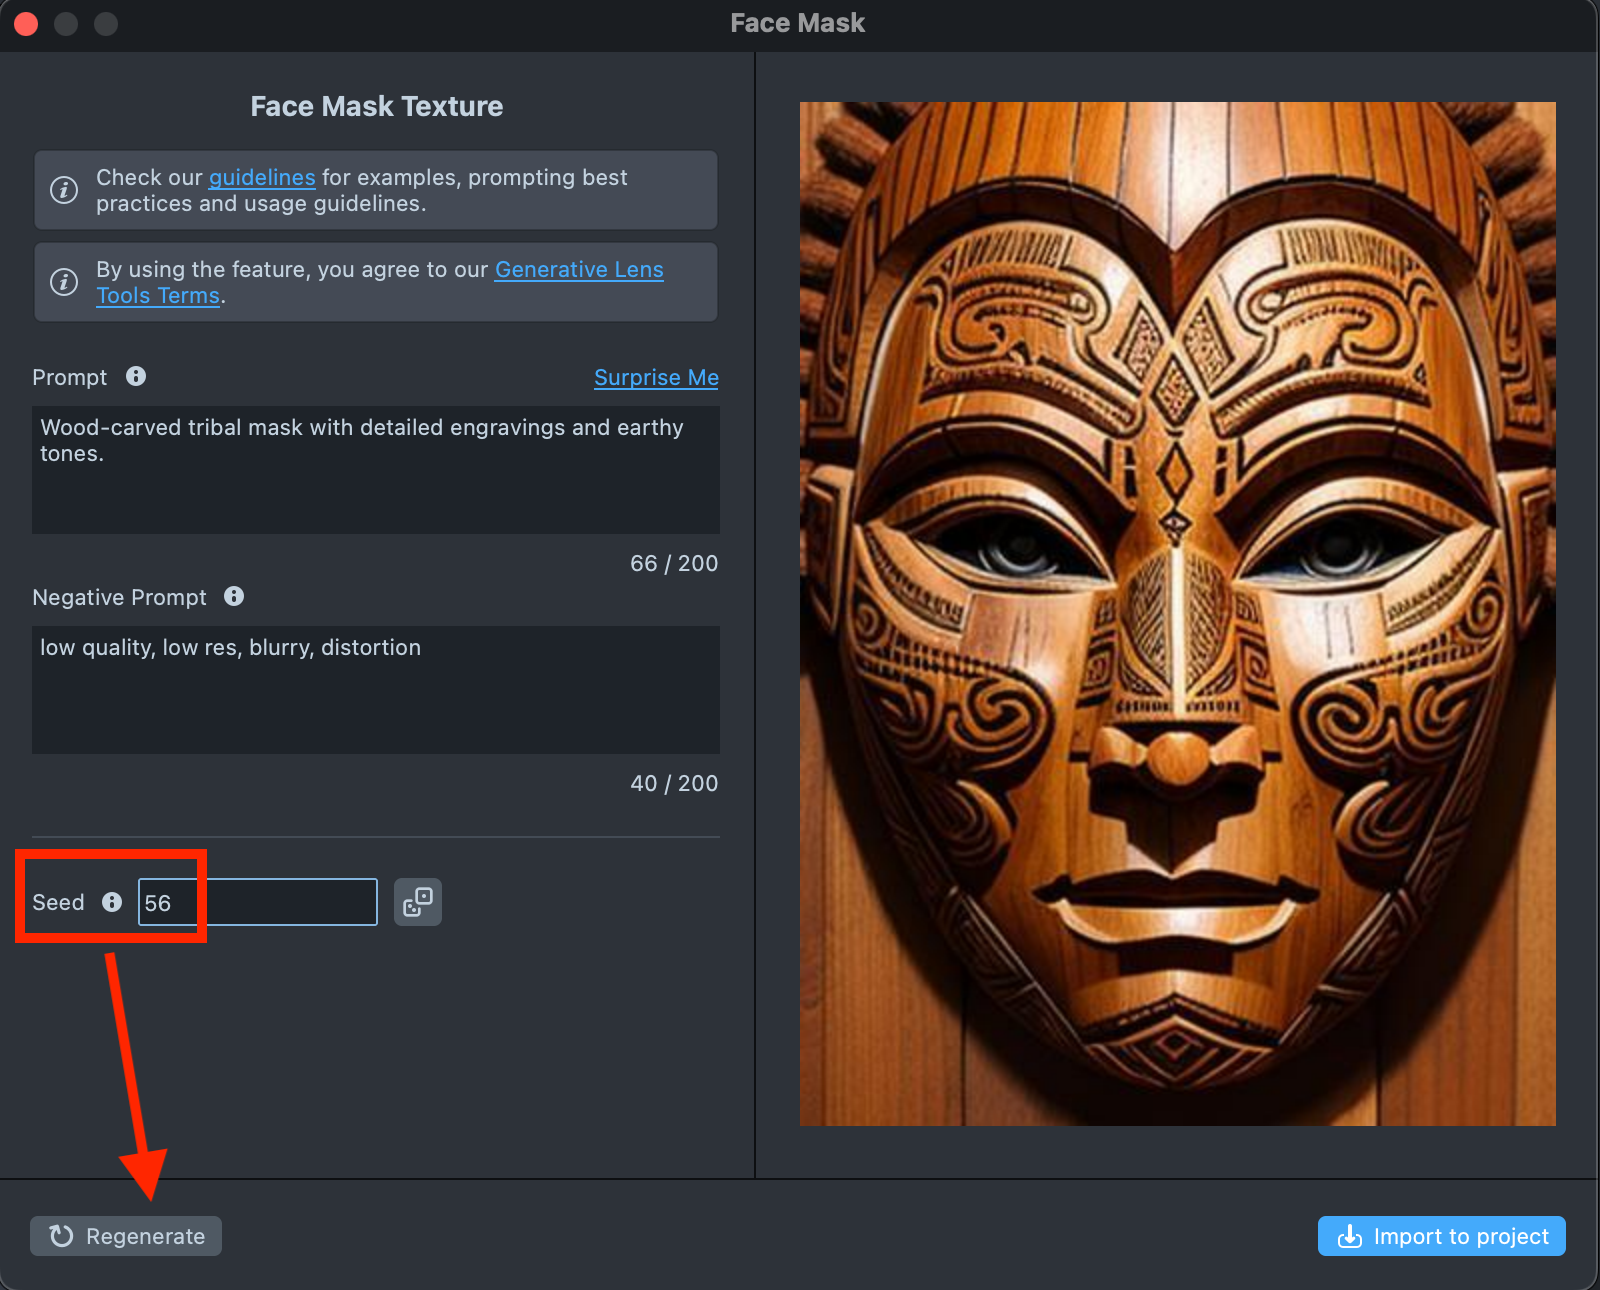
-
When you're happy with the result, select Import to project to continue building your Lens.
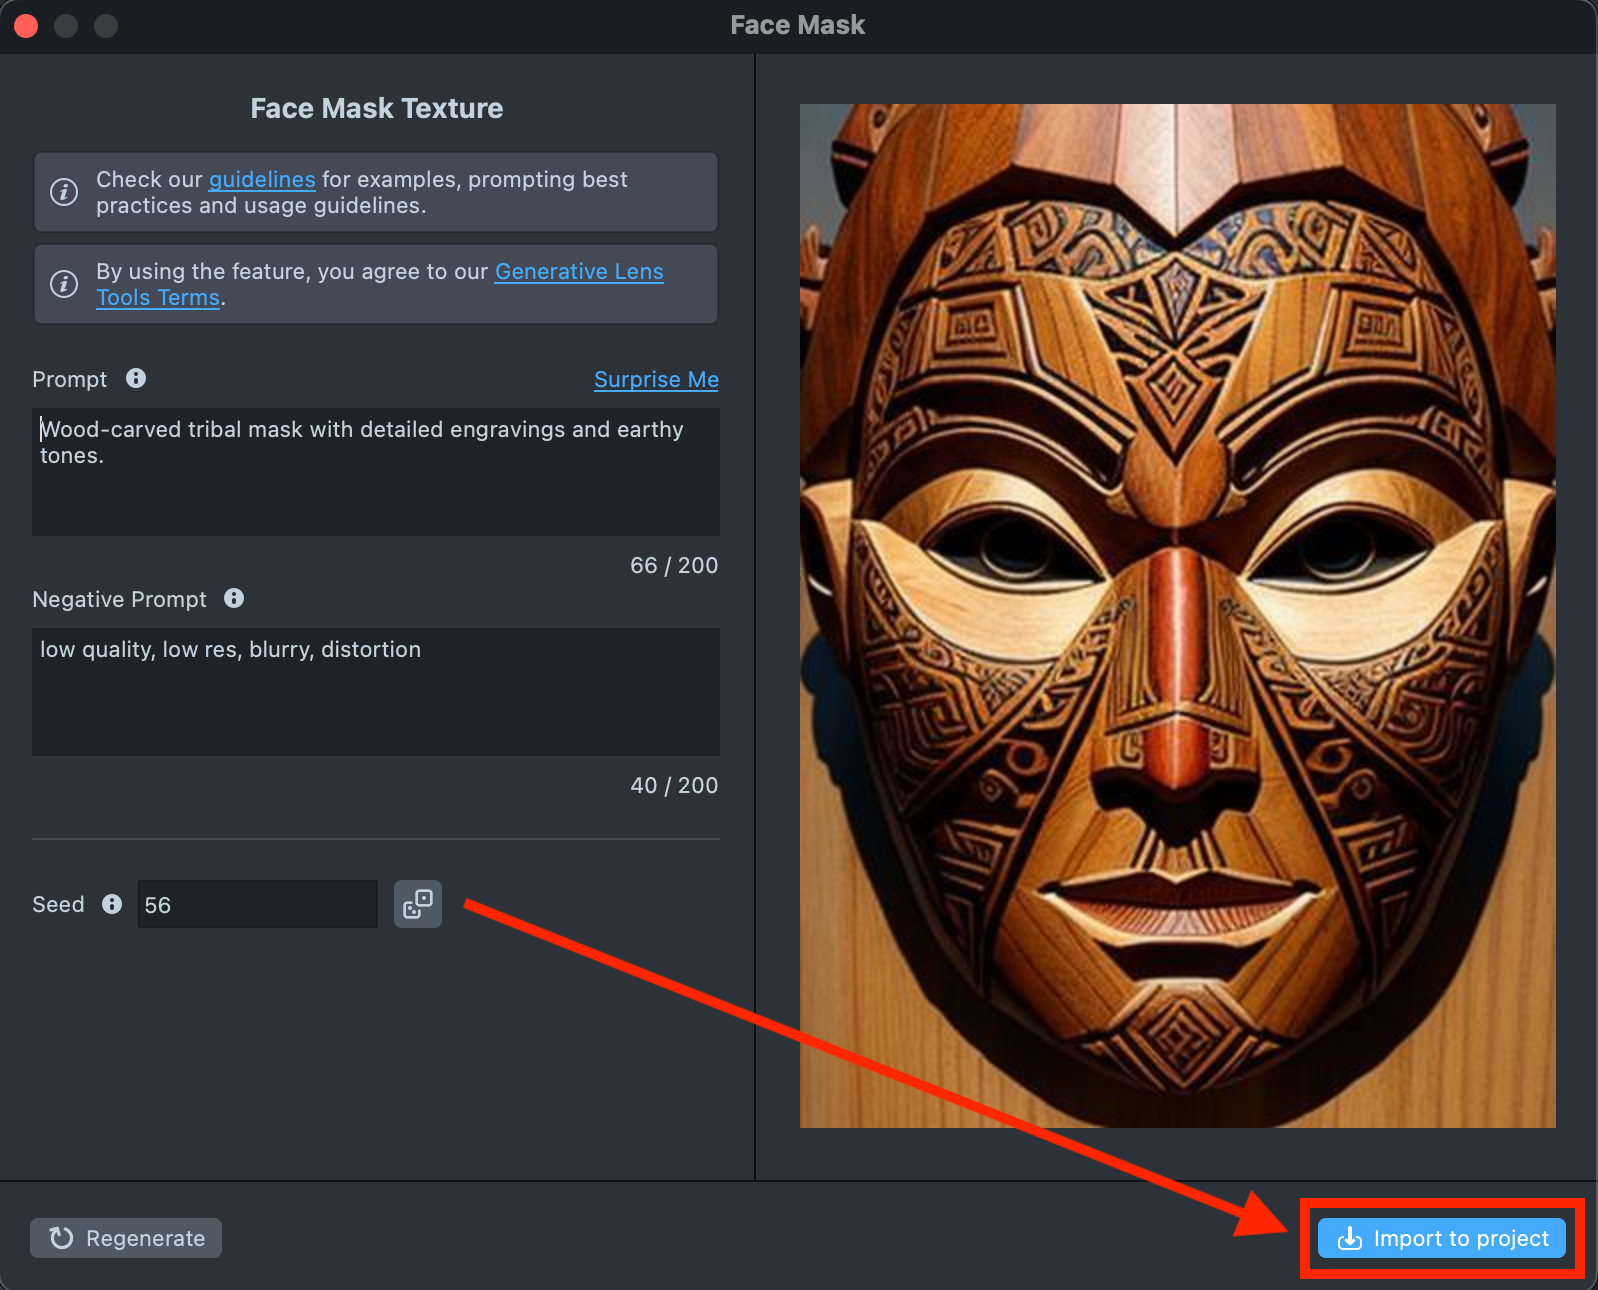
The import adds the generated texture to a Generated Face Masks folder in the Asset Browser, creates a Face Mask material, and adds a Face Mask component that uses it to a scene object. The Inspector shows the Face Mask component, and the Preview shows the mask on the face.
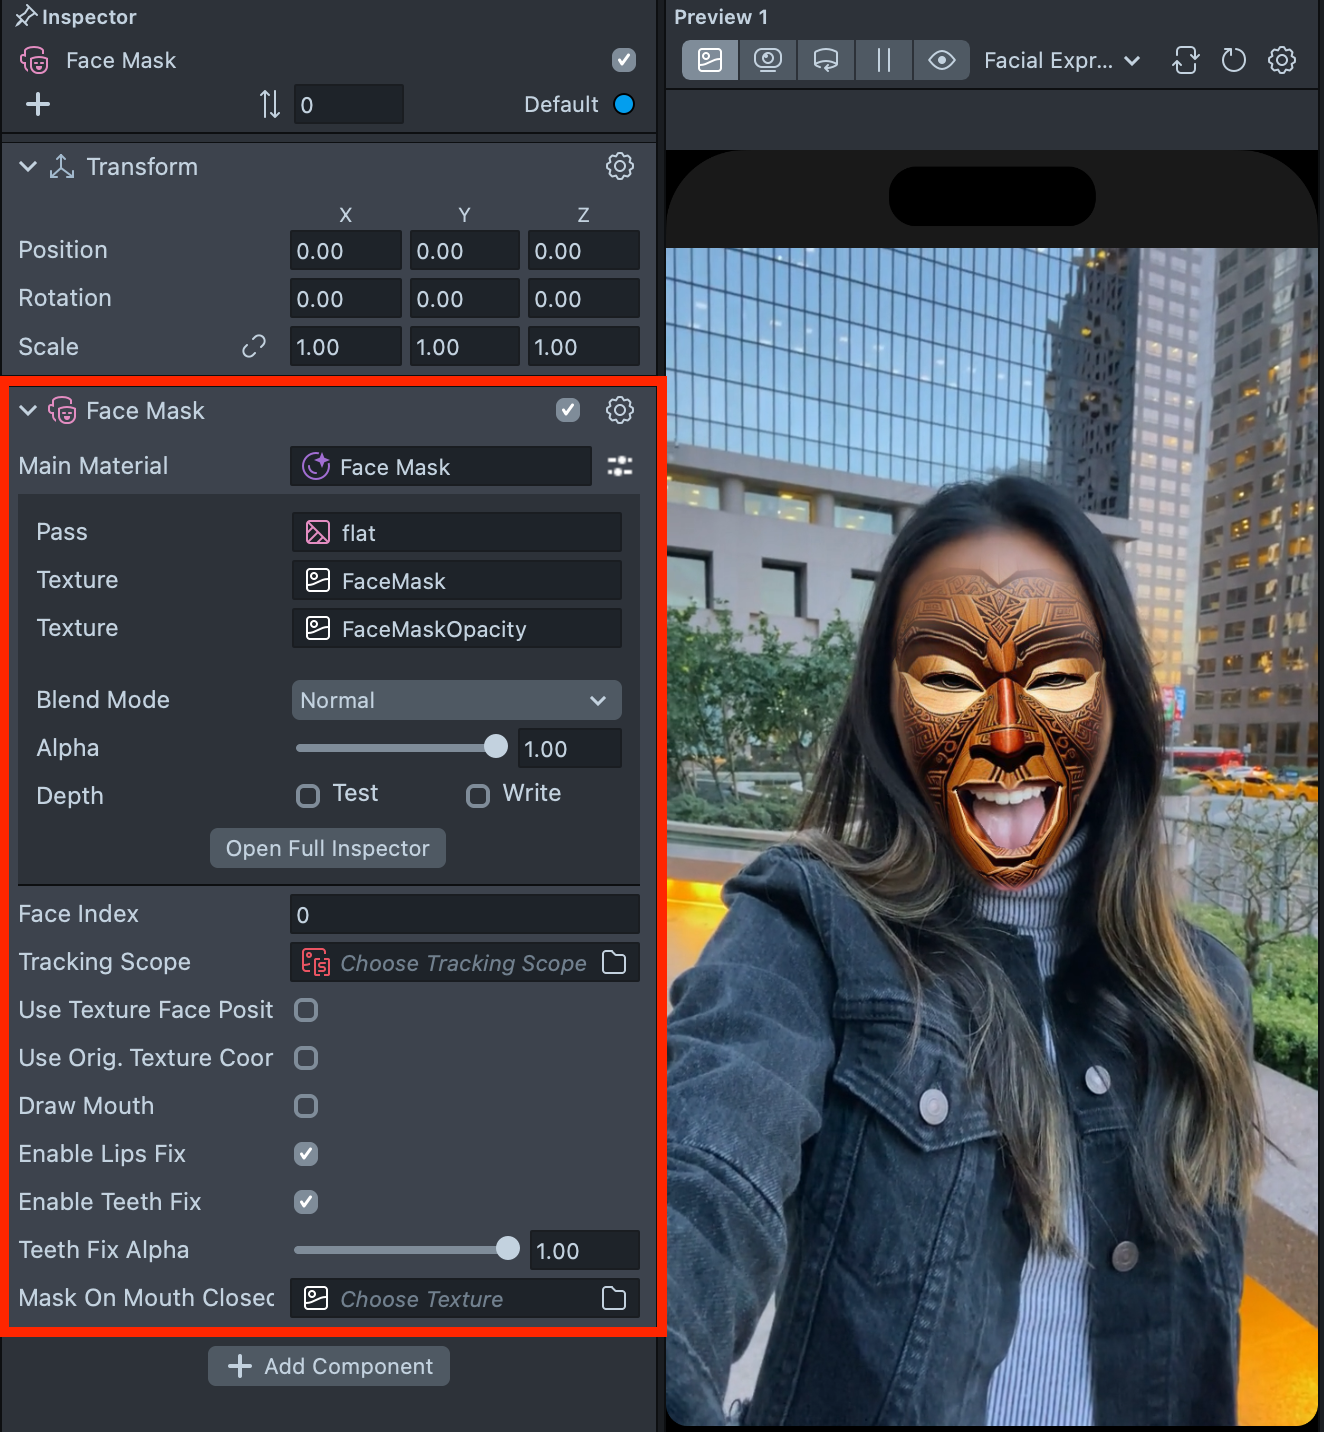
For an overview of the effect and the settings of the Face Mask component, see Face Mask.
Test and share your face mask Lens
When building for Snapchat, save your project and push the Lens to Snapchat to test it on a device; see Pairing to Snapchat. To learn how to share your creation, see Submitting Your Lens.