3D Capture
Turn a video of a real-world object into a Gaussian Splatting 3D asset with the 3D Capture tool in Lens Studio AI, then import it into your Lens.
- Snapchat: fully supported
- SPECS: fully supported
- Camera Kit Web: not supported
- Camera Kit Mobile: not supported
- SnapchatFully supported
- SPECSFully supported
- Camera Kit WebNot supported
- Camera Kit MobileNot supported
The 3D Capture tool turns a real-world object into a 3D asset for your Lens. You record a video of the object (about 30 seconds), upload it, and the tool reconstructs the object as a Gaussian splat. When you select Import to Project, Lens Studio downloads the splat and adds a scene object that renders it with a Gaussian Splatting visual, ready to use in an augmented reality (AR) Lens. Use it to bring real-world objects into your Lenses.
To learn how Lens Studio renders splats, see Gaussian Splatting.
Open the 3D Capture tool in Lens Studio AI
-
In the Lens Studio toolbar, select Lens Studio AI.

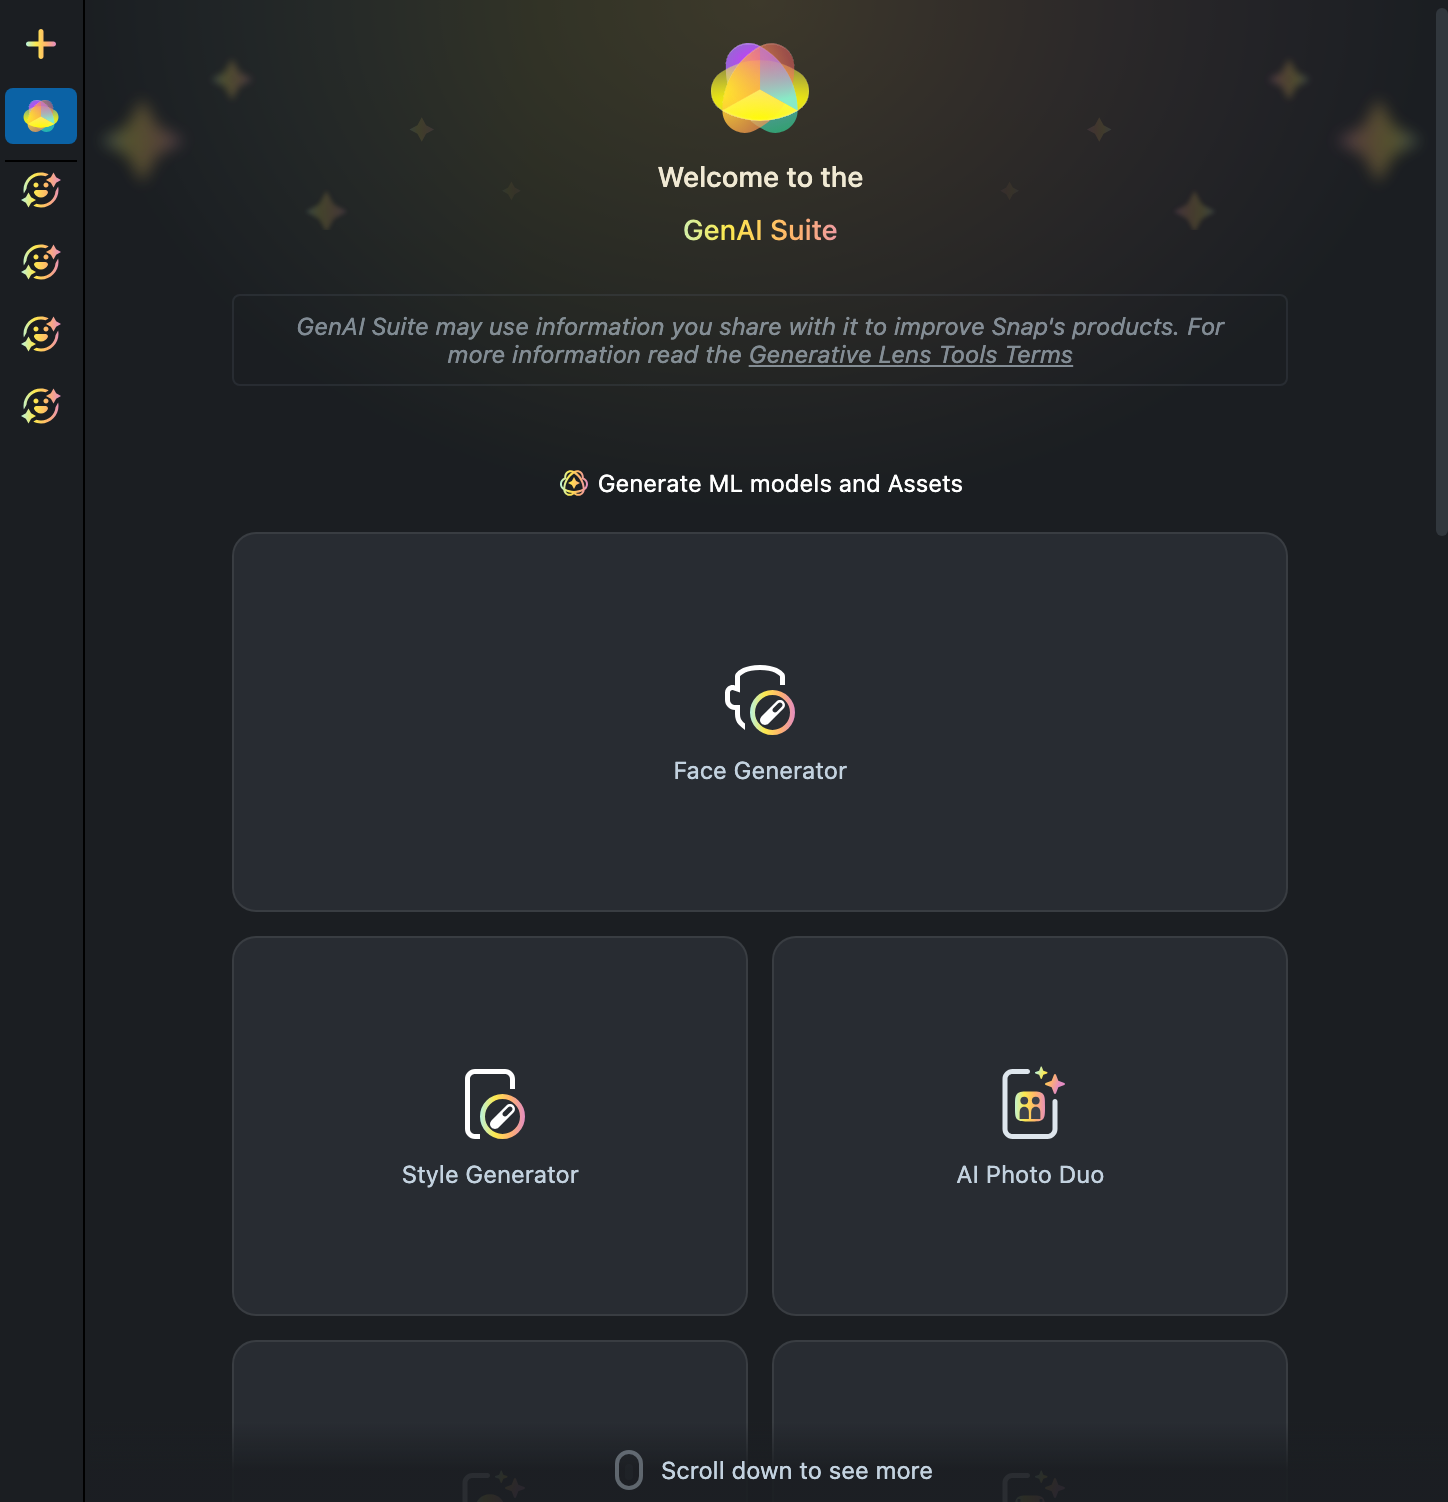
The Lens Studio AI panel opens on the GenAI Suite home, a grid of tool cards under Generate ML models and Assets.
-
Scroll the panel to the 3D Capture card, near the end of the grid, and select it.
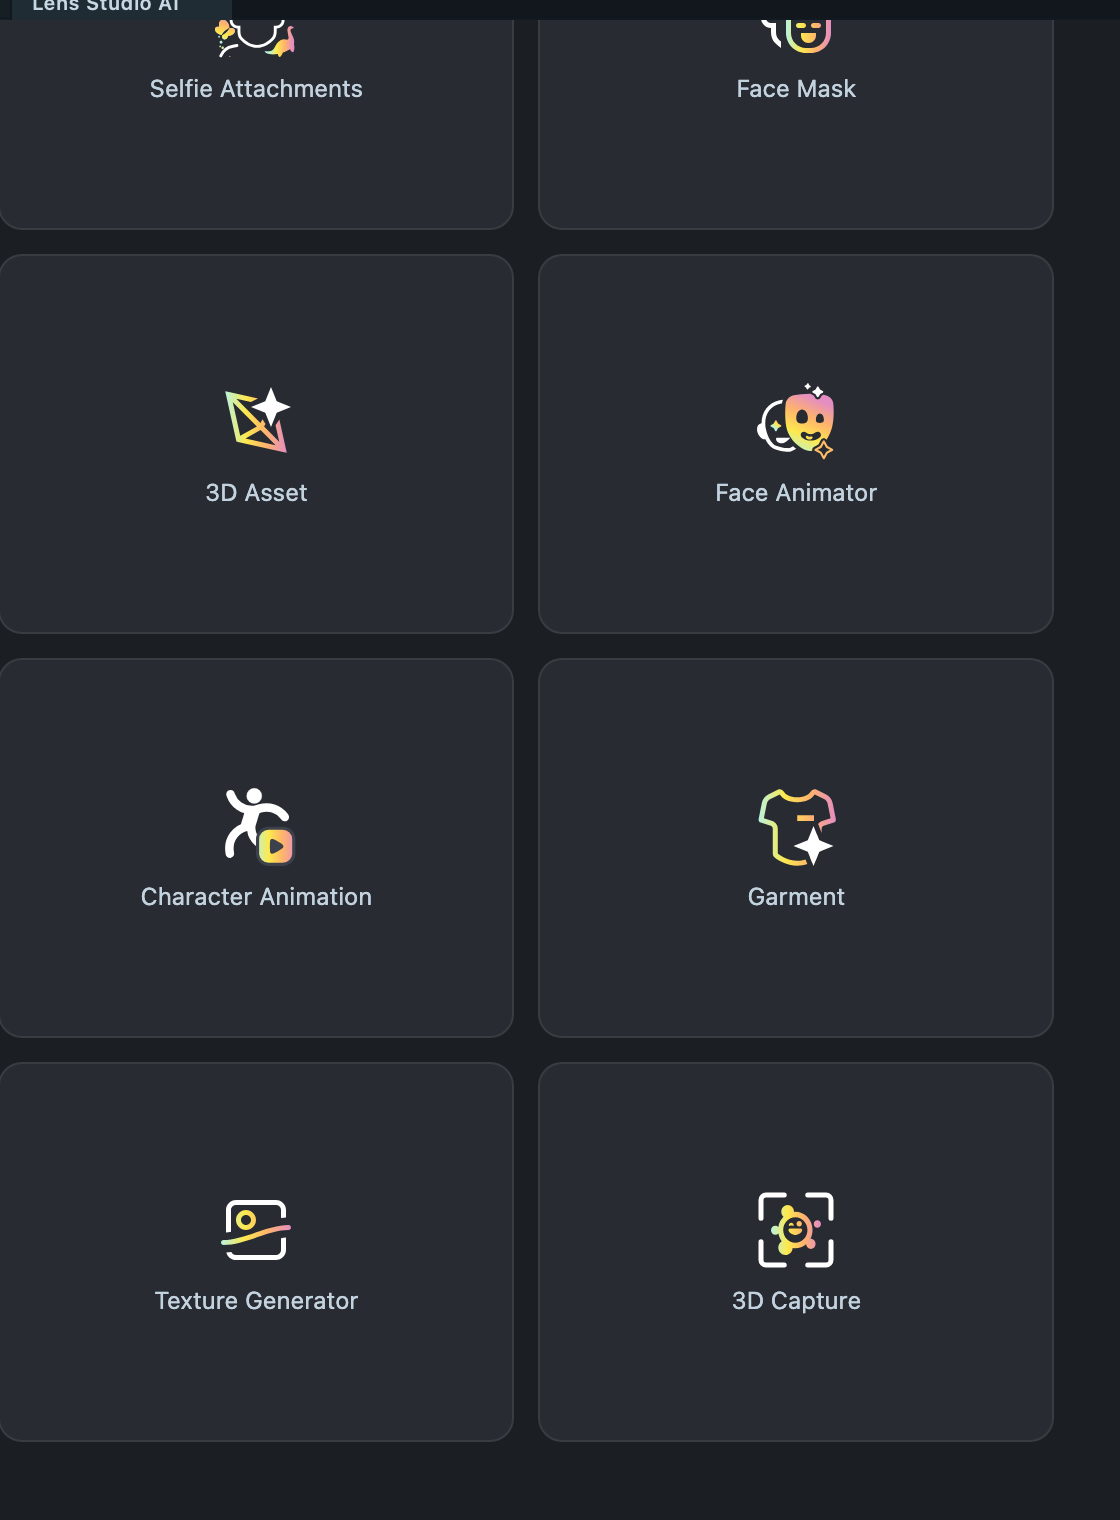
3D Capture is also an Asset Library plugin. If the 3D Capture card isn't in the grid, install the 3D Capture plugin from the Asset Library. Once installed, you can also open it from the Asset Browser.
Find your way around the 3D Capture tool
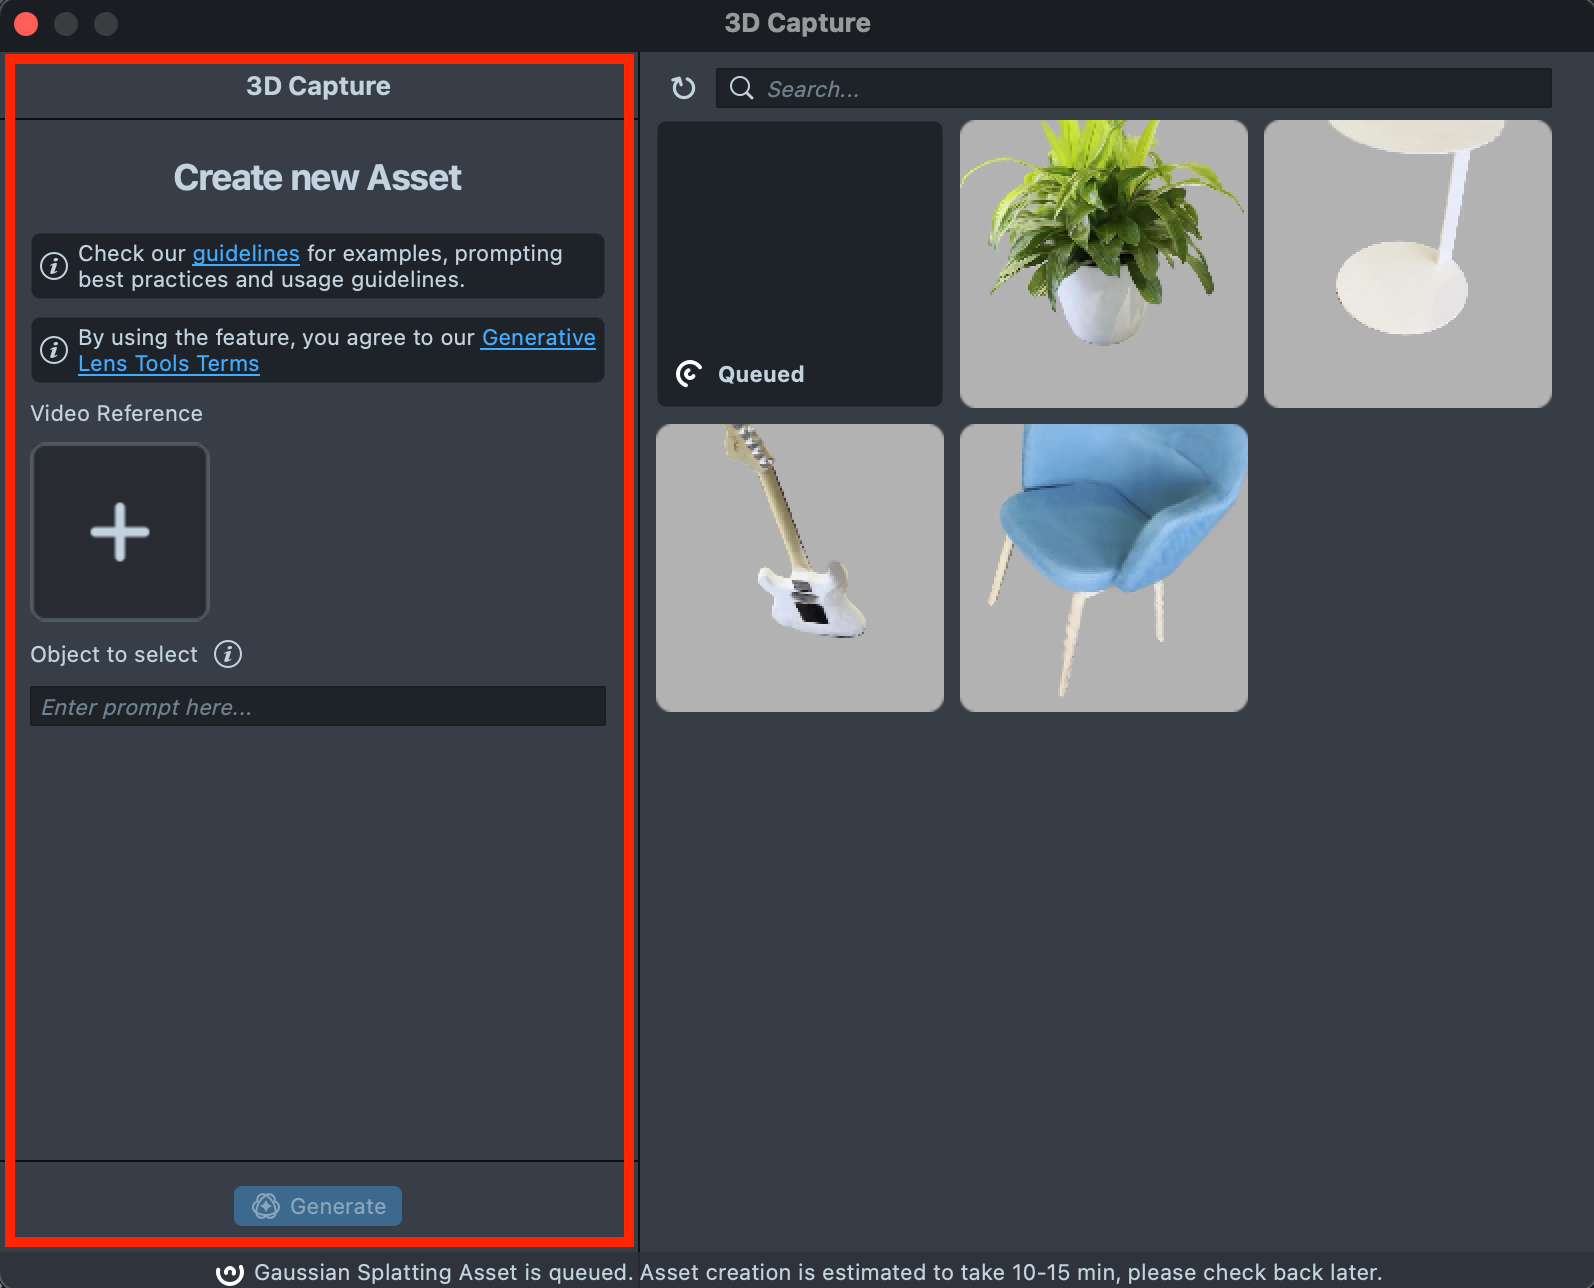
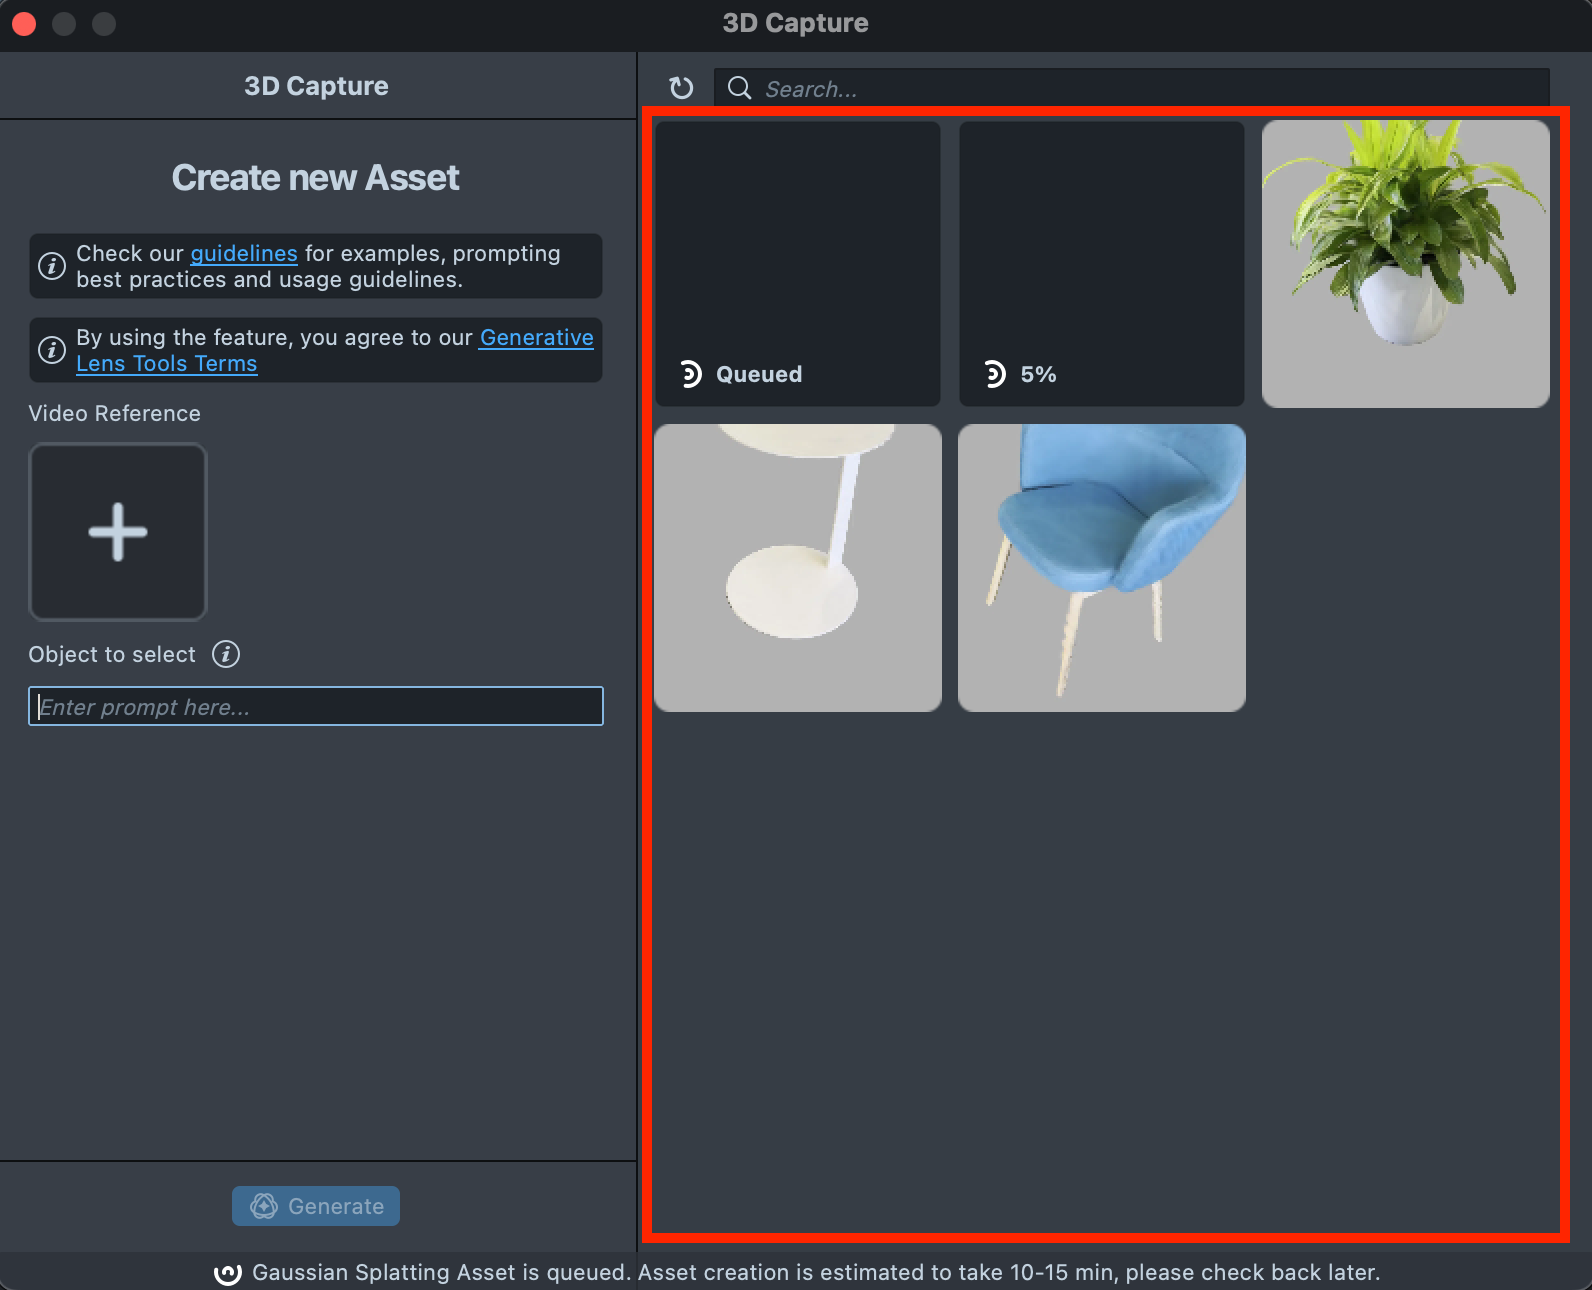
The 3D Capture tool has three areas:
-
Create new Asset: the toolbar where you upload a video and generate a 3D asset from it.
-
Gallery: every asset you created, with its status.
-
Search: a search field for finding an asset among the ones you created.

Create a 3D asset from a video with 3D Capture
Record and upload the video
-
Record a video of the object you want to reconstruct, about 30 seconds long. Follow the best practices for recording a 3D Capture video.
-
In Create new Asset, upload the video. The tool accepts
.webm,.mov,.mp4,.3gp,.hevc, and.mkvfiles.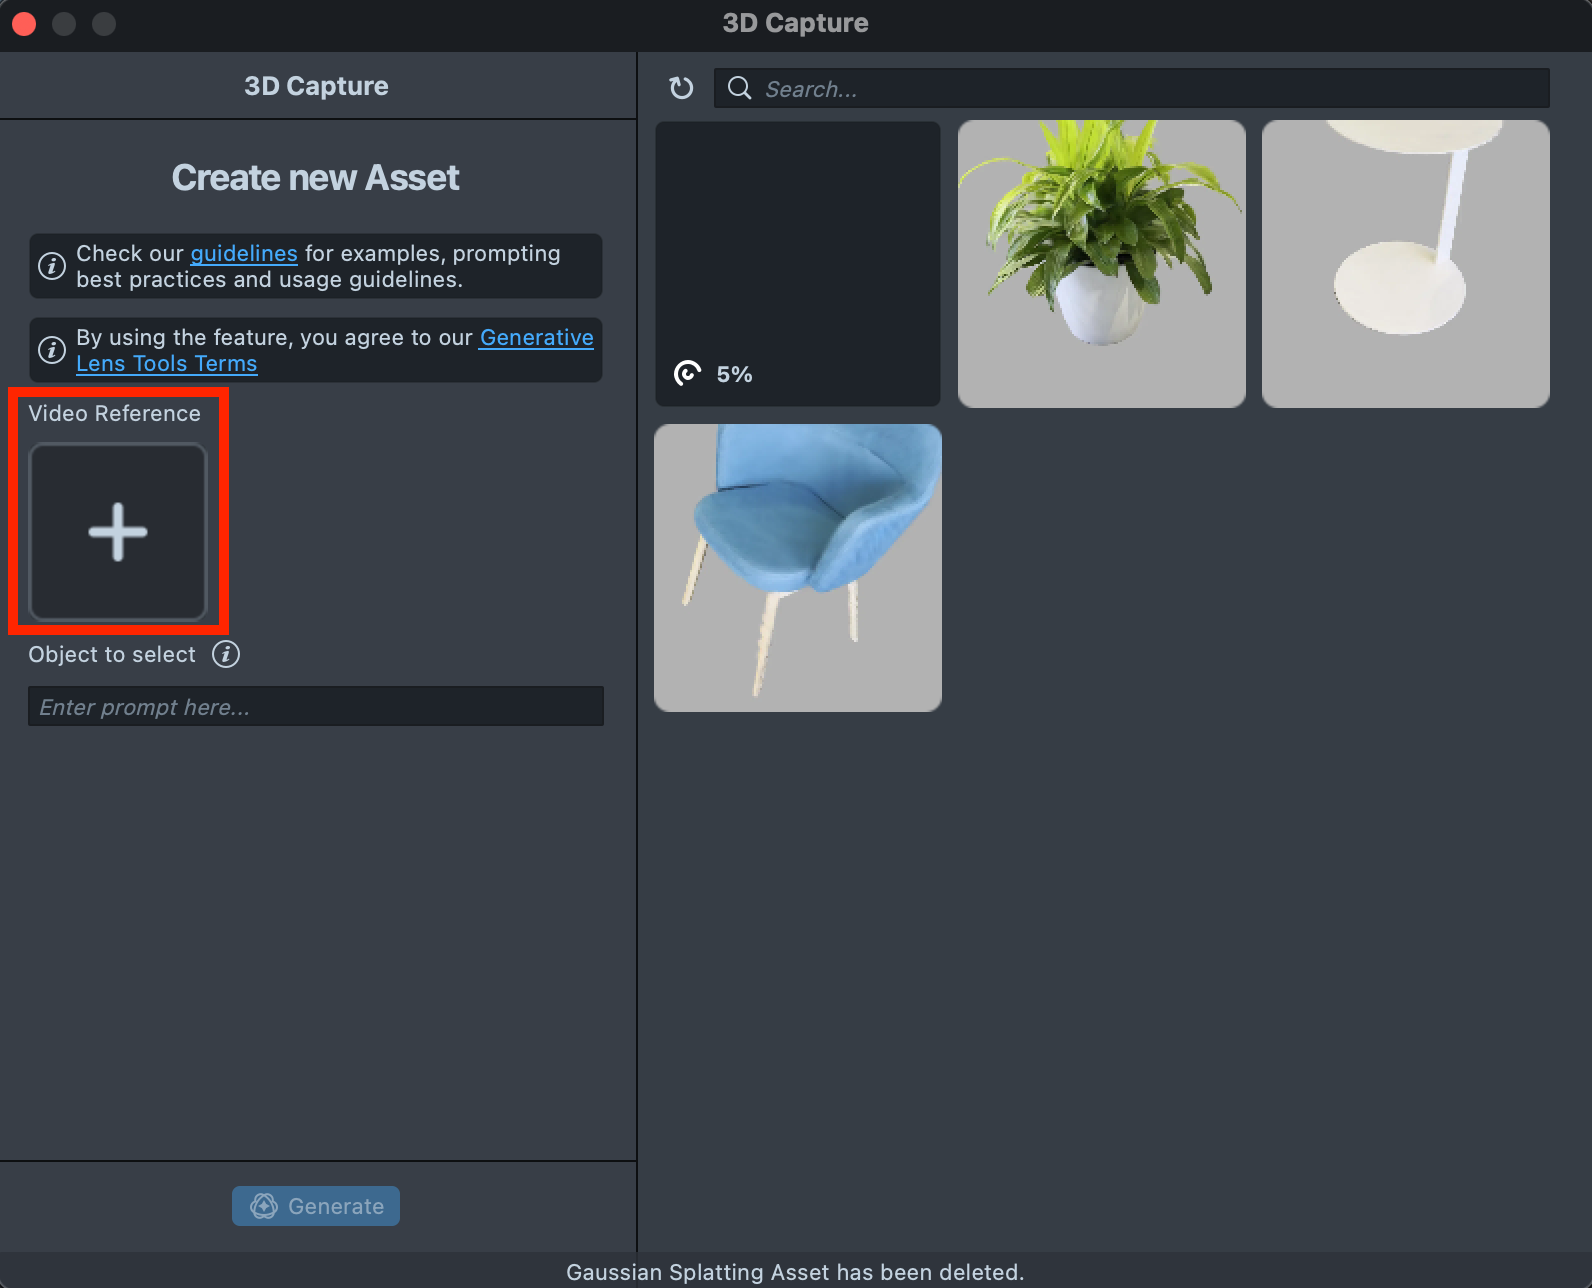
Select the object in the video
-
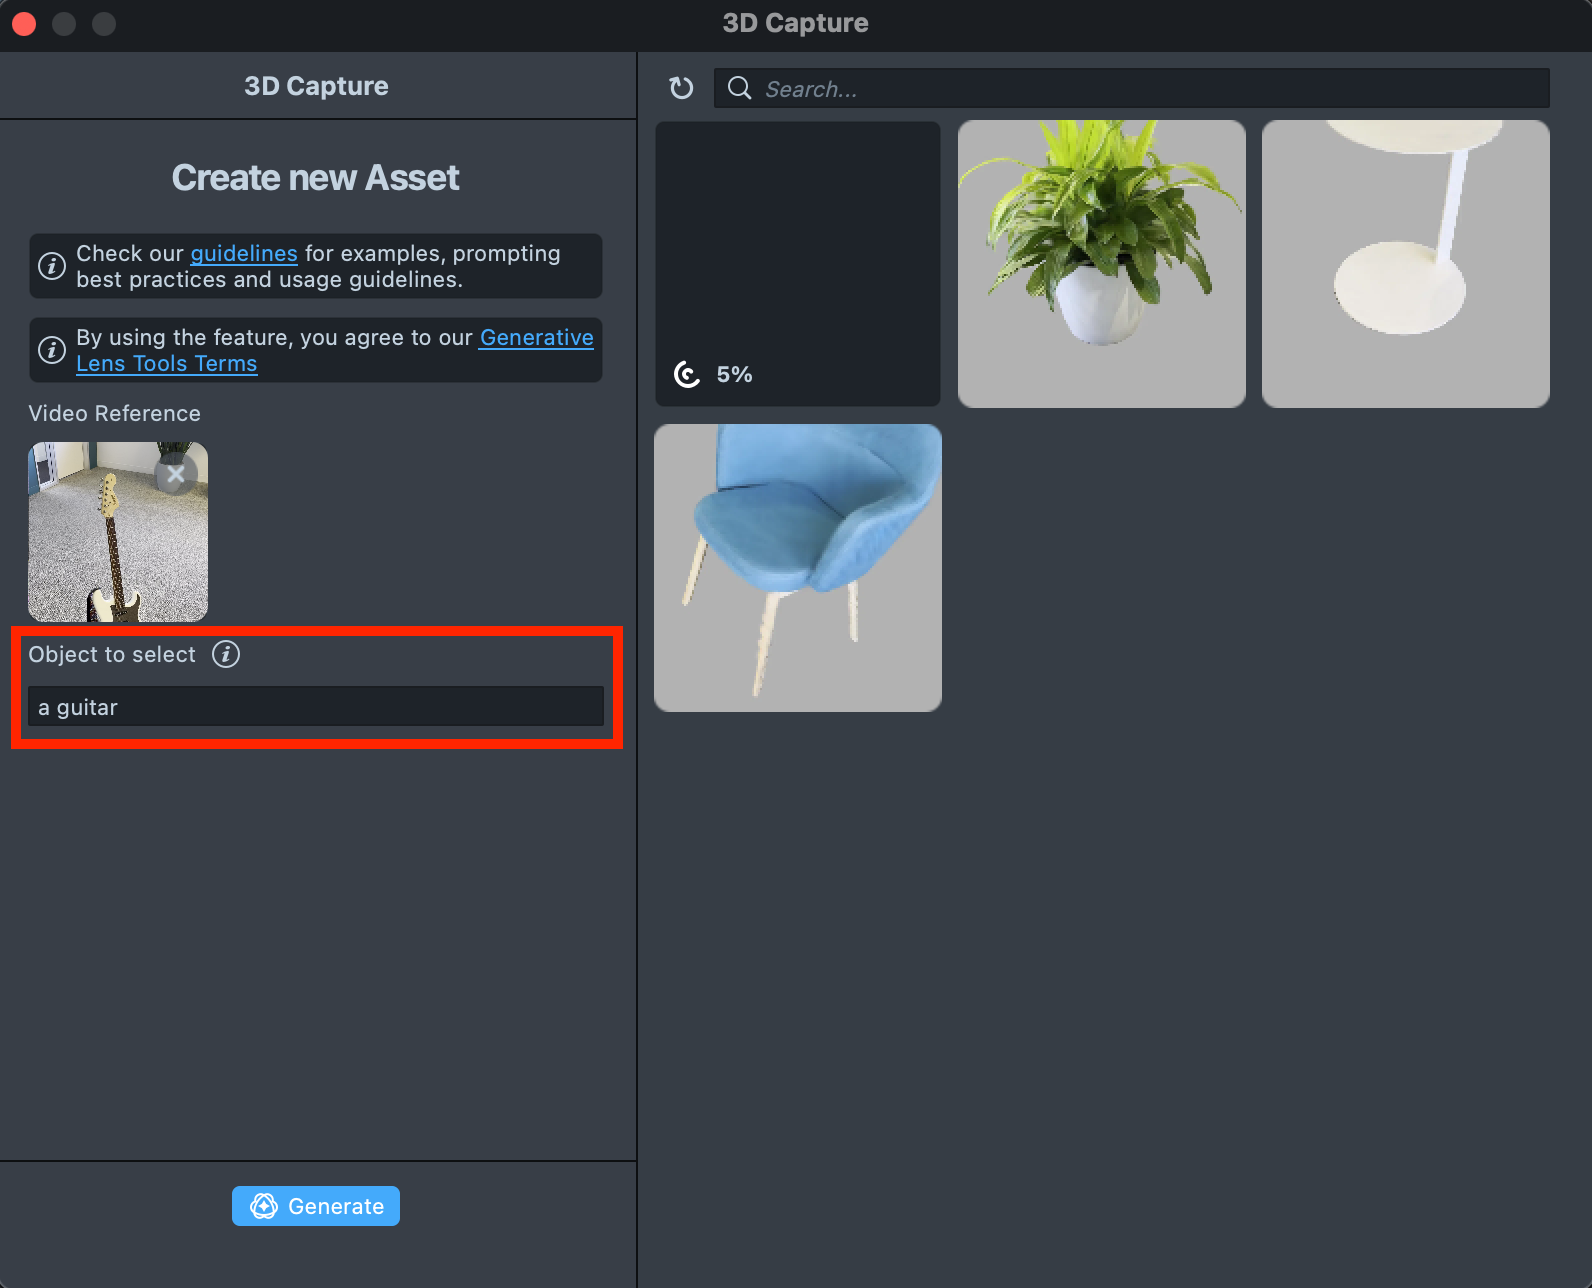
In Object to select, describe the object you want to reconstruct, then select Generate Capture. The description helps the tool identify the object in the video.
-
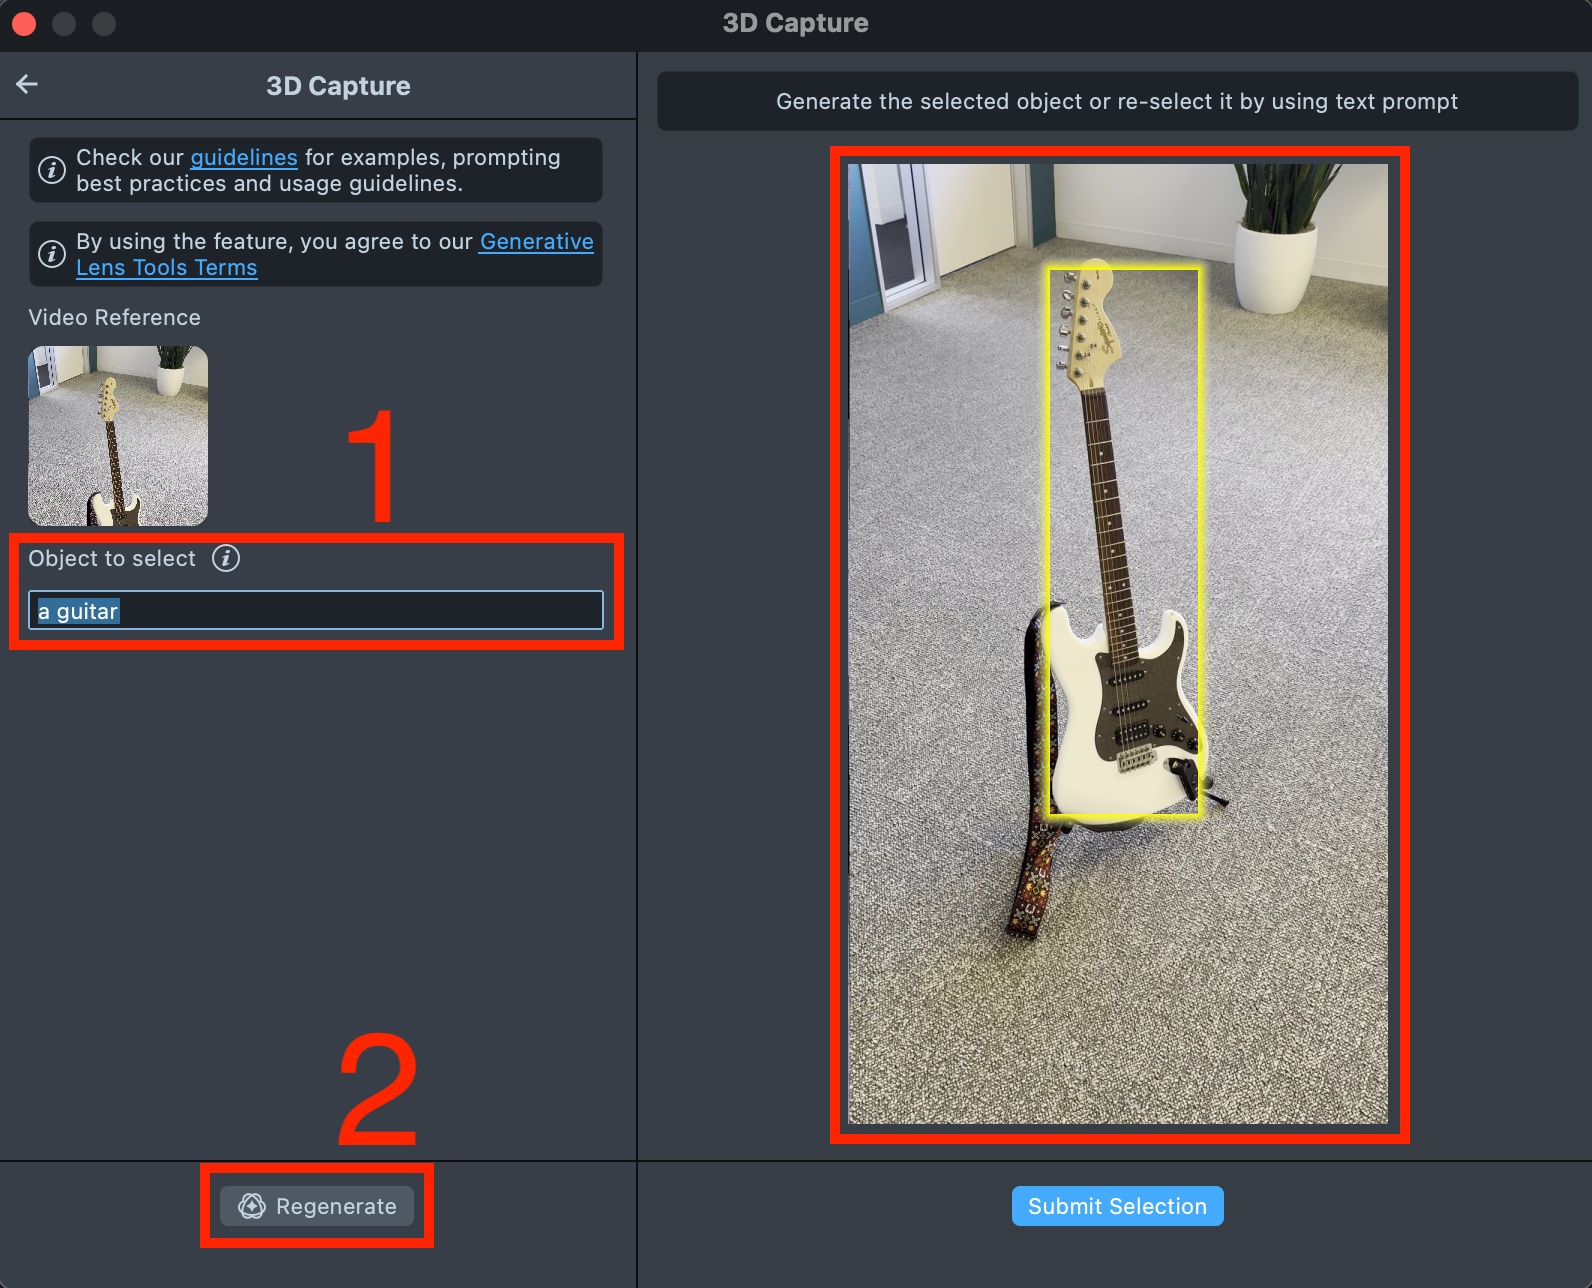
Review the video preview. A yellow bounding box highlights the object the tool found from your description. If it highlights the wrong object, change the description in Object to select and select Regenerate.
Generate the 3D asset
-
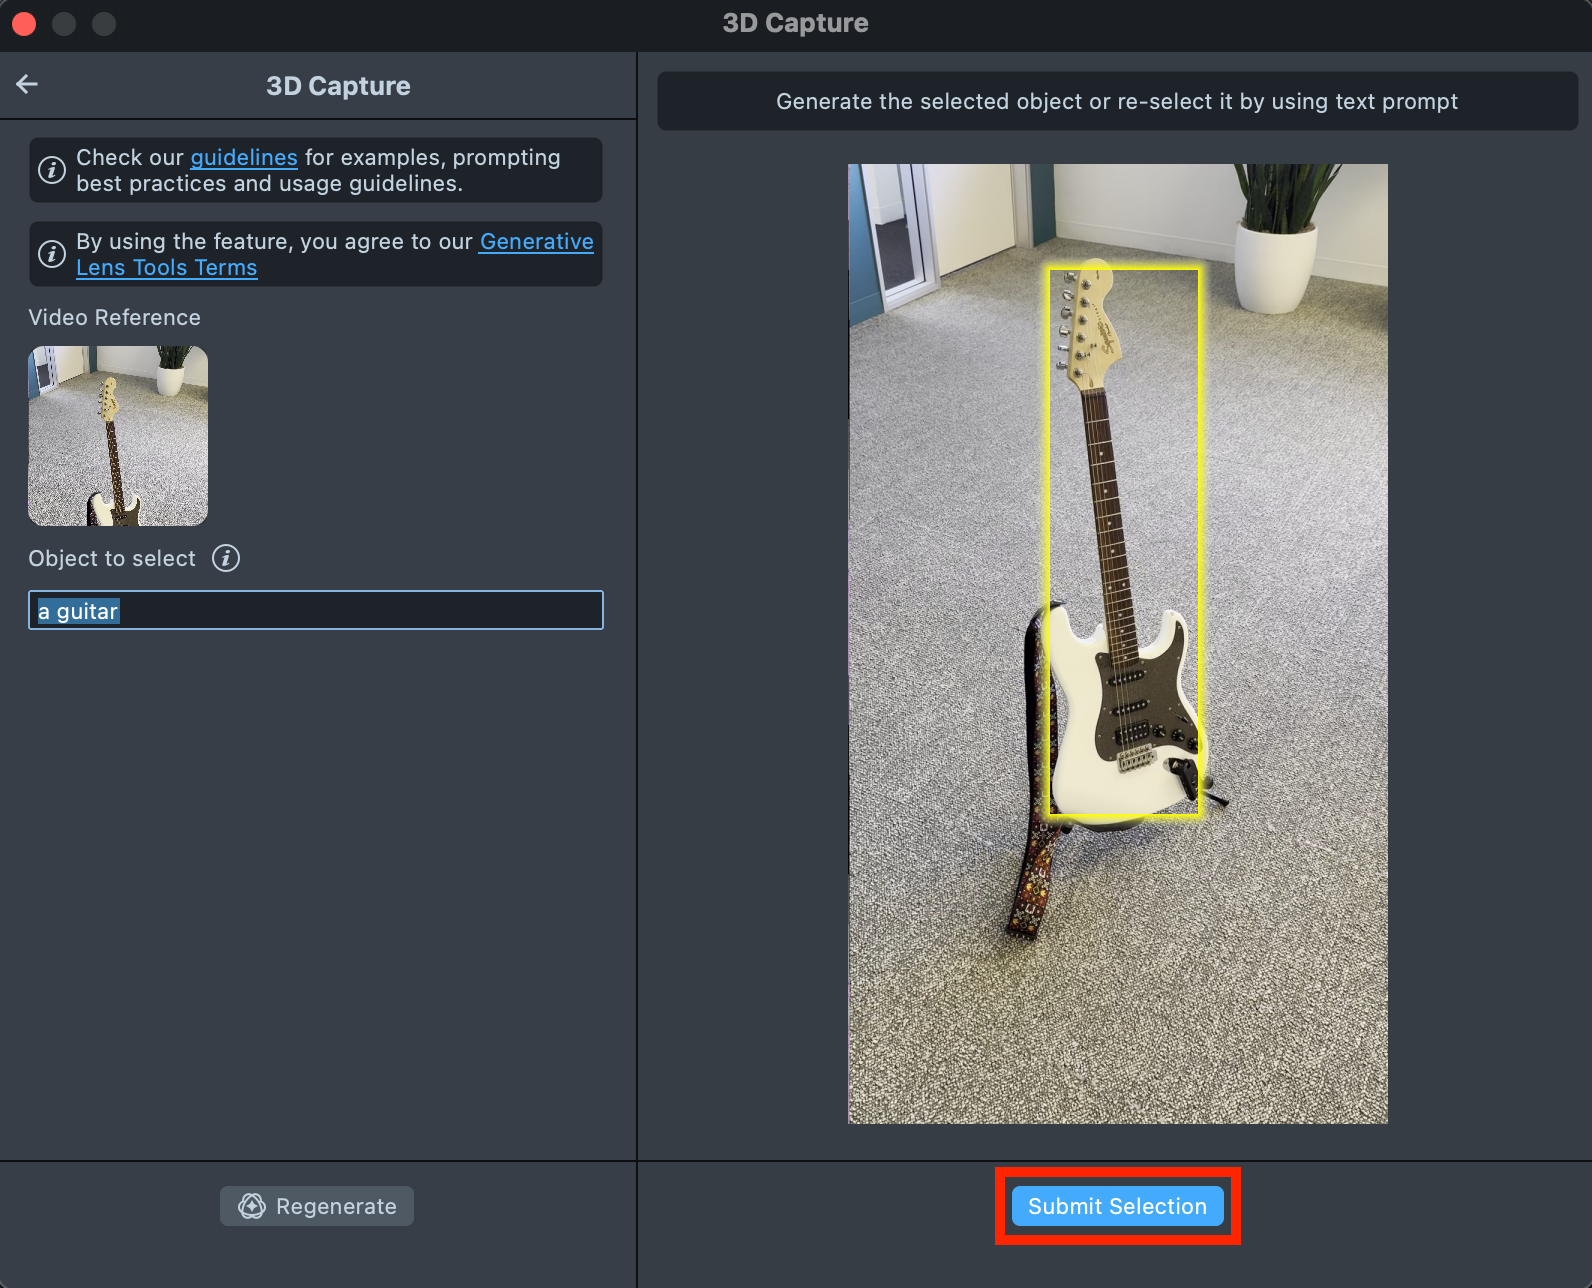
When the bounding box surrounds the right object, select Submit Selection.
-
Follow progress in the status bar. Generation takes about 10–15 minutes.

-
When generation finishes and the asset is ready, preview the asset in the tool.
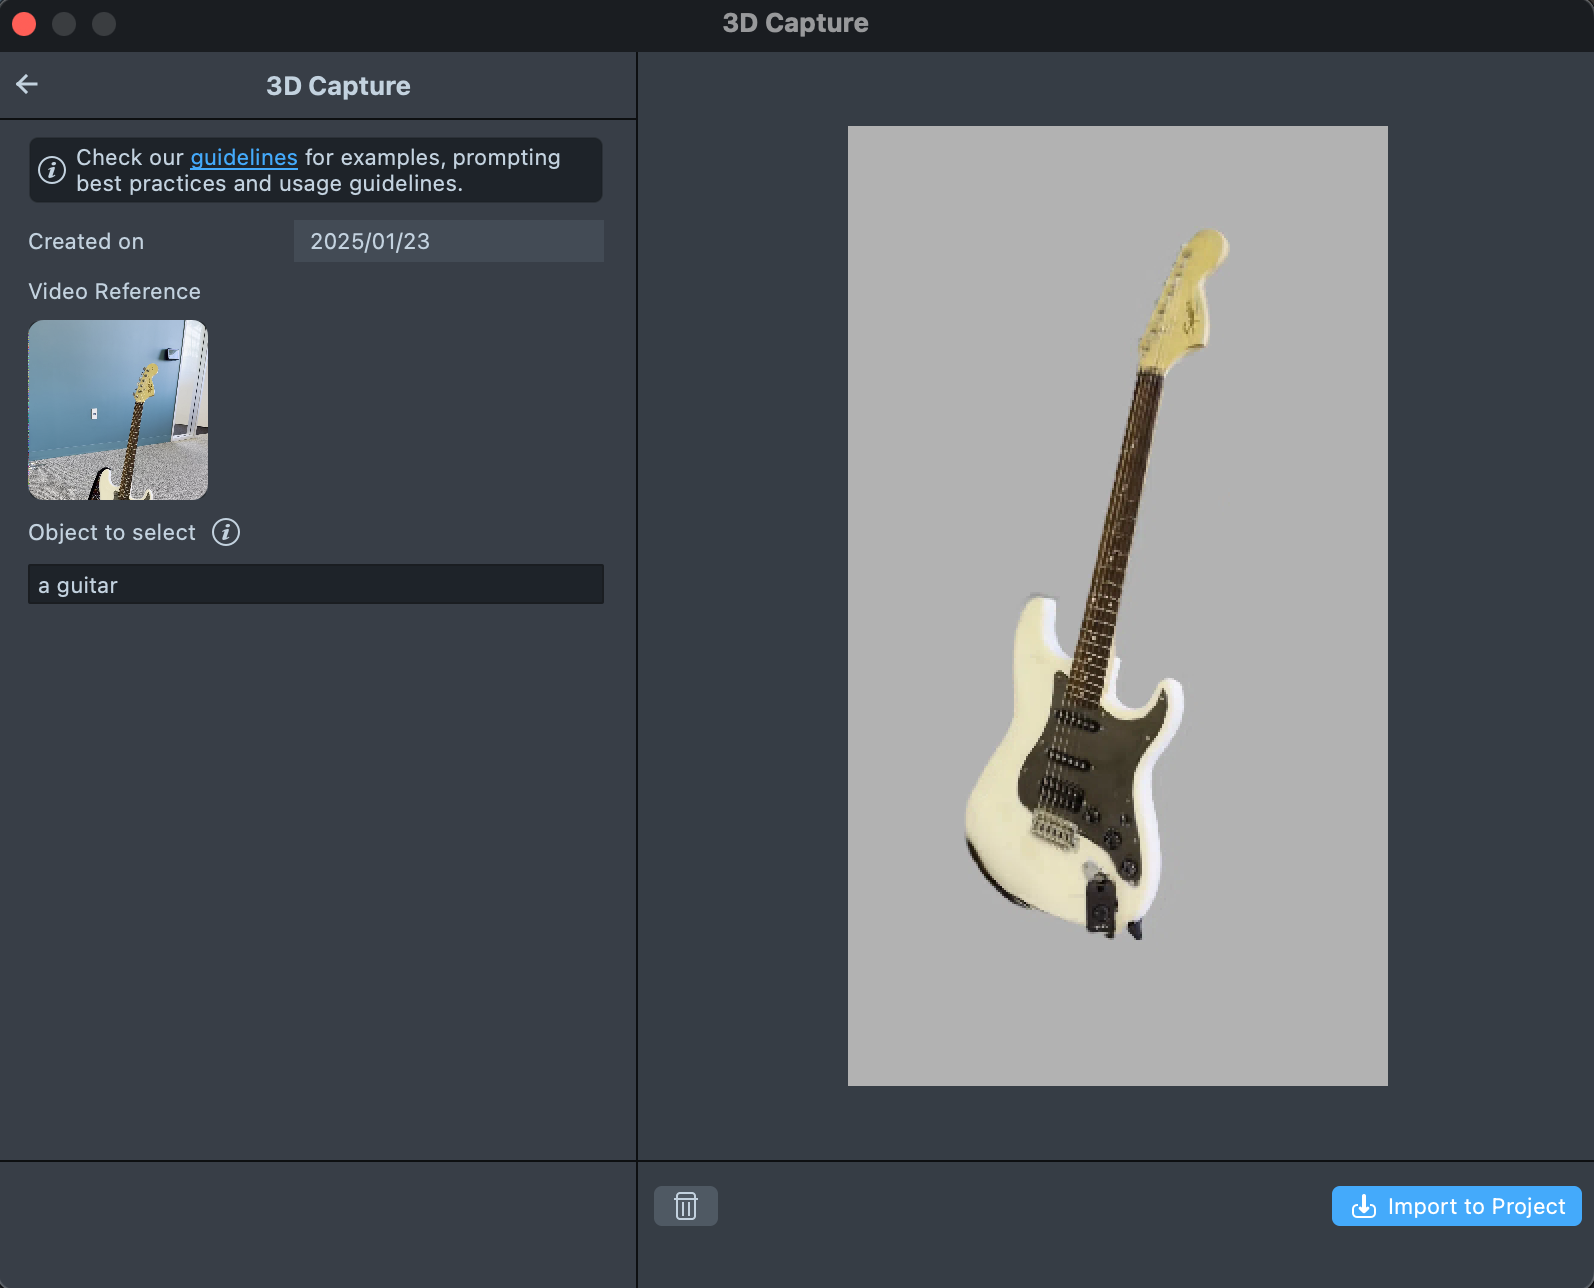
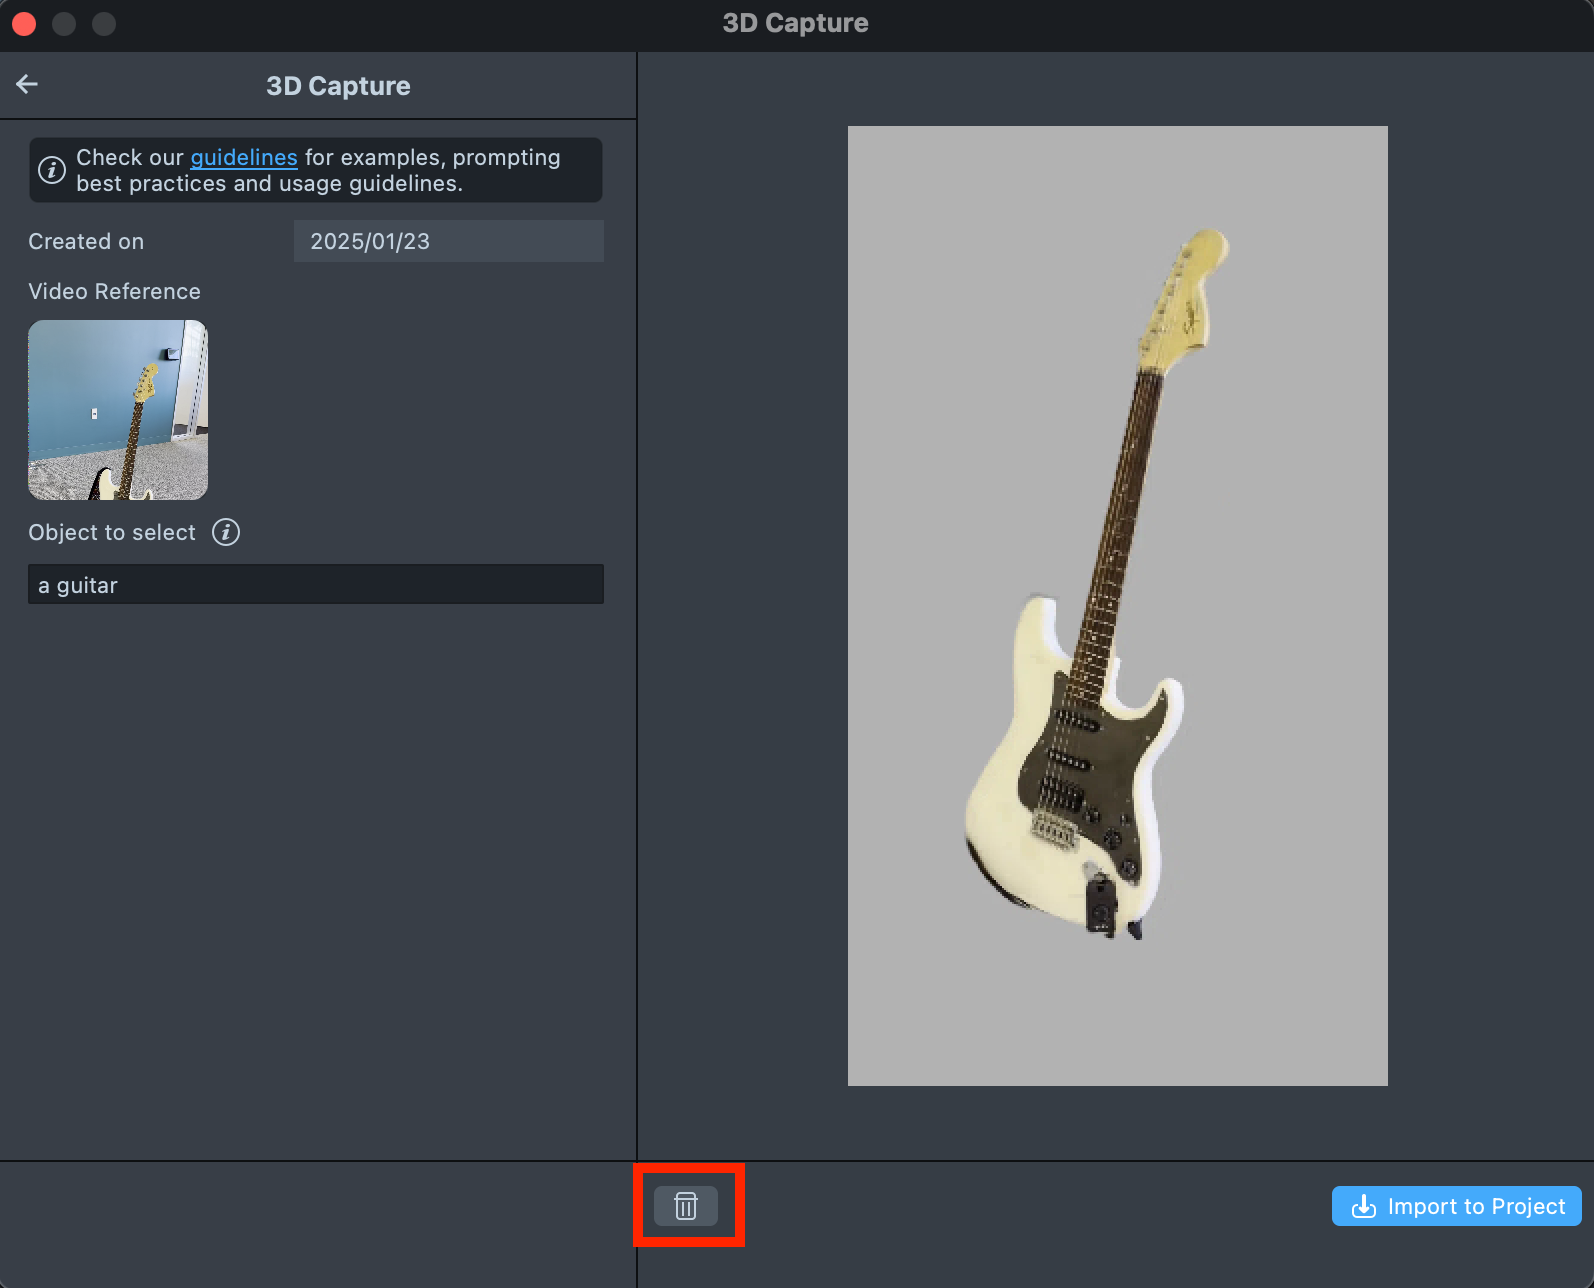
Delete a 3D Capture asset
To remove an asset you no longer need, open it and select Delete.
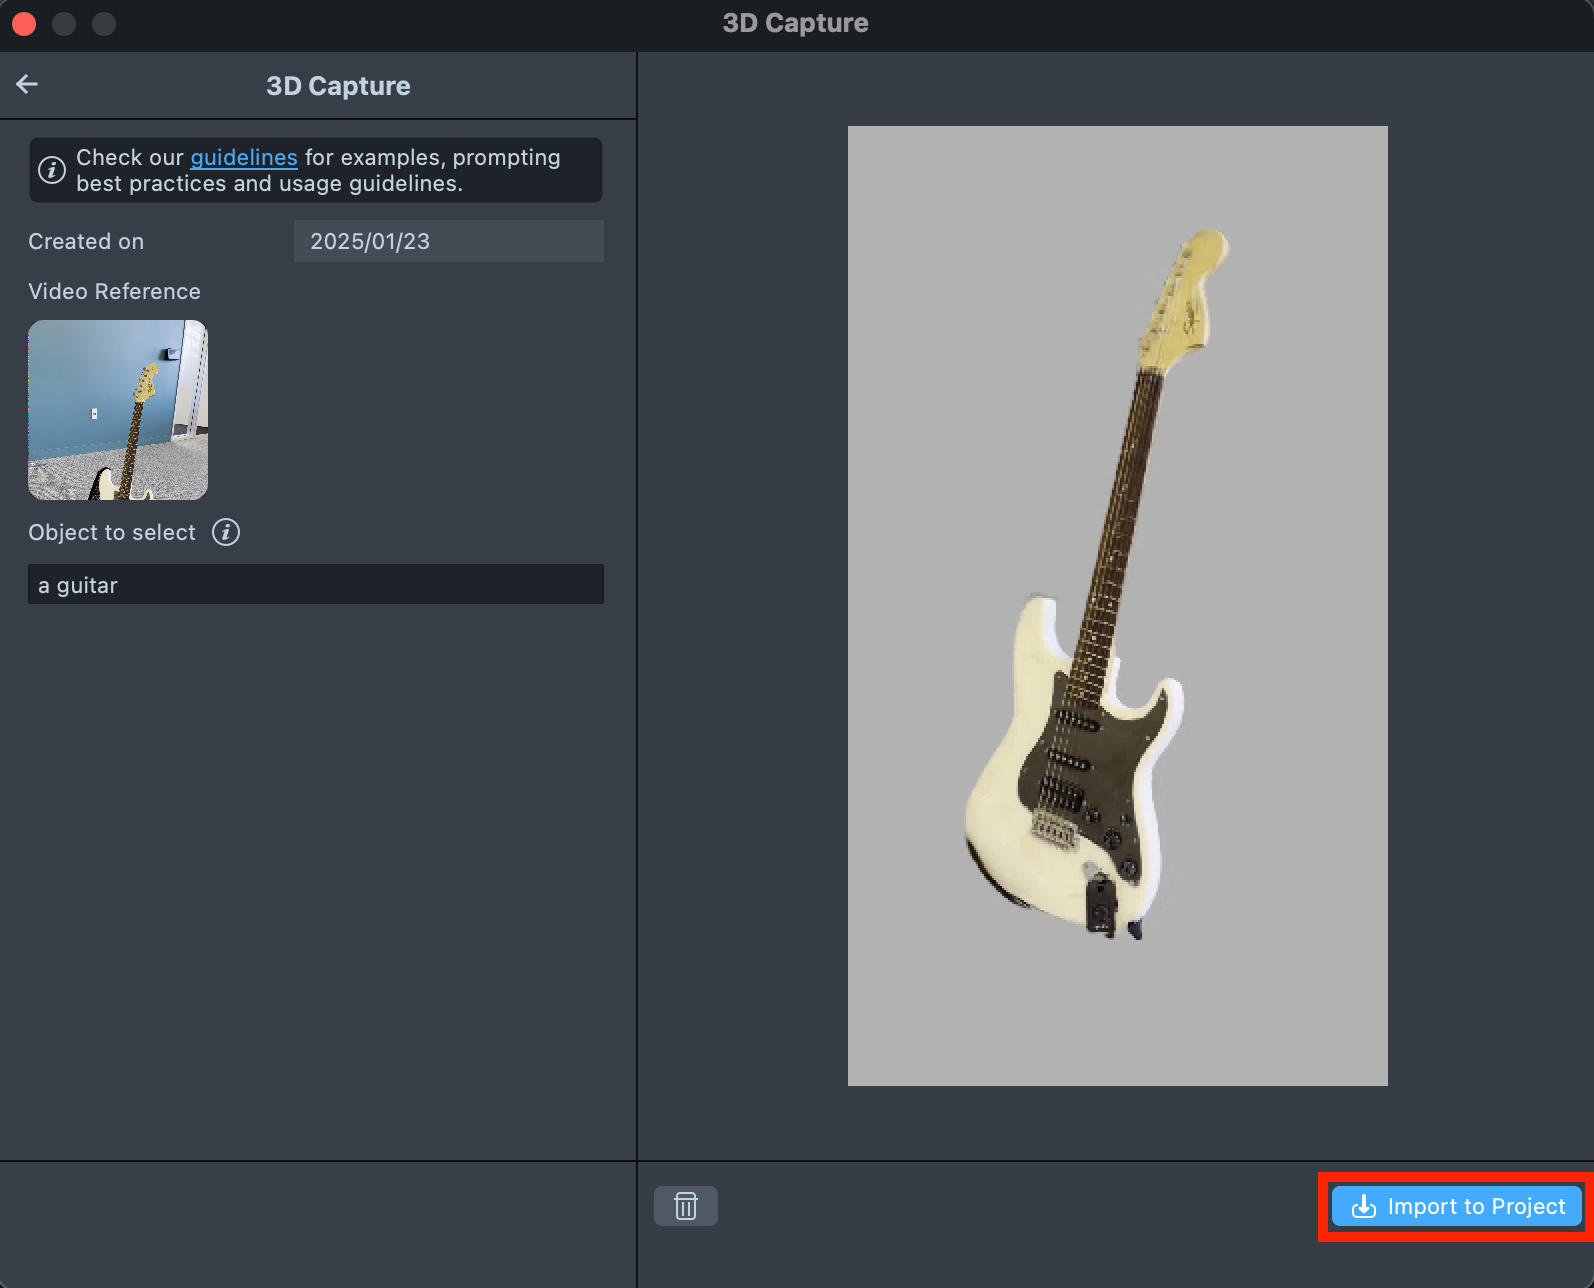
Import a 3D Capture asset into your Lens
Select Import to Project to start building a Lens with your 3D asset. Lens Studio downloads the splat and adds a scene object with a Gaussian Splatting visual to your scene.
Best practices for recording a 3D Capture video
The quality of a 3D Capture asset depends on the video you upload. As a guide, a typical video is 20–50 seconds long and around 40 MB.
What to do when recording
- Capture the object from all possible angles.
- Keep enough distance from the object to include some of the background.
- Make sure the surroundings are well lit.
- Use a textured background, not a plain one such as a white wall.
What to avoid when recording
- Shaking the camera. It lowers the quality of the whole reconstruction.
- Moving too close to the object. The tool can fail to produce a splat of the object.
- Moving the camera so that the object leaves the frame.
Examples of good 3D Capture videos
Examples of bad 3D Capture videos
The capture is textureless. The tool can fail to estimate the camera positions, and the splat training fails.
The camera is too close to the object. The tool can fail to produce a splat of the object, or the splat is poor.
The camera is shaking. The quality of the whole reconstruction drops.
Only part of the object is in the video. The asset looks poor from the sides you didn't record, such as the back.