Connect Your Agent to Lens Studio
Start the Lens Studio MCP server and connect Claude Code, Codex, Cursor, VS Code, or another coding agent to the project you have open in Lens Studio.
Lens Studio has a built-in MCP (Model Context Protocol) server that lets an AI coding assistant work in the project you have open: read and change the scene and assets, write and compile scripts, drive the Preview, and read the Logger. Each Lens Studio window runs its own server, on your computer only, protected by a token.
Before you start
- Lens Studio 5.25 or later (download Lens Studio), with your project saved to a folder you can find. Lens Studio writes the connection files into that folder.
- An AI coding assistant: Claude Code, Codex, Cursor, or VS Code.
Do the steps in this order. Lens Studio has to be running, with the project open, before the assistant starts, so the assistant finds the server.
Create a SPECS project for CLAD
When building for SPECS, give CLAD a SPECS project to work in:
-
Open Lens Studio.
-
On the Home screen, set I'm Building For to SPECS.

-
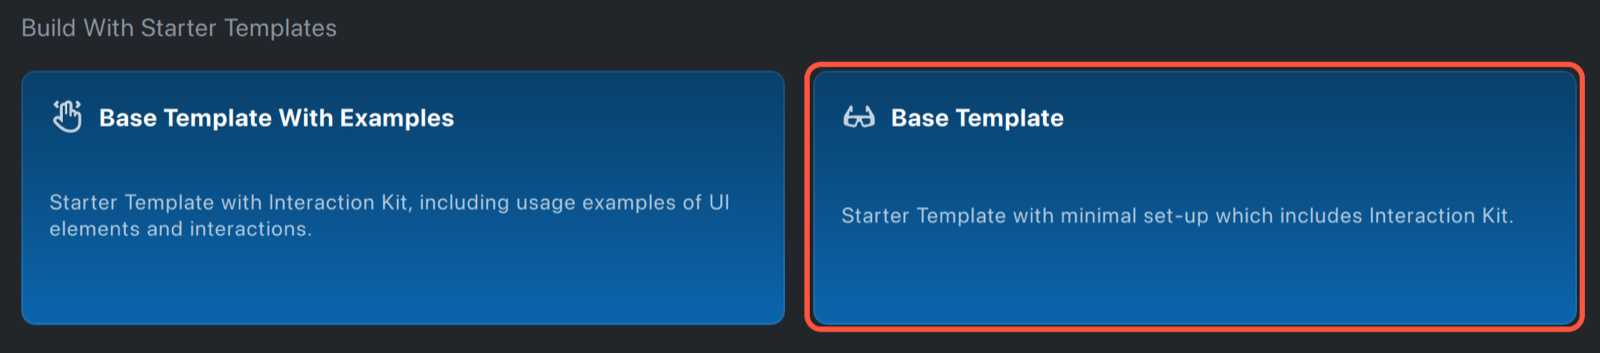
Under Build With Starter Templates, select Base Template.
-
Select File > Save As and save the project to a folder on your computer.
To convert a project you already have, see Convert a Project to SPECS.
Check that the Lens Studio MCP server is running
-
In the menu bar, select AI Assistant > AI Model Context Protocol (MCP) > Configure Server.

-
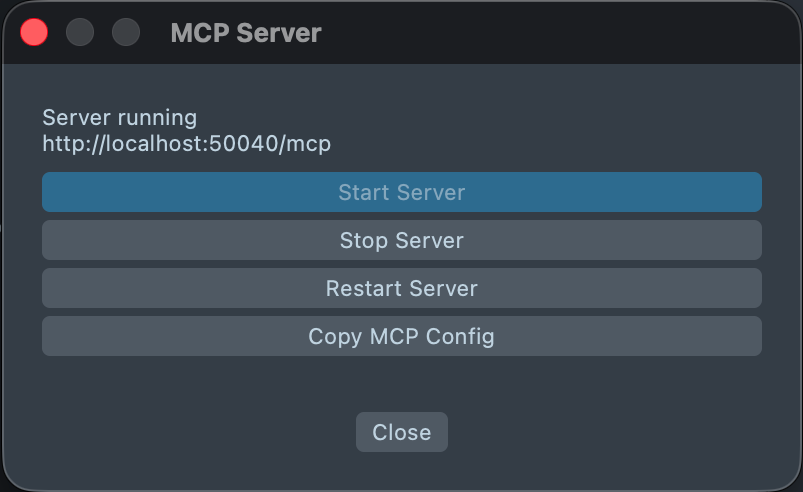
In the MCP Server dialog, check the status line. Server running and the server's address mean the server is ready. If it says the server is stopped, select Start Server.
-
Select Close.
Open the project folder in your AI editor
When the server is running, Lens Studio writes a connection file for each supported editor into the project folder. Open that folder in your editor, or start the editor's command-line tool from it, and the editor finds the Lens Studio server on its own. To open a terminal in the project folder, see Open the project folder in a terminal.
| Editor | Connection file in the project folder |
|---|---|
| Claude Code | .mcp.json |
| Codex | .codex/config.toml |
| Cursor | .cursor/mcp.json |
| VS Code | .vscode/mcp.json |
Lens Studio also writes AGENTS.md and CLAUDE.md, which tell the assistant how to work in a Lens
Studio project. See Give Your AI Agent Lens Studio Context.
The connection files contain the server's token. Lens Studio adds them to the project's
.gitignore; keep them out of version control.
Each editor asks you to approve the Lens Studio server the first time. The setup pages cover it: Set Up CLAD in Claude Code, Set Up CLAD in Codex, Set Up CLAD in Cursor, and Use Lens Studio MCP in VS Code.
Open the project folder in a terminal
Claude Code and Codex run in a terminal, and Cursor can start from one. Start them from the Lens Studio project folder, so they find its connection file.
From Lens Studio, on macOS or Windows: select File > Show Project in Terminal.
On macOS, from Terminal:
-
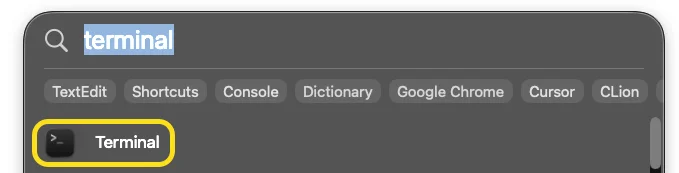
Press Command+Space to open Spotlight, type Terminal, and press Return.
-
Change to your project folder, with your own path:
cd ~/Documents/MyProject
The prompt now starts with the project folder's path:

On Windows, use PowerShell, not Command Prompt:
- Open the project folder in File Explorer.
- Hold Shift, right-click an empty space in the folder, and select Open PowerShell window here. On Windows 11 the item may be Open in Terminal.
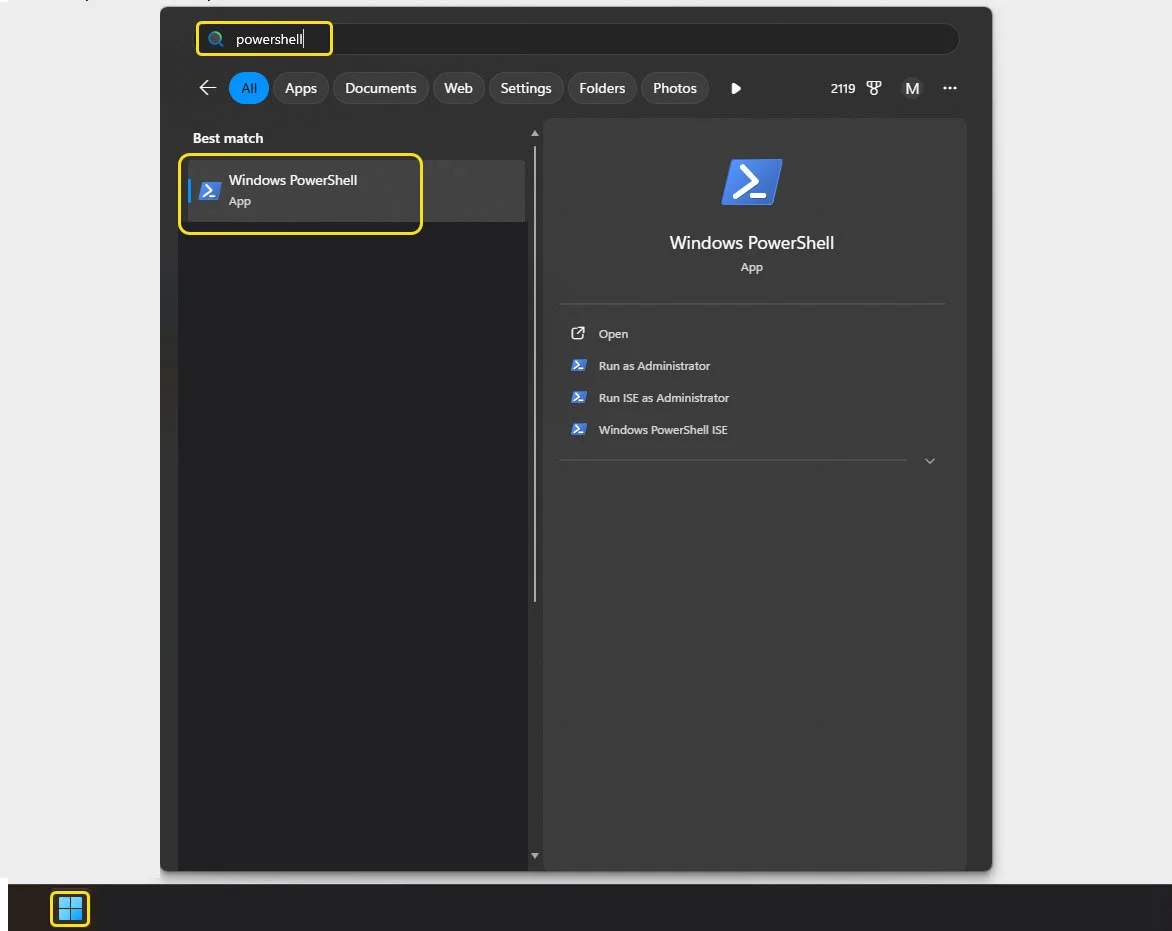
Or open PowerShell from Start: search for powershell, open Windows PowerShell, and change
to your project folder:
cd C:\Users\YourUserName\Documents\YourProjectName
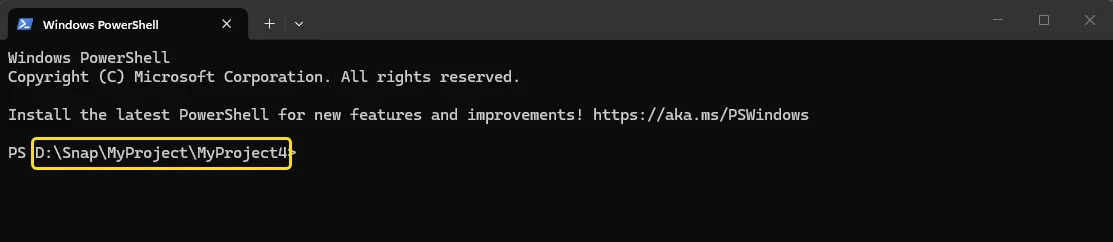
The prompt now shows the project folder's path:
Connect an agent by hand
For an editor that doesn't read the project's connection files, and has no setup page here, add the server yourself. You can also paste one of the setup pages into the assistant and ask it to follow the steps.
-
Select AI Assistant > AI Model Context Protocol (MCP) > Configure Server.
-
Select Copy MCP Config. The clipboard now holds the server's address and token:
{"mcpServers": {"lens-studio": {"headers": {"Authorization": "Bearer <your-token>"},"type": "http","url": "http://localhost:<port>/mcp"}}} -
Paste it into your editor's MCP settings. Editors that use a different top-level key need the same entry under that key; VS Code uses
servers.
The port can change when Lens Studio restarts. If the editor stops connecting, copy the config again.
Work on several projects at once
Each Lens Studio window runs its own MCP server on its own port, and writes that port into its own project folder. To have an assistant work on two projects at once, open each in its own Lens Studio window and start the assistant in each project folder.
Add tools to the Lens Studio MCP server
The MCP server offers every chat tool installed in Lens Studio. Lens Studio installs the core set (Core ChatTools); more are in the Asset Library as plugins named [ChatTool] …, such as [ChatTool] Font Selector. To turn a chat tool on or off, see Managing Plugins. To write your own, see Chat Tools Development.
After you add a chat tool, reconnect your editor to the server so it sees the new tool.
Add Lens Studio skills with CLAD
CLAD (Closed Loop Agentic Development) adds agents and skills that know Lens Studio to Claude Code, Codex, Cursor, and other agents. To install it, paste this prompt into your agent:
Install https://github.com/lens-studio-devs/ls-extensions.git for me
To install it step by step, see Set Up CLAD in Claude Code, Set Up CLAD in Codex, or Set Up CLAD in Cursor. To learn what it adds, see What Is CLAD.
Related
- What Is CLAD: the agents and skills that build Lenses through this server.
- Troubleshoot Lens Studio MCP: when an editor can't connect.
- Give Your AI Agent Lens Studio Context: what the assistant knows about your project.