Set Up CLAD in Codex
Connect Codex to Lens Studio through the MCP server and install the CLAD plugin, so Codex can build and test Lenses in your project.
- Snapchat: fully supported
- SPECS: fully supported
- Camera Kit Web: not supported
- Camera Kit Mobile: not supported
- SnapchatFully supported
- SPECSFully supported
- Camera Kit WebNot supported — CLAD's skills cover Snapchat and SPECS Lenses
- Camera Kit MobileNot supported — CLAD's skills cover Snapchat and SPECS Lenses
Codex connects to the project you have open in Lens Studio through the Lens Studio MCP server, and the CLAD plugin gives it the agents and skills to build, test, and publish Lenses. Follow these steps in order: Lens Studio has to be running before Codex starts, so Codex finds its server.
Before you start
-
Lens Studio 5.25 or later, with your project saved and open.
When building for SPECS, start from a SPECS project: see Set Up Lens Studio for SPECS.
-
The Lens Studio MCP server running. See Connect Your Agent to Lens Studio.
Install Codex
Install the Codex command-line tool. The Codex documentation has the current instructions; these are the install commands.
On macOS, in Terminal:
curl -fsSL https://chatgpt.com/codex/install.sh | bash
This downloads the install script (-L follows redirects) and runs it in your shell.
On Windows, in PowerShell:
irm https://chatgpt.com/codex/install.ps1 | iex
This downloads the install script with irm (Invoke-RestMethod) and runs it with iex
(Invoke-Expression).
Check that Codex runs:
codex --version
Install the CLAD plugin in Codex
Run these commands in a terminal, before you start Codex.
-
Add the ls-extensions plugin marketplace:
codex plugin marketplace add https://github.com/lens-studio-devs/ls-extensions.git -
Install the CLAD plugin from it:
codex plugin add ls-clad@ls-extensions
You can do the same from inside Codex with the /plugins menu:
-
At the Codex prompt, type
/plugins.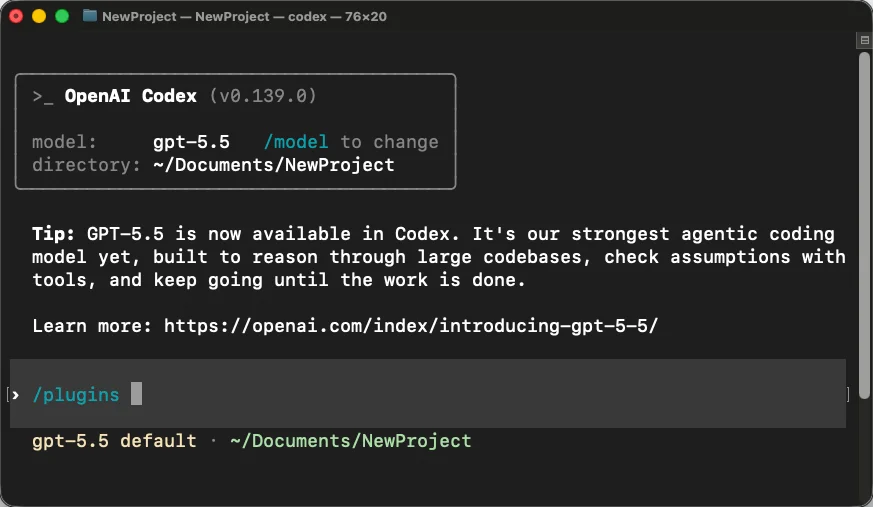
-
Move to [Add Marketplace], press Enter, and enter
https://github.com/lens-studio-devs/ls-extensions.git.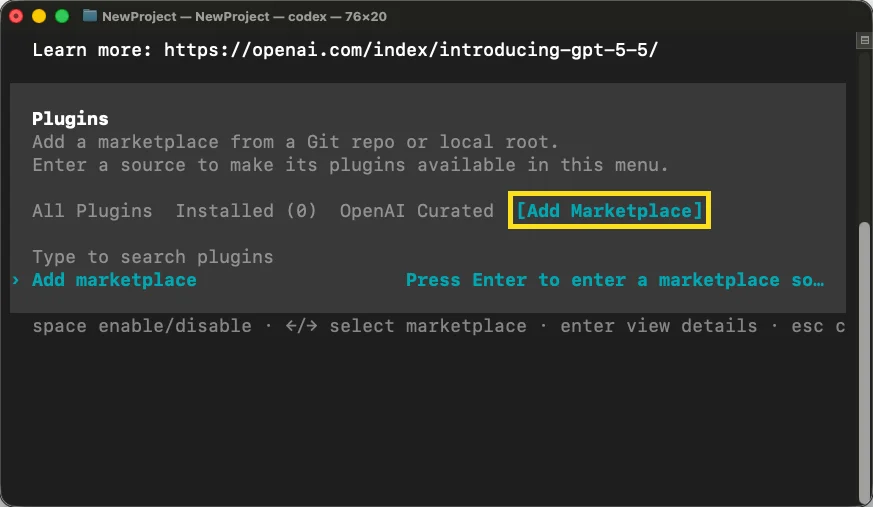
-
Open the [ls-extensions] tab, select
ls-clad, and select Install this plugin now.
The ls-extensions repository has the latest installation steps, and Plugins in the Codex documentation covers the plugin menu.
Start Codex in the project folder
-
Open a terminal in the project folder: in Lens Studio, select File > Show Project in Terminal, or see Open the project folder in a terminal. The folder holds the
.codex/config.tomlfile that tells Codex where this Lens Studio window's server is. -
Start Codex:
codex -
If Codex asks whether you trust the folder, select Yes, continue. Codex reads the project's
.codex/config.tomlonly in a trusted folder.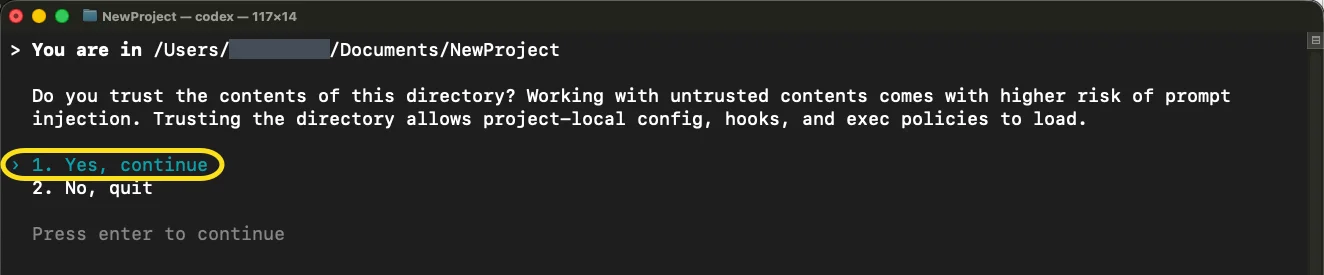
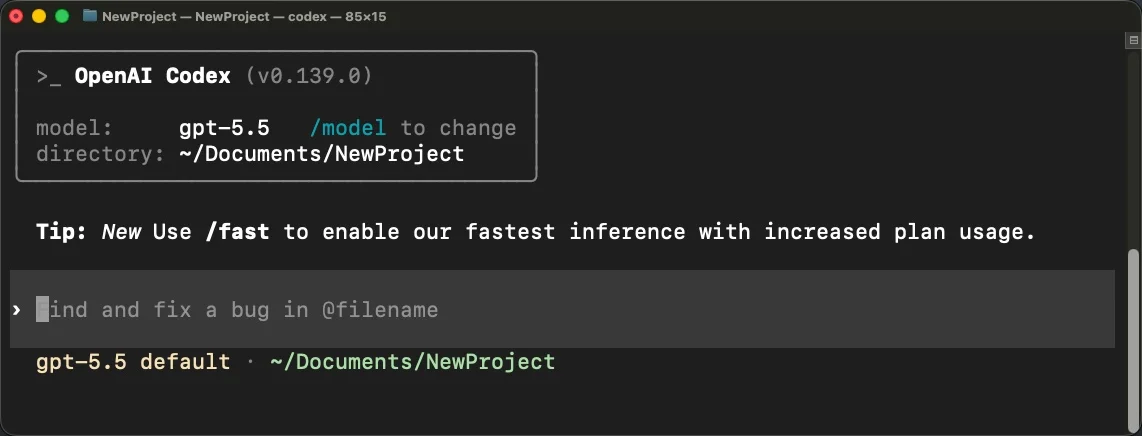
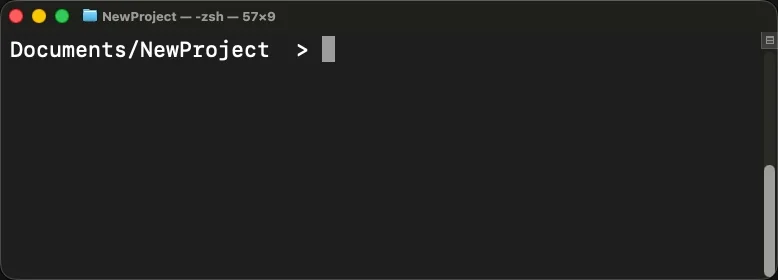
Codex is ready when its prompt box appears. Type Codex commands there, not at the terminal's own prompt, which starts with a folder path:
-
Run
/pluginsand check thatls-cladis installed.
Check that Codex is connected to Lens Studio
Run /mcp at the Codex prompt. lens-studio in the list means Codex can use the Lens Studio
tools. If it's missing, see Troubleshoot Lens Studio MCP.
Let Codex work without asking at every step
A Lens build calls hundreds of tools. Lens Studio already approves its own tools in the project's
.codex/config.toml. To have Codex review its other actions automatically, add these lines to
~/.codex/config.toml:
approval_policy = "on-request"
approvals_reviewer = "auto_review"
Use it in a project you can restore, such as one under version control.
Build a Lens with Codex and CLAD
Describe the Lens you want at the Codex prompt.
When building for SPECS, name the SPECS Experience Builder in the prompt. Codex follows it more reliably when you do:
Using the SPECS Experience Builder, make a periodic table Lens for SPECS that shows the atomic structure of each element
Codex builds the Lens in the open Lens Studio window, so you can watch the scene and Preview change. A full Lens can take 30 minutes or more.
Related
- What Is CLAD: what the plugin adds.
- CLAD Agents and Skills: the skills to name in a prompt.
- Give Your AI Agent Lens Studio Context: add your own rules for Codex.
- Troubleshoot Lens Studio MCP: when the server won't connect.