Creating an Icon
Make your Lens's icon in Project Settings: capture it from the Preview, import an image, or generate one, then crop and apply it.
- Available on all platforms
Your Lens's icon is packaged with the Lens and identifies it wherever people find it. This page covers what makes a good icon, the three ways to make one in Lens Studio, and the Photoshop and Illustrator templates.

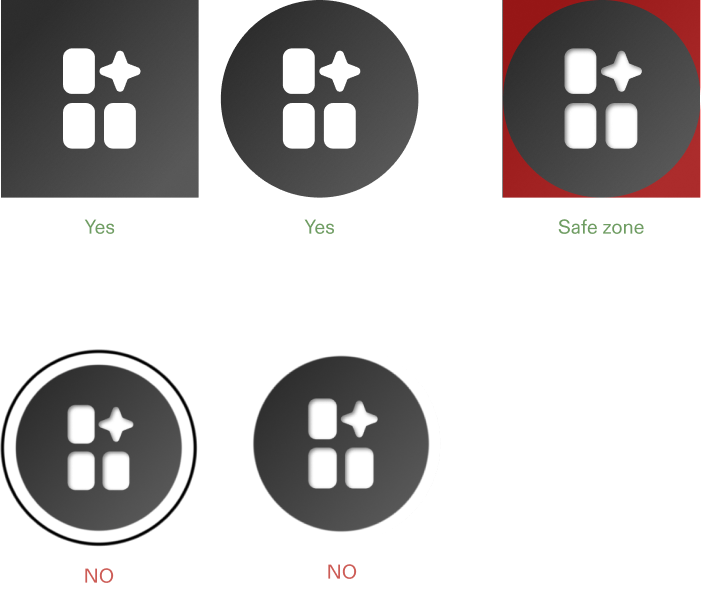
Best practices for a Lens icon
An icon should show what your Lens does in the simplest way it can. When you make one:
- Create its elements with vector shapes.
- Use basic forms that read well at low resolution.
- Work in an illustrated, cartoon-like style.
- Use bright, clear colors.
- Use sharp lines and shapes people recognize at once.
- Avoid photos and screenshots.
- Deliver it as a 320 × 320 PNG, using the standard frame in the icon templates.
When building for SPECS, follow the icon requirements for Lens Explorer: a 320 × 320 PNG with padding around its subject, so it still works if a circular mask is applied. Don't use a pure black or pure white background: SPECS doesn't display black. See Lens Explorer Asset Requirements and Tile and Icon Best Practices.
Set the Lens icon in Project Settings
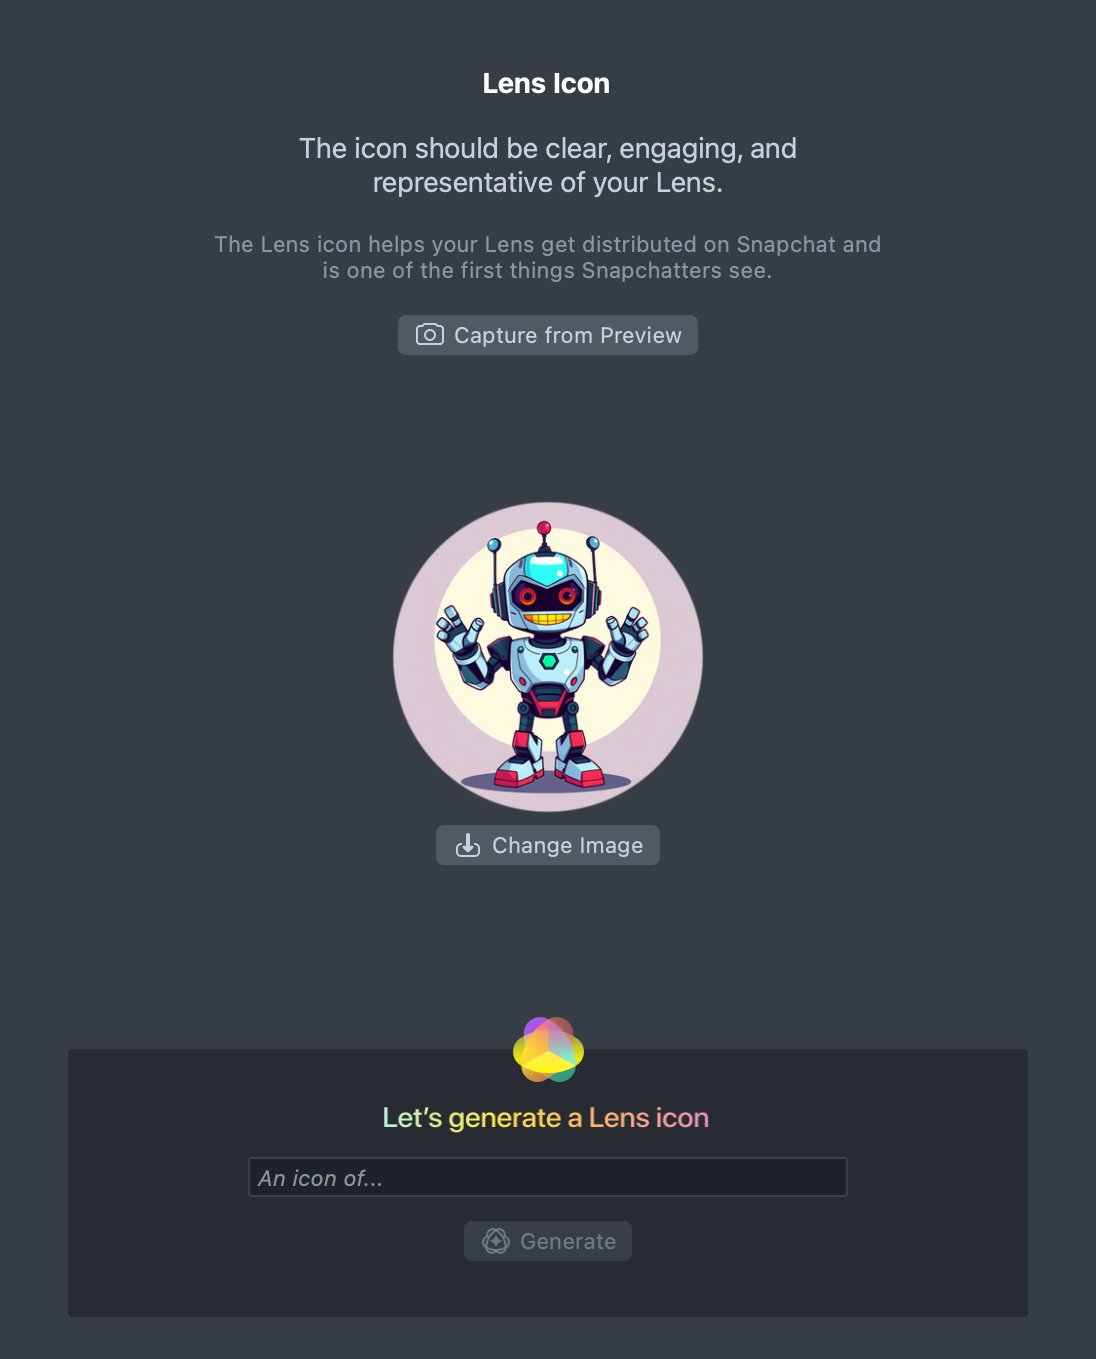
Open Project Settings and select Lens Icon in the sidebar. You can capture the icon from the Preview, import an image, or generate one.
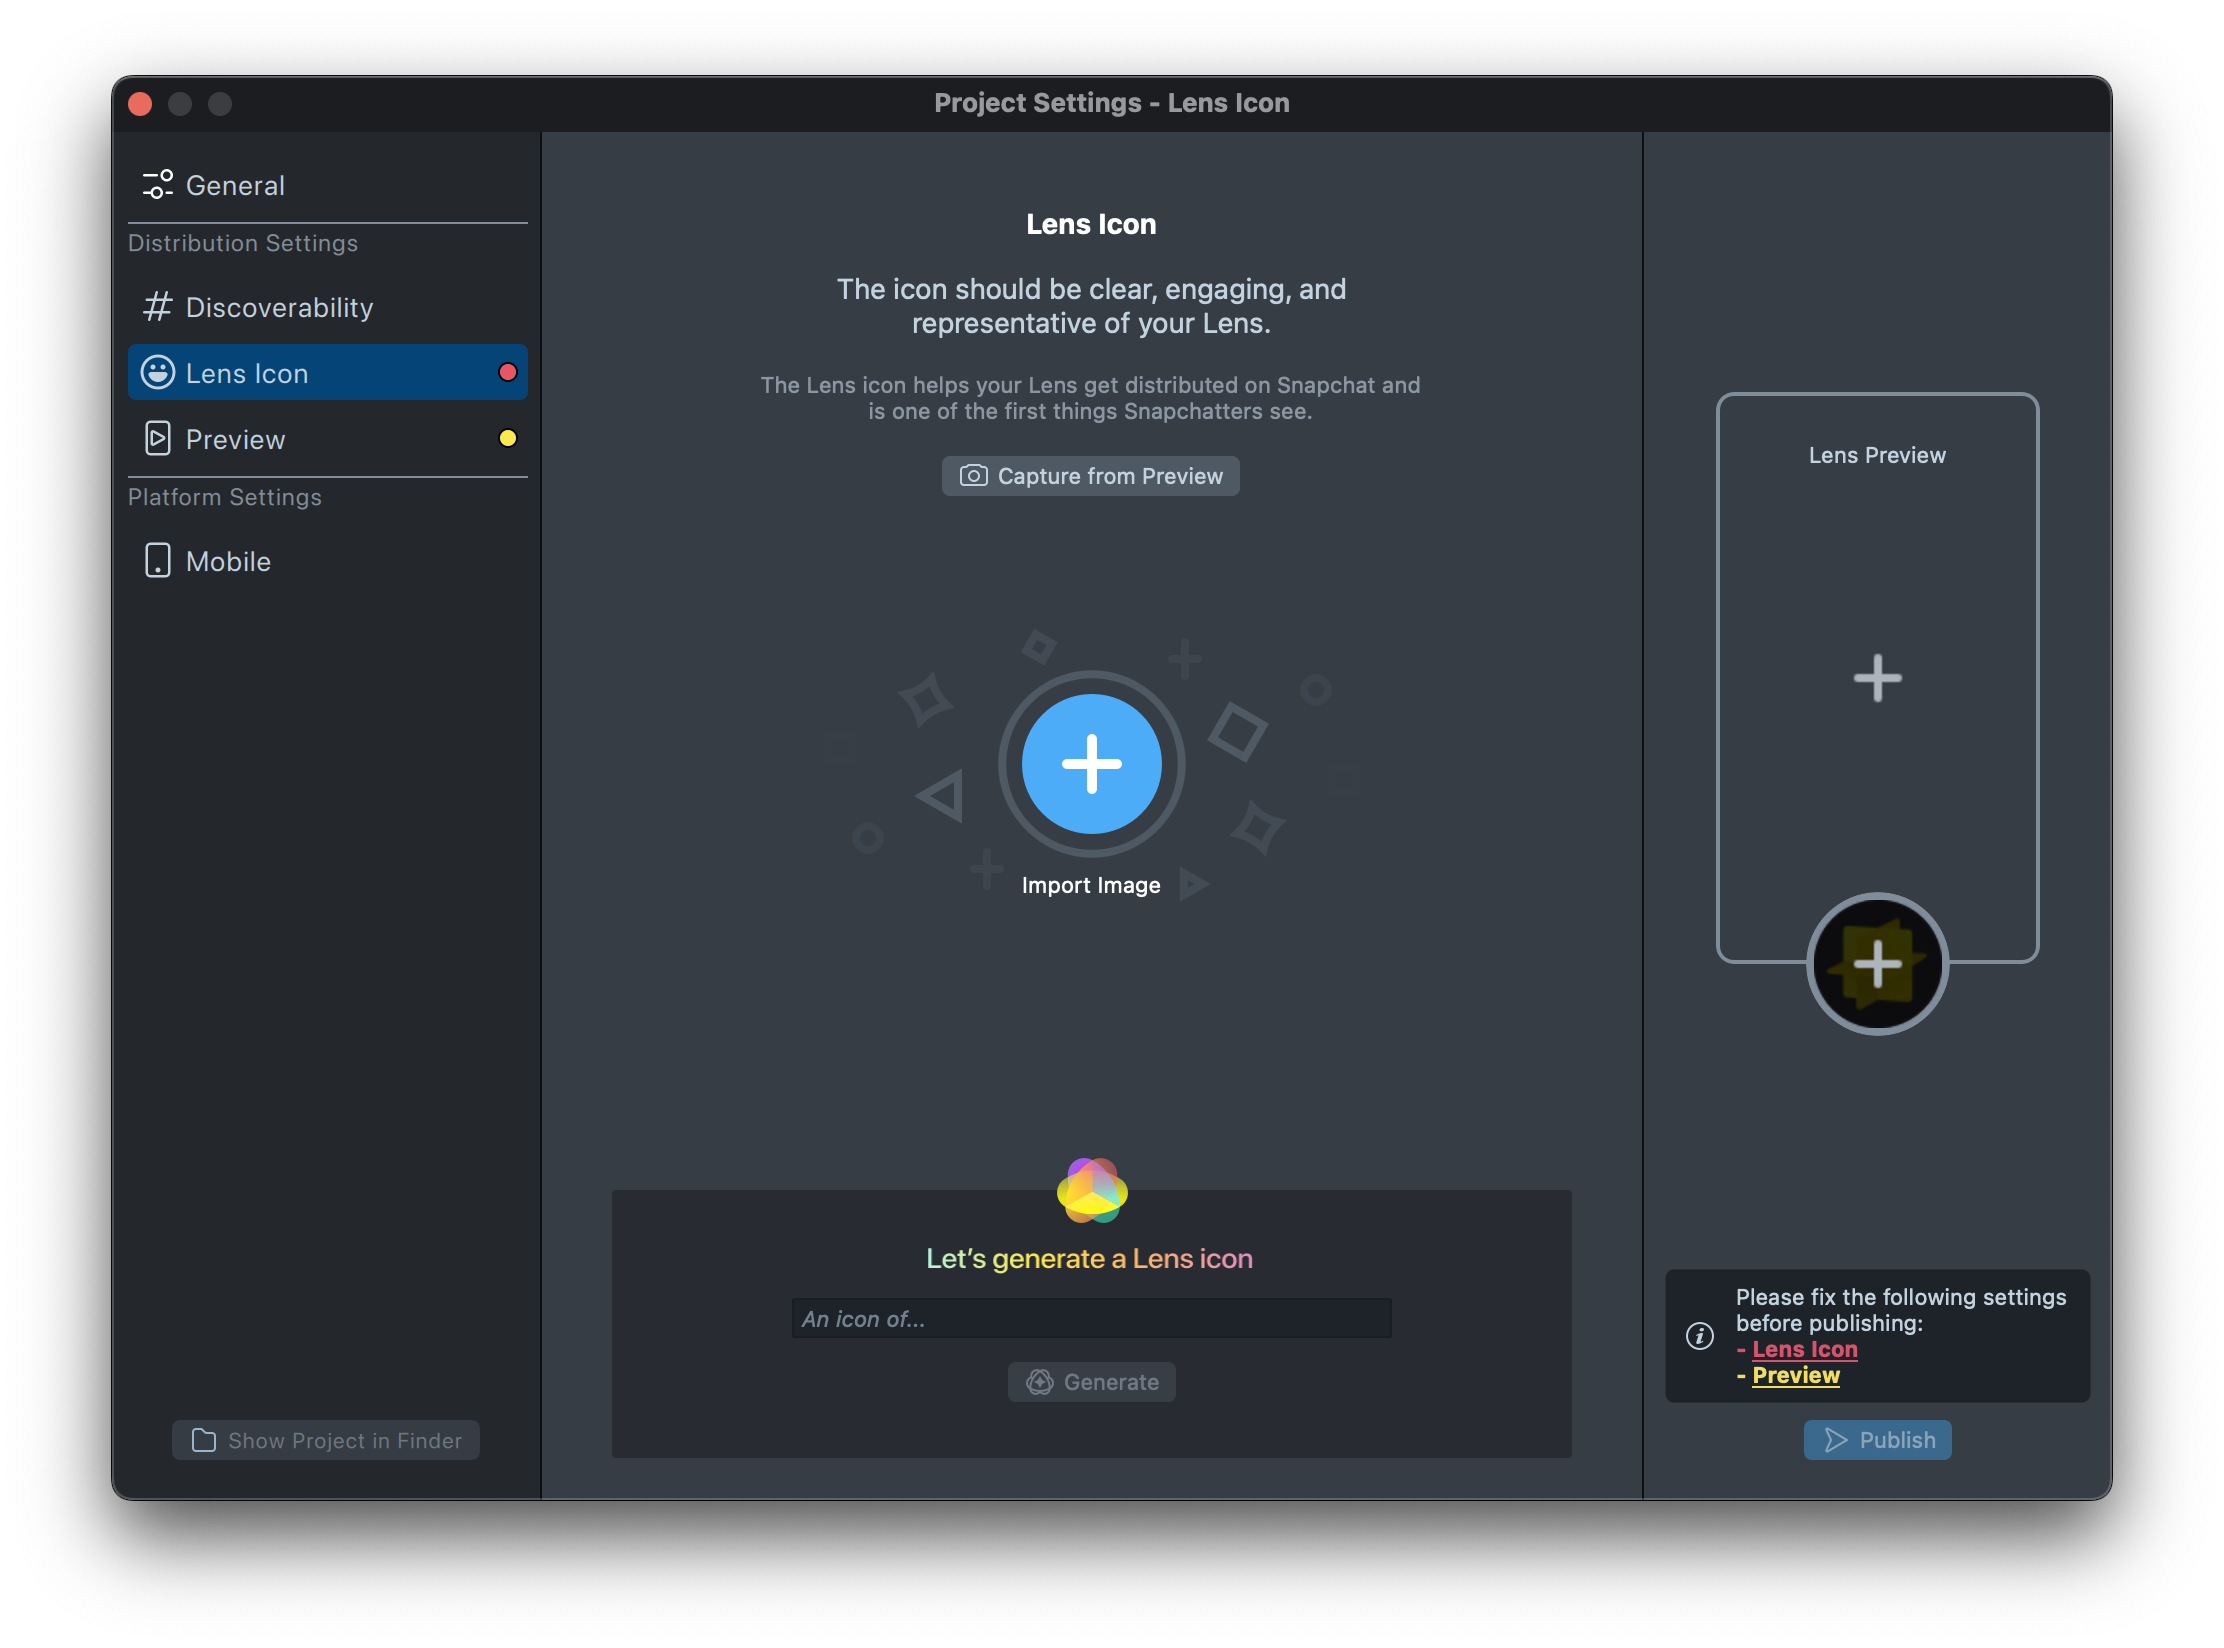
When building for SPECS, Lens Icon is under Distribution Settings, and publishing needs an icon.
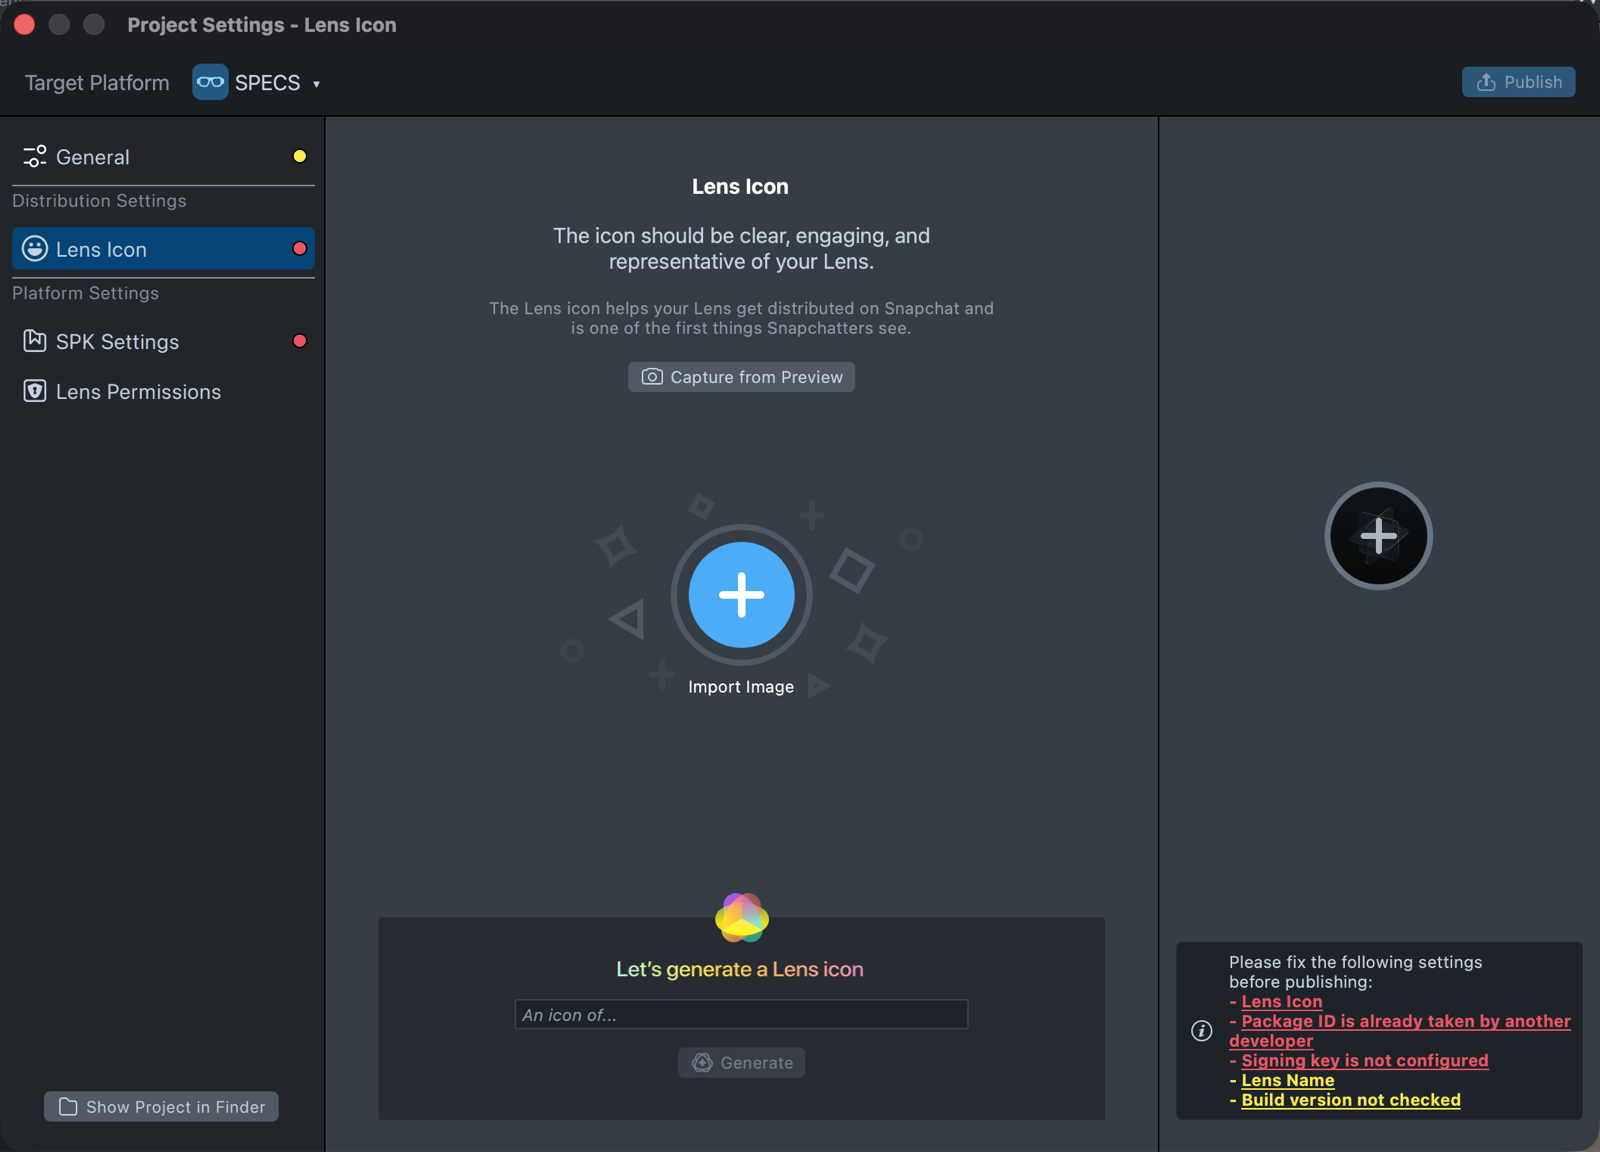
Capture the icon from the Preview
- On the Lens Icon page, click Capture from Preview. Lens Studio takes the icon from what the Preview shows.
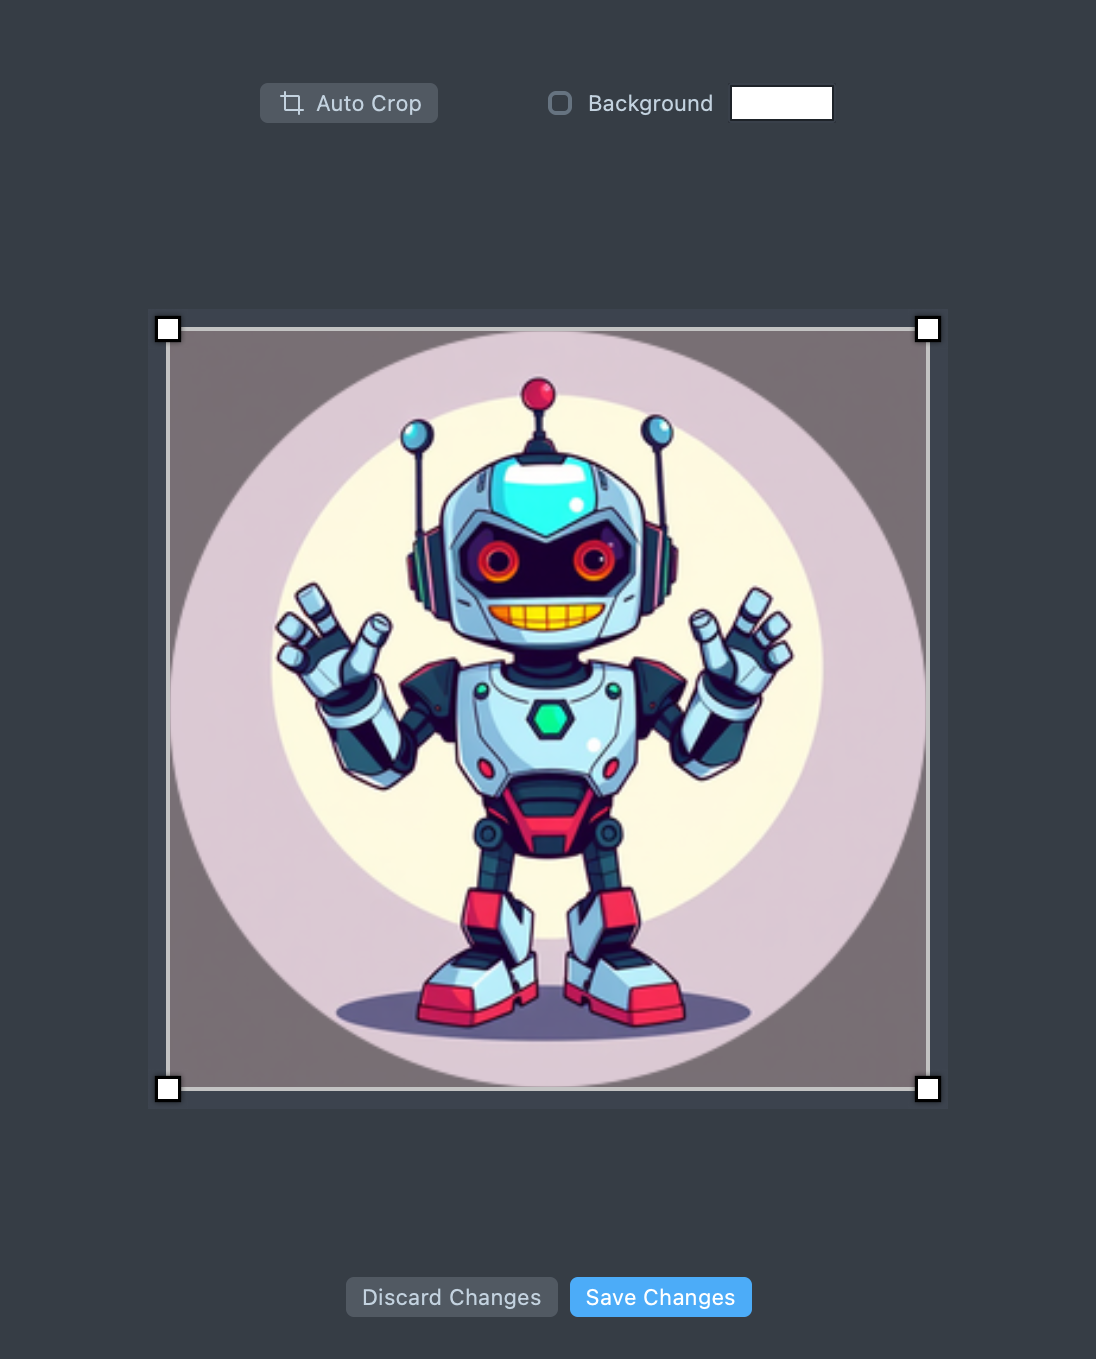
- Adjust the crop, then click Save Changes.
Import an image as the icon
- On the Lens Icon page, click Import Image, then choose an image file on your computer. The image appears in the Lens Icon preview area.
- Adjust the crop area so the icon fits.
- Click Apply. Project Settings shows your icon.
Generate the icon with the Lens Icon Generator
-
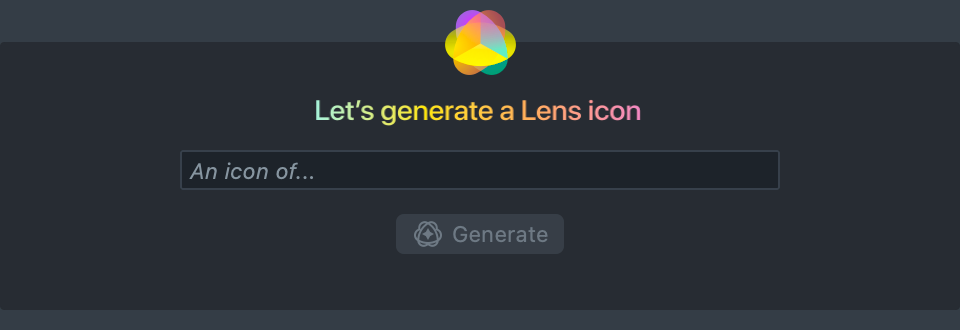
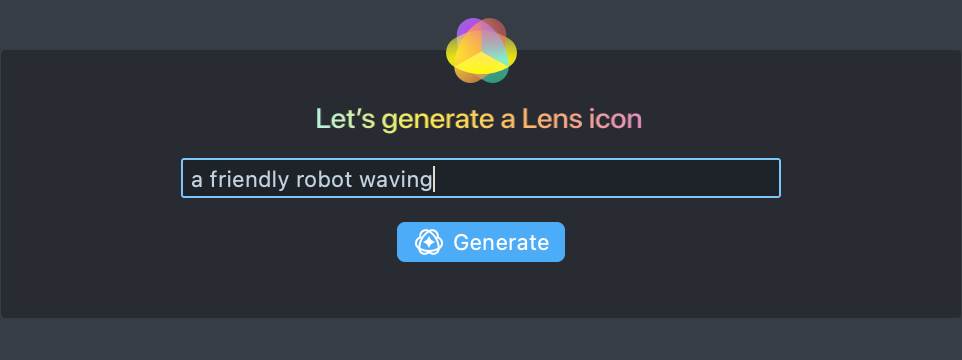
On the Lens Icon page, find the Lens Icon Generator and its prompt field.
-
Type a description of the icon you want, then click Generate.
-
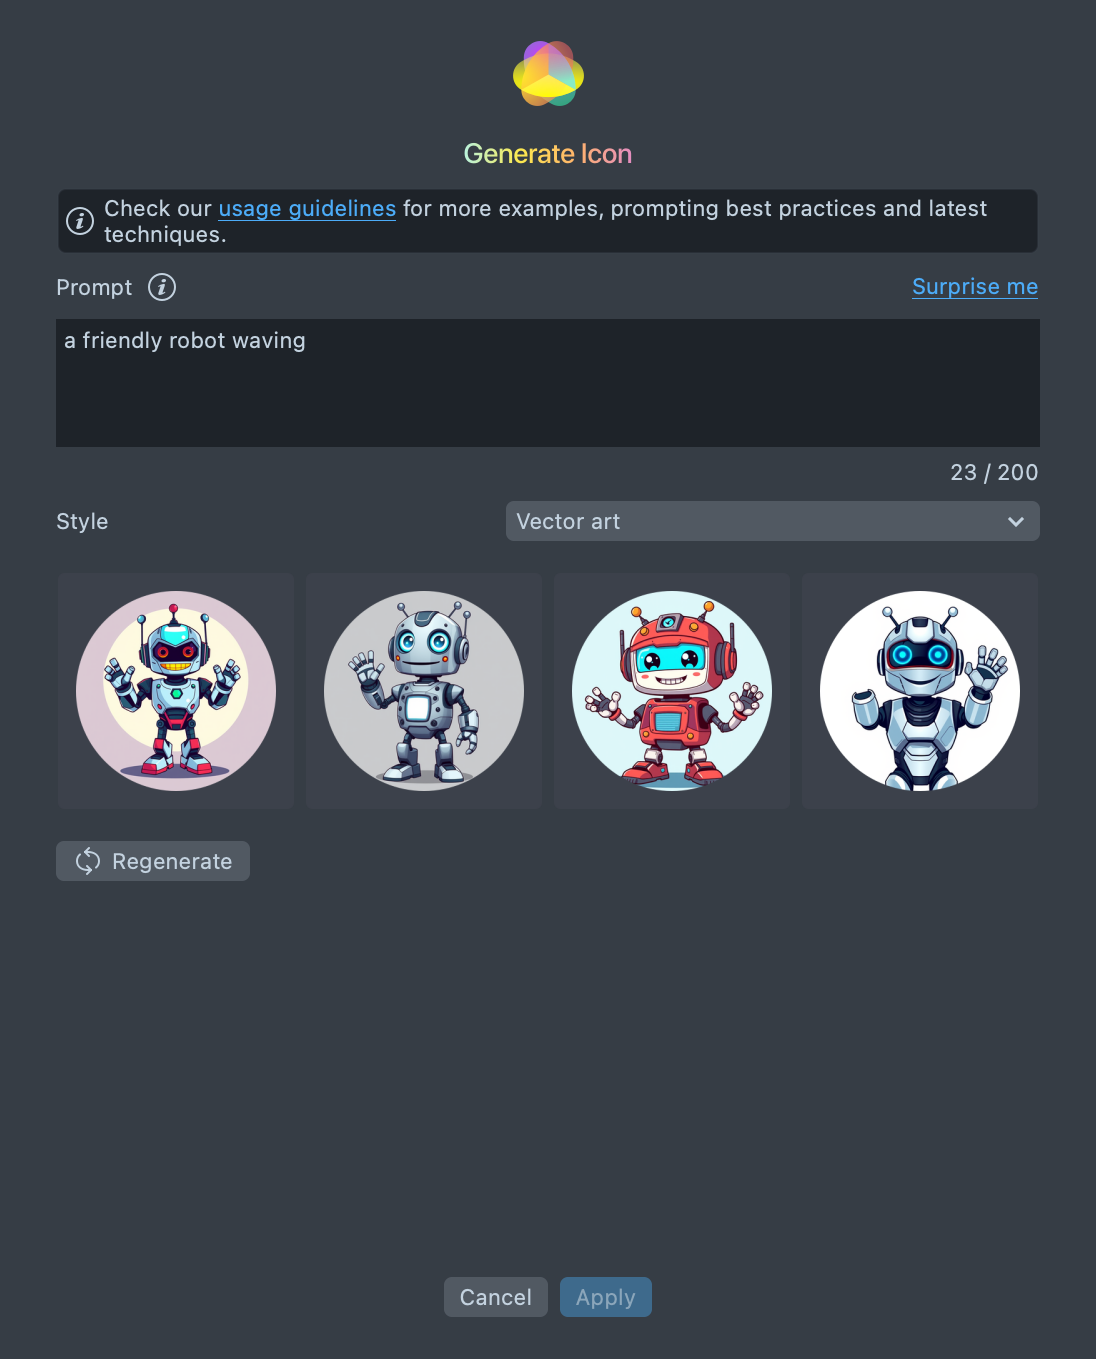
Generate Icon opens in place of the Lens Icon page and shows four icon options made from your prompt. You can edit the Prompt, up to 200 characters, or click Surprise me for a suggested one.
-
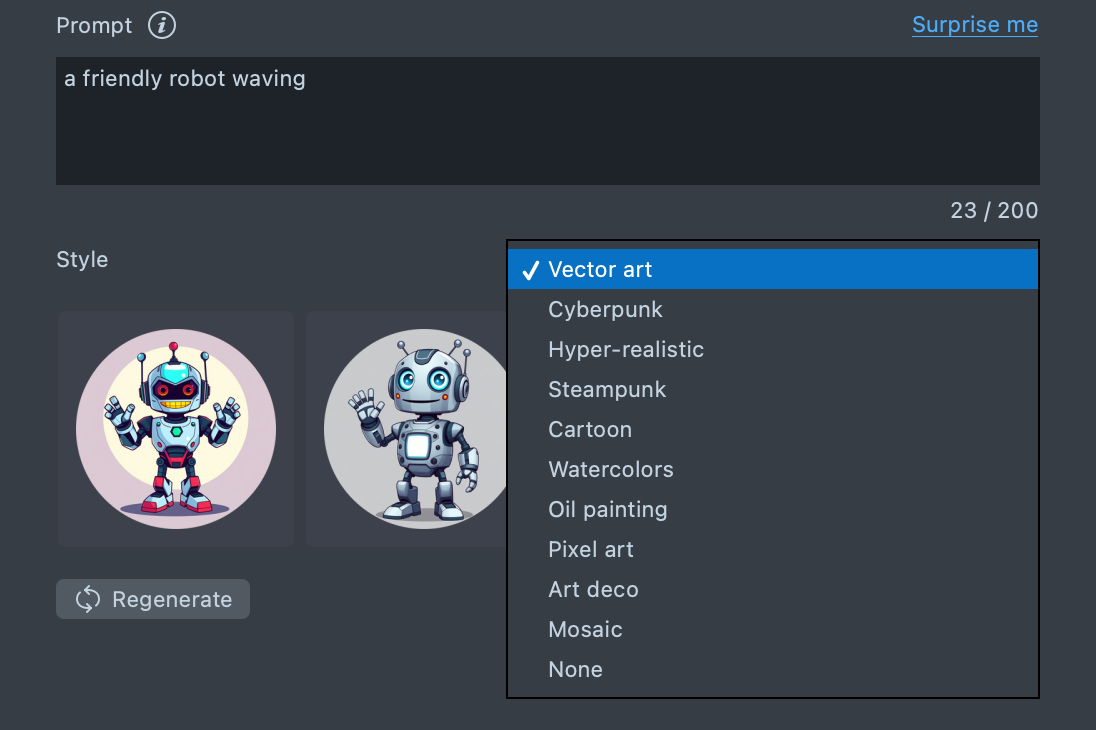
To change the look of the options, select a style from the Style menu that suits your project, such as Vector art, Cartoon, or Pixel art. Select None for no style.
-
If none of the options fits, change the prompt or the style, then click Regenerate for a new set.
-
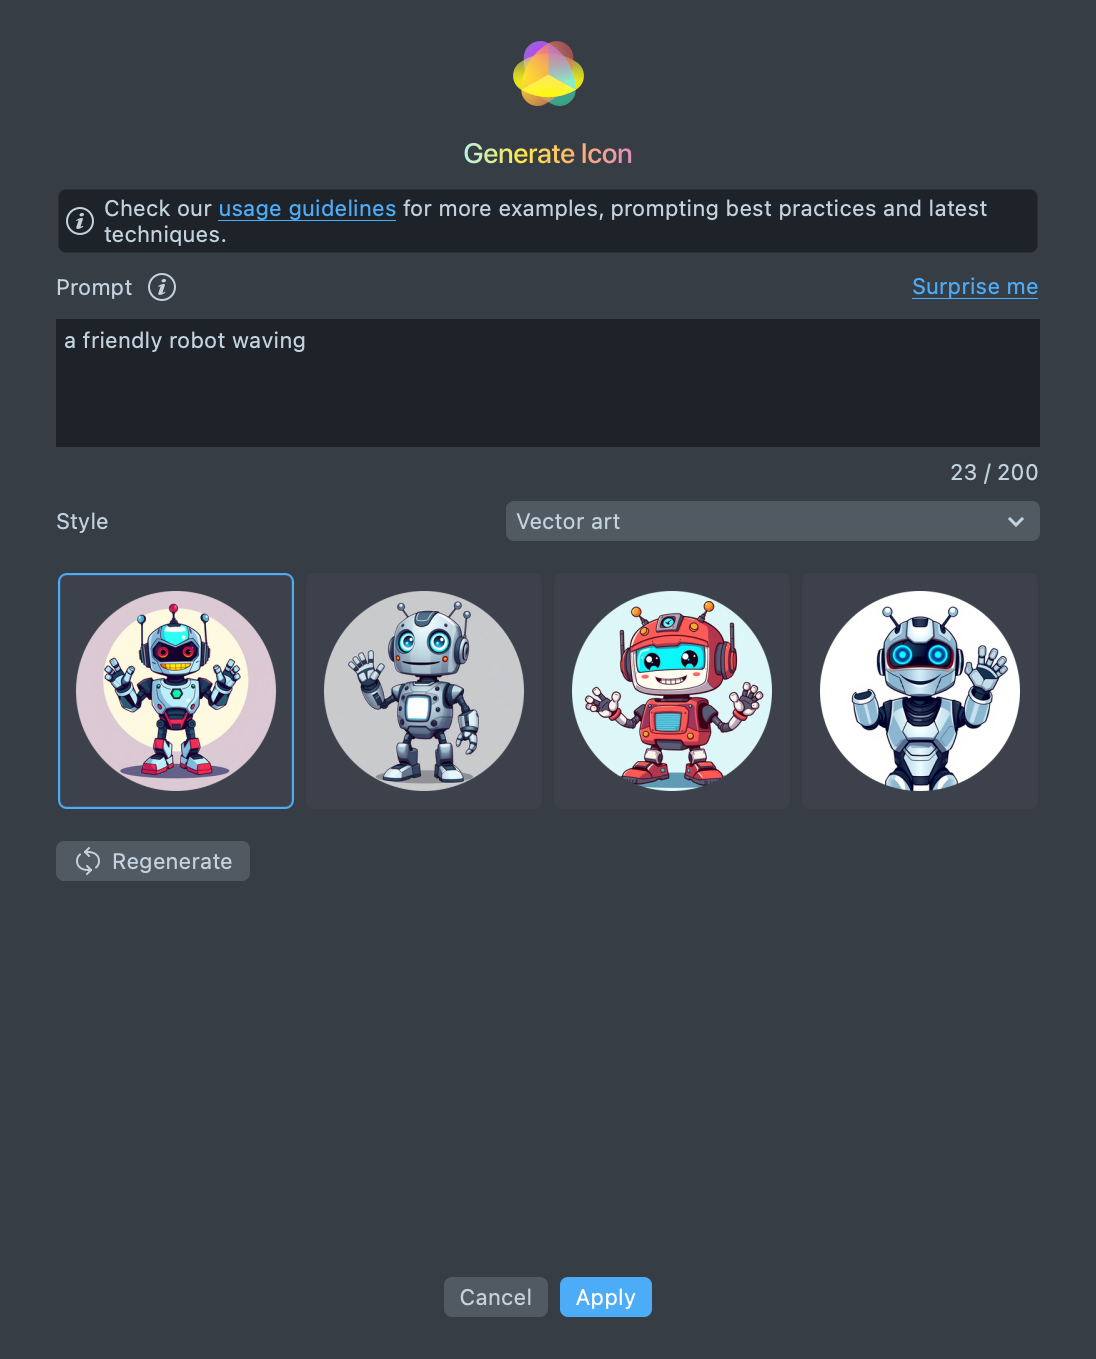
Select the icon you like most, then click Apply.
-
Crop the icon: drag the handles of the crop area, or click Auto Crop. If the icon has a transparent background, select Background and pick a color. Then click Save Changes.
The Lens Icon page shows your icon, with Change Image to replace it, and your Lens uses it.
Make an icon with the Photoshop template
Download the Photoshop Lens icon template and open it in Adobe Photoshop.
-
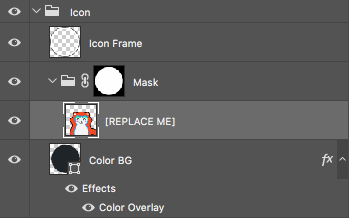
Replace the content of the layer labeled
[REPLACE ME]. The template masks your content to a circle. -
To change the background color, adjust the Color Overlay effect on the Color BG layer.
-
Select File > Export > Export As, and select PNG as the format.

Make an icon with the Illustrator template
Download the Illustrator Lens icon template and open it in Adobe Illustrator.
-
Replace the content of the layer labeled
[REPLACE ME]. A clipping mask on the layer masks your content to a circle. -
To change the background color, change the color of the Frame BG layer.

-
Select File > Export > Export for Screens, and select PNG as the format.

How the SPECS Developer Portal uses your Lens icon
When building for SPECS, the icon you set in Lens Studio is packaged in your Lens's build, and the SPECS Developer Portal shows it in your store listing: you don't upload it separately. The portal rejects a build without an icon. See Publishing Your Lens.
Related
- Configuring Project Settings: the other settings a Lens needs before you publish it.
- Lens Explorer Asset Requirements: the icon, tile, and preview sizes Lens Explorer needs.
- Publishing Your Lens: upload and release your Lens.