Development Workflow
Test a Connected Lens for SPECS as several users: multiple Preview panels in Lens Studio, the Connected Lens Monitor, and SPECS devices.
- Snapchat: not supported
- SPECS: fully supported
- Camera Kit Web: not supported
- Camera Kit Mobile: not supported
- SnapchatNot supported
- SPECSFully supported
- Camera Kit WebNot supported
- Camera Kit MobileNot supported
A Connected Lens works best with more than one device connected, so test it as several users. This page covers the ways to do that for a Connected Lens on SPECS, in Lens Studio and on the device.
Choose where to test a Connected Lens
You can test a Connected Lens in Lens Studio and on SPECS. Which is more helpful depends on what you're working on:
- Lens Studio: each Preview panel joins a real Connected Lens session as its own user, so you can test syncing between users, get debug information, and iterate quickly. Colocation is simulated in Lens Studio and completes immediately, so test the colocation flow on SPECS.
- On SPECS: you can run the Lens on several SPECS devices at once and test the data they send each other, including the colocation flow. Debugging is less detailed than in Lens Studio.
Test a Connected Lens in Lens Studio with multiple Preview panels
Use several Preview panels to test parts of your Connected Lens as several users in Lens Studio. To open another Preview panel, select Window > General > Preview.
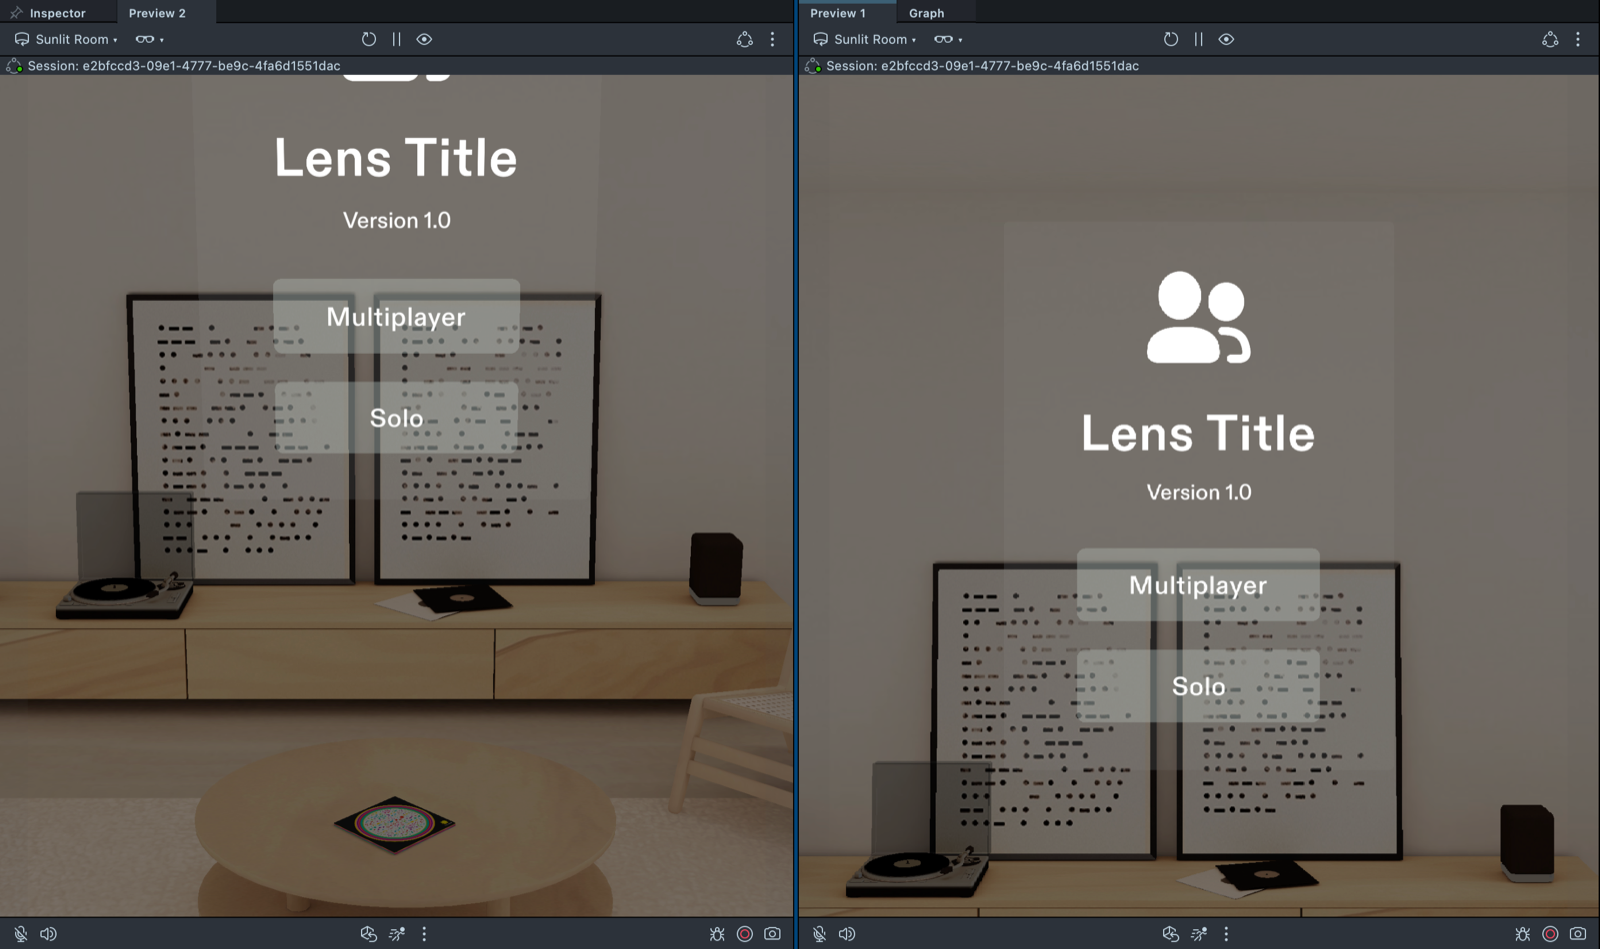
A new Preview panel doesn't copy the simulation settings of the others, so set it up again: in its toolbar, open the device menu (the glasses icon) and select SPECS 27.
Move around a Connected Lens in an Interactive Preview room
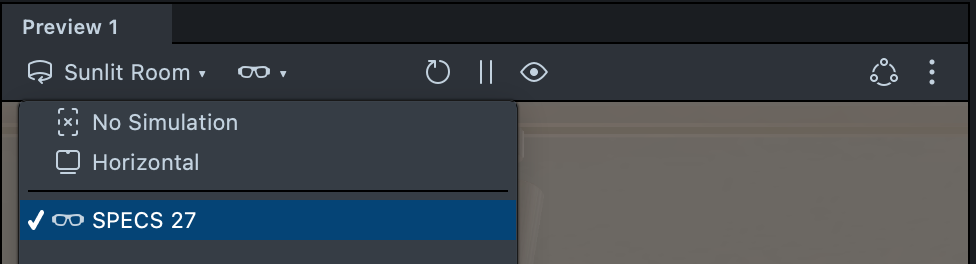
An Interactive Preview room lets you move around your Connected Lens in a Preview panel, for example to test what happens when a user gets closer to an object in your Lens. To use one, open the environment menu at the left of the Preview panel's toolbar and select a room under Interactive Previews, such as Sunlit Room.
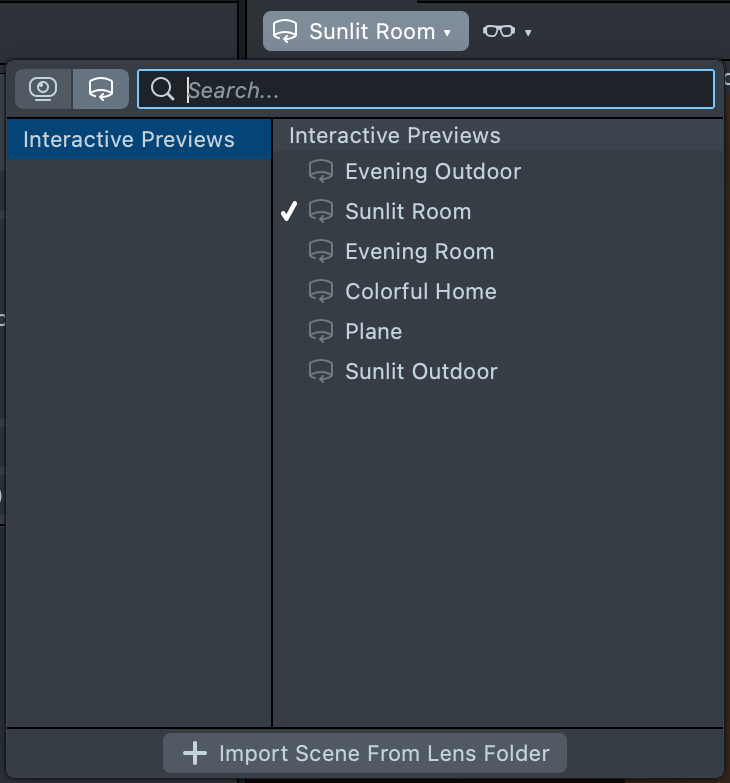
Click the Preview panel to give it focus. Then press W, A, S, and D (or the arrow keys) to move, and E or Q to move up or down. Preview Lenses for SPECS lists every control.
Watch a Connected Lens session in the Connected Lens Monitor
The Connected Lens Monitor shows the users, messages, and Realtime Stores of a Connected Lens session.
Open the Connected Lens Monitor and start monitoring
-
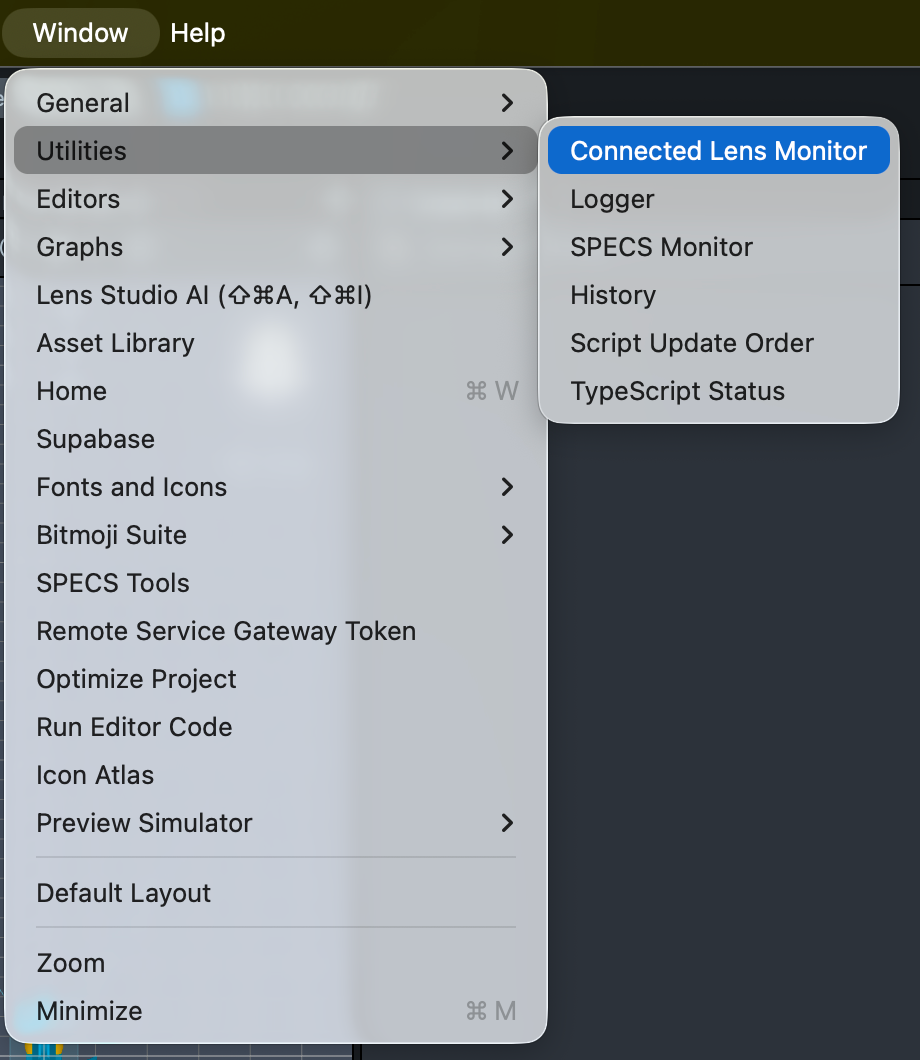
Select Window > Utilities > Connected Lens Monitor.
-
Join the session in every Preview panel, for example by selecting Multiplayer on the Sync Kit Start Menu.
-
In the Connected Lens Monitor, select Start (its tooltip reads Start Monitoring). Start it after the Preview panels have joined the session: started earlier, the monitor finds nobody in the session and stops, and Lens Studio logs
Start Monitor after previews have joined the connected session.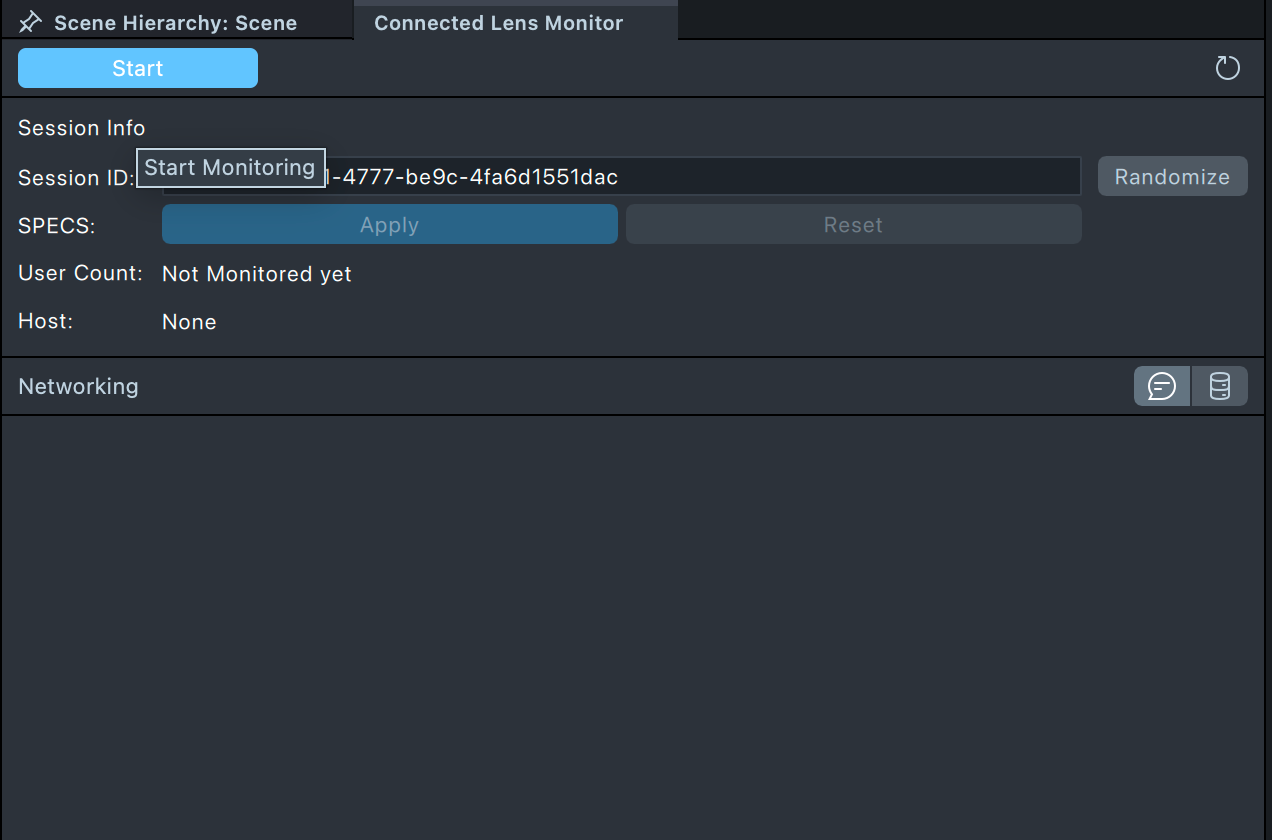
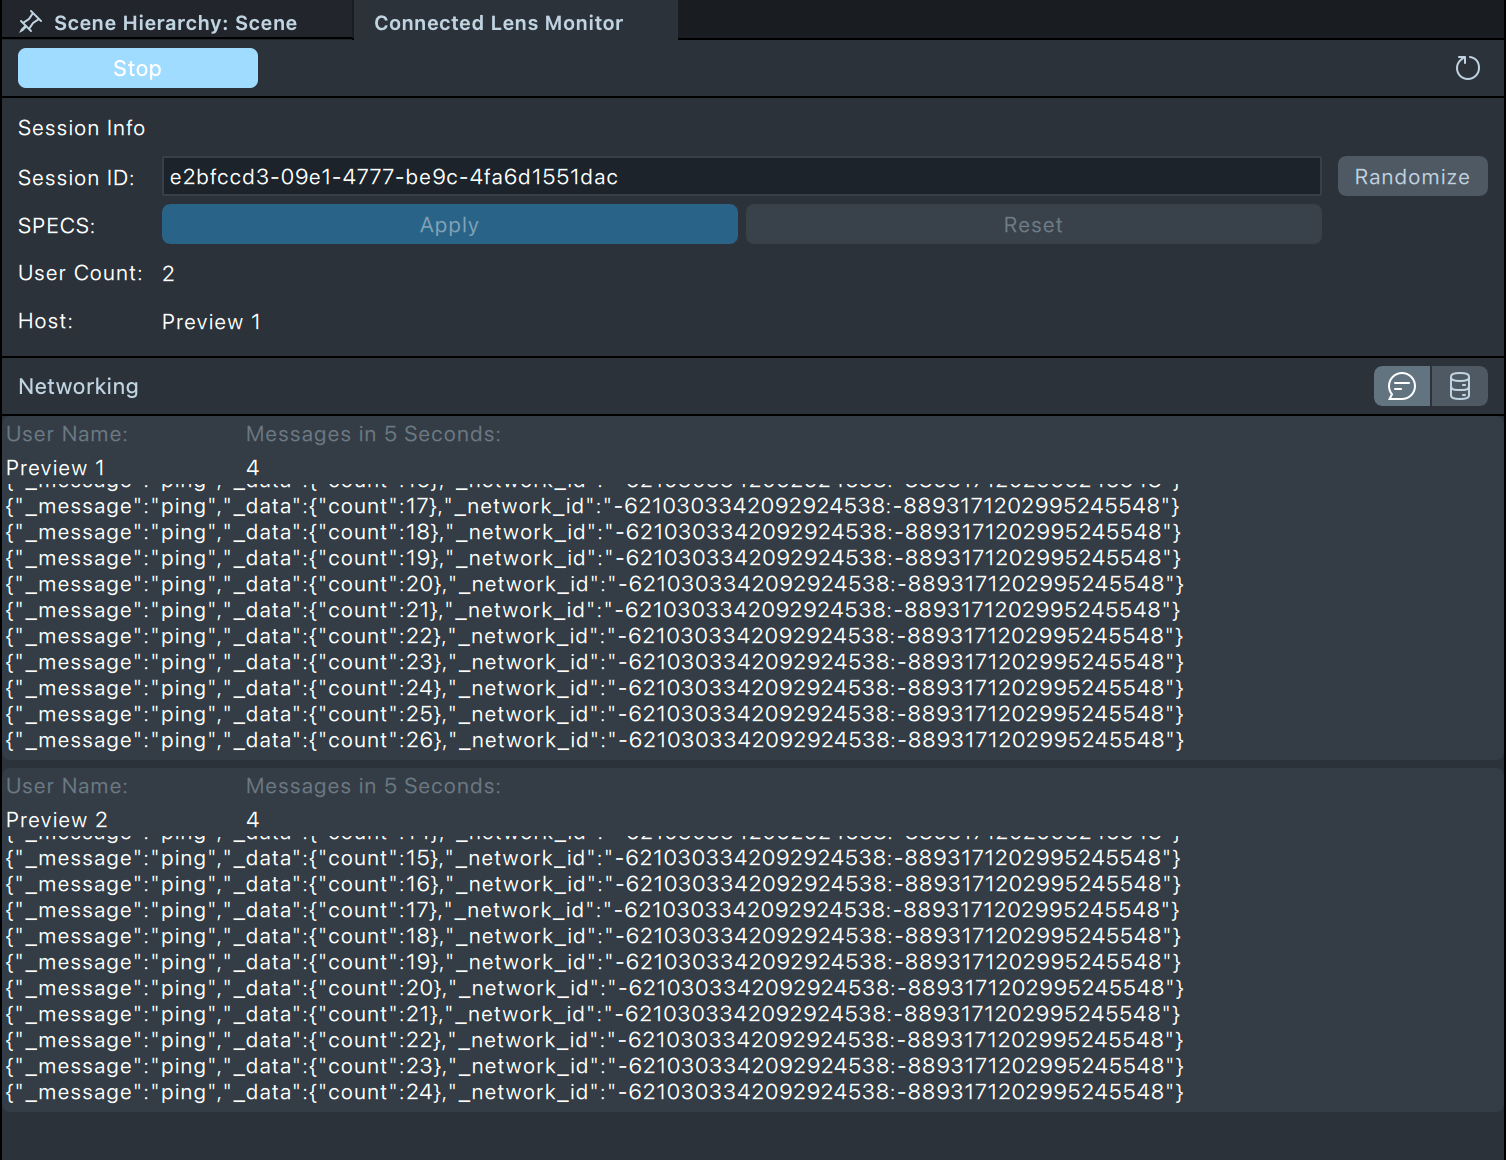
While it monitors, the session bar shows the session ID, the User Count, and the Host. The Host can stay empty even in a session that works; check who owns each store in the Realtime Store view instead. To stop, select Stop.
To restart the Lens in every Preview panel without changing the session ID, select the refresh button in the monitor's session bar.
See each user's messages in the Connected Lens Monitor
In the Messages view, the Connected Lens Monitor lists the messages each Preview panel sent, in the order sent, with what each message contained, and how many messages each user sent in the last 5 seconds.
Real-time messages are rate limited, in Lens Studio and on SPECS: 350 messages per 5-second window. Payload and Rate Limits in the Sync Kit docs describes the limits.
Check Realtime Store values in the Connected Lens Monitor
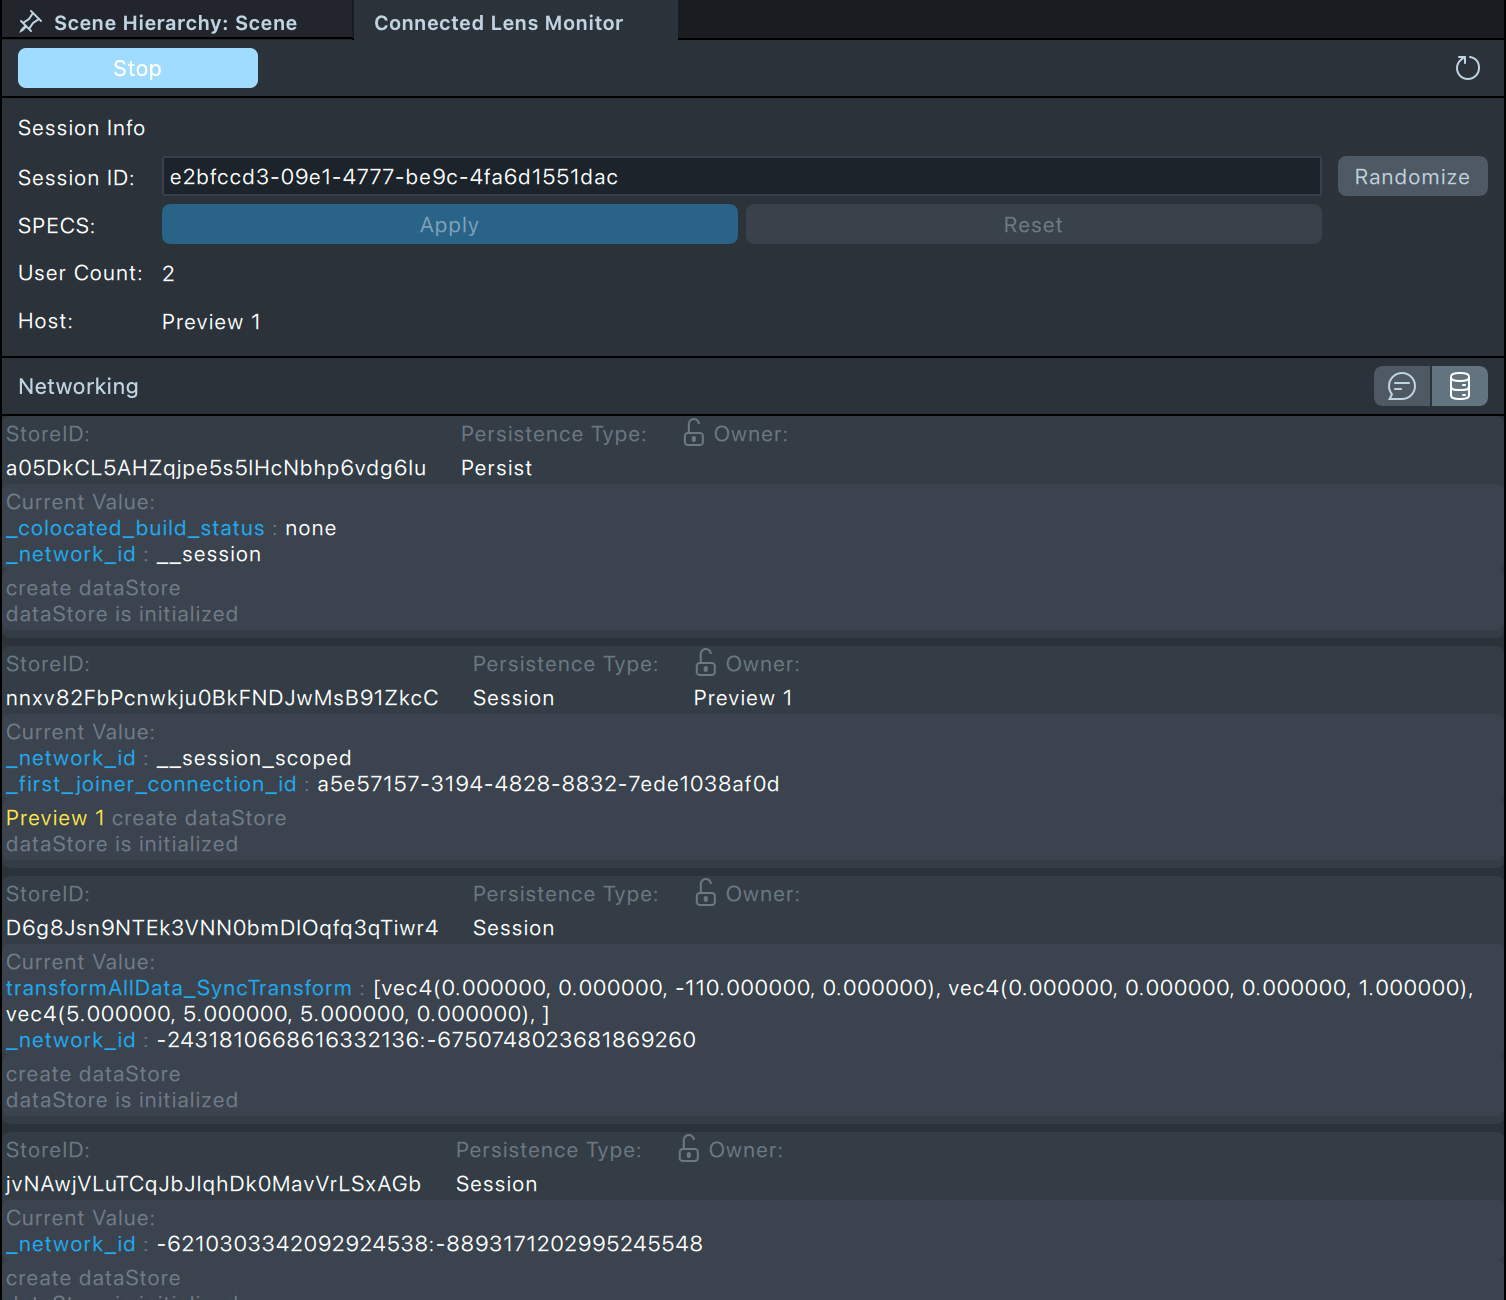
In the Realtime Store view, the Connected Lens Monitor lists every Realtime Store in the session with
its StoreID, Persistence Type, Owner and Current Value, followed by its history: each
change to the store and who made it, starting with the user who created it. A store's values include its network ID (_network_id), so you can match a store, such as
the one for a prefab that a Preview panel instantiated, to the object that uses it.
Change the session ID from the Connected Lens Monitor
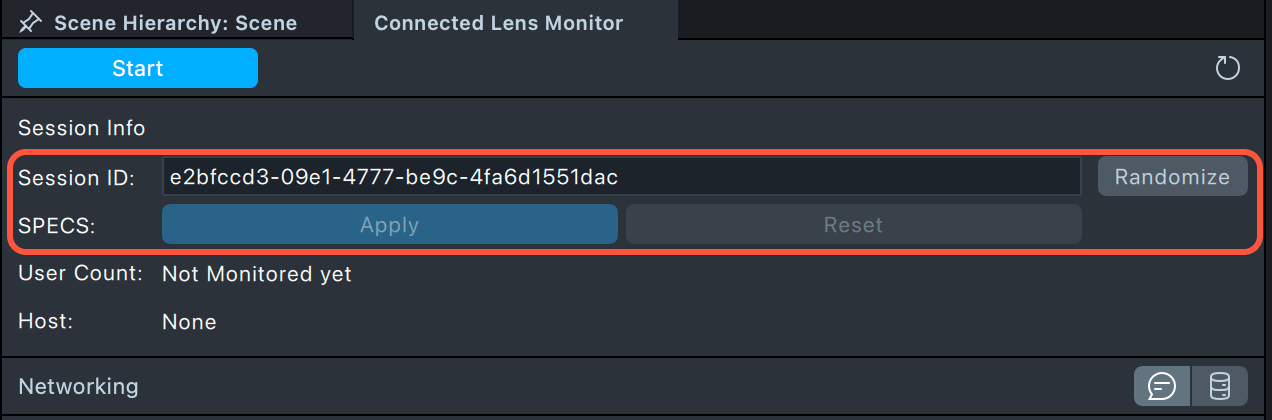
You can change the session ID from the session bar of the Connected Lens Monitor: edit the Session ID field, or select Randomize. The session ID must be a valid UUID; see Use the same session ID in Lens Studio and on SPECS. To have a SPECS device connected to Lens Studio join the same session as the Preview panels, select Apply next to SPECS; Reset returns the device to its own session ID.
Test a Connected Lens on SPECS
To test on SPECS devices, see Test a Connected Lens on SPECS in Building Connected Lenses, and the Sync Kit docs.