Lens Studio for Unity Developers
How Unity's editor, GameObjects, MonoBehaviours, prefabs, physics, and UI map to Lens Studio, for Unity developers starting with Lenses.
If you know Unity, most of Lens Studio will feel familiar: a scene of objects with components, an Inspector, prefabs, and scripts with lifecycle events. This page maps Unity's concepts to Lens Studio's names and points out where the two work differently.
When building for SPECS, Interaction Kit handles hand input and UI Kit provides interface components, so you build interactions and UI from their components rather than from Unity's input system and Canvas.
"Unity" and some of its feature names may be trademarks of Unity Technologies or its affiliates.
Unity terms in Lens Studio
| Unity | Lens Studio |
|---|---|
| Hierarchy window | Scene Hierarchy panel |
| Project window | Asset Browser panel |
| Scene view | Scene panel |
| Game view | Preview panel |
| Inspector | Inspector panel |
| Console | Logger panel |
| GameObject | Scene object (SceneObject) |
| Component | Component |
| Prefab | Prefab (ObjectPrefab) |
| MonoBehaviour | Script component (BaseScriptComponent in TypeScript) |
| Shader Graph | Material Editor |
| Visual Effect Graph | VFX Editor |
| Animator, Animation | Animation Player component (AnimationPlayer) |
| Rigidbody | Physics Body (BodyComponent) |
| Collider | Physics Collider (ColliderComponent) |
| Joint | Physics Constraint (ConstraintComponent) |
| PlayerPrefs | Persistent storage (PersistentStorageSystem) |
When building for SPECS, a Unity Canvas and its UI components correspond to UI Kit's components, which you place in the world.
A Unity Canvas corresponds to Lens Studio's Canvas component (Canvas), and a RectTransform to a Screen Transform (ScreenTransform).
The Lens Studio editor compared with Unity's
The default layout of Lens Studio is close to Unity's: the Scene Hierarchy, Asset Browser, Scene, Logger, Inspector, and Preview panels. You can drag panels anywhere; to go back to the default arrangement, select Window > Default Layout. Each panel is described in Panels.
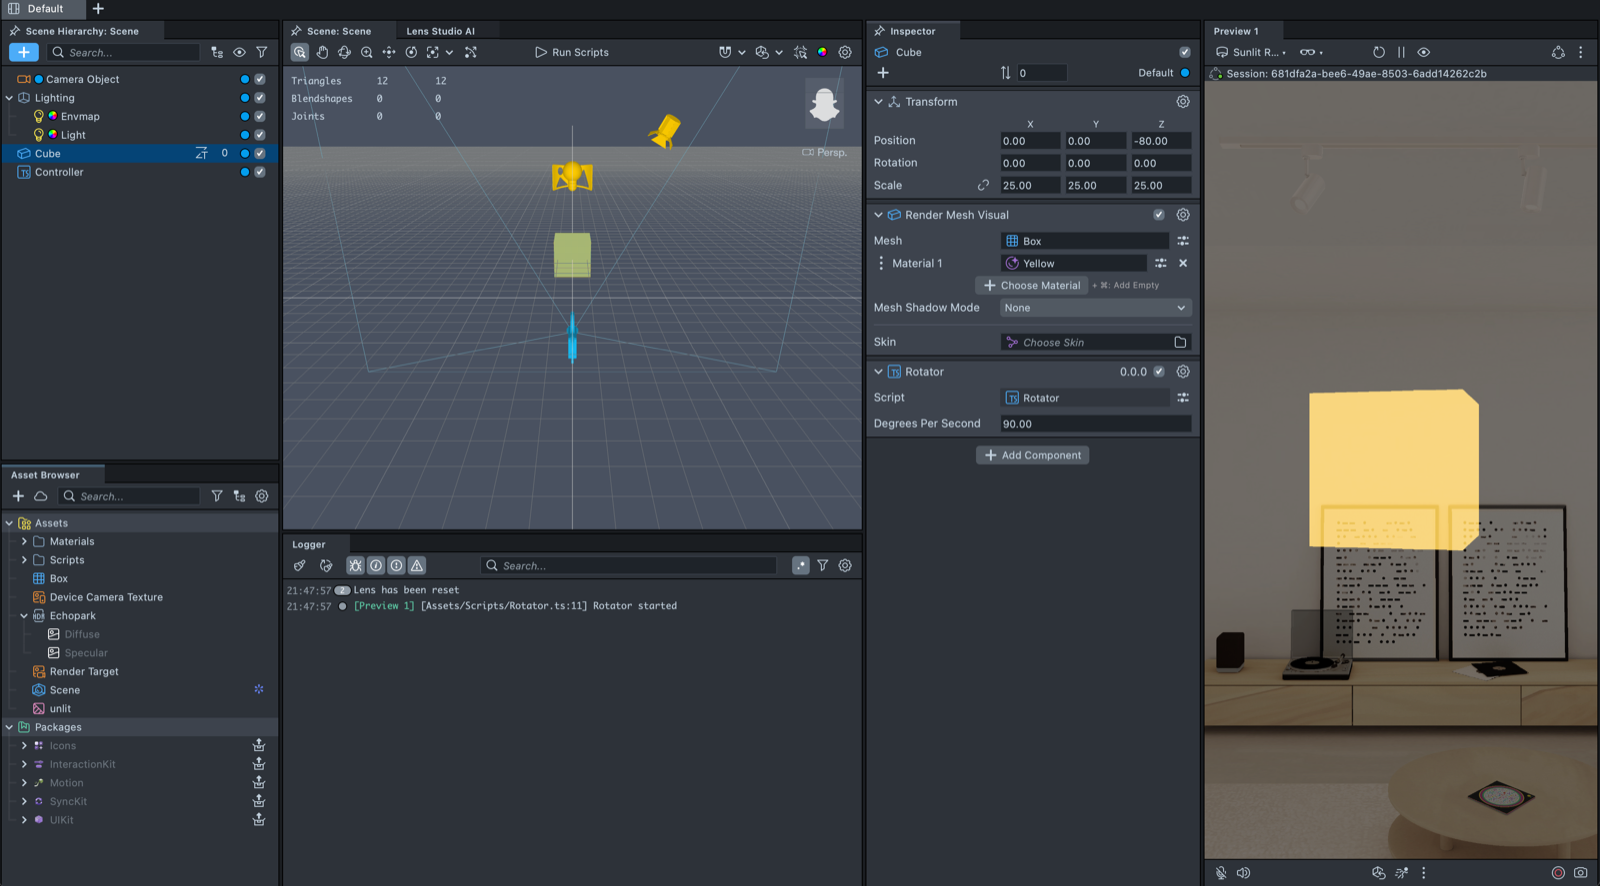
Scene Hierarchy and the Unity Hierarchy
The Scene Hierarchy panel lists the objects in the open scene, as Unity's Hierarchy does. Its order also sets the order in which scripts run: a script on an object higher in the list runs before one lower down (see Script execution order).
The panel's title names the open scene, such as Scene Hierarchy: Scene. When you open a prefab for editing, the title shows the prefab's name instead.
Asset Browser and the Unity Project window
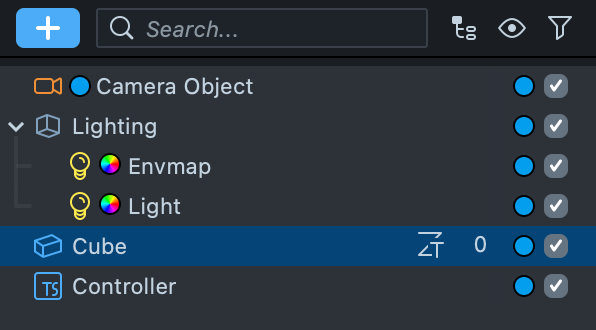
The Asset Browser panel lists the project's assets, such as meshes, materials, textures, scripts, and audio, as Unity's Project window does. To add a file to the project, drag it into the panel. Installed packages appear under Packages.
Scene and the Unity Scene view
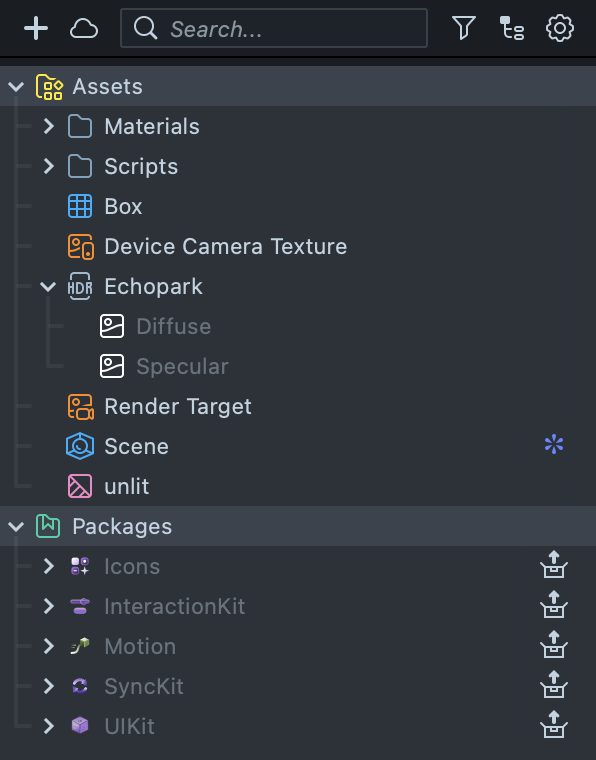
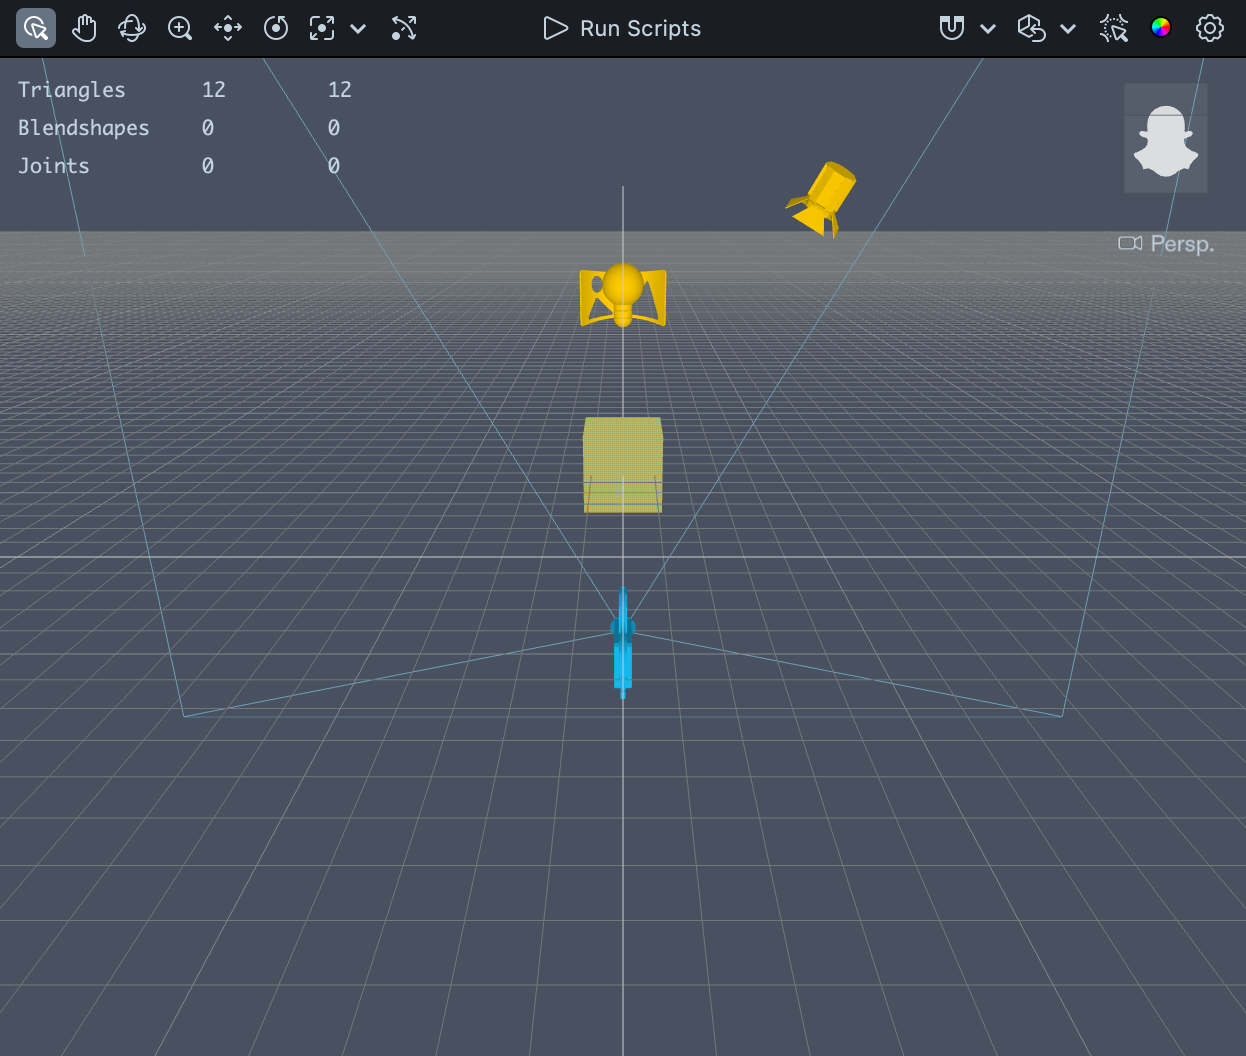
The Scene panel is where you place, move, rotate, and scale objects, with camera controls in its toolbar, as in Unity's Scene view.
Lens Studio also has editors for specific features under Window > Editors. The 2D Editor, for example, edits objects with a Screen Transform, which makes laying out screen UI easier.
Preview and the Unity Game view
The Preview panel runs your Lens as you edit: there's no Play button to press, and every change appears right away. Pause Preview in its toolbar stops the Lens until you resume it.
When building for SPECS, the Preview panel simulates the glasses in a virtual room. See Preview Lenses for SPECS, then Send a Lens to SPECS to run it on the device.
The Preview panel shows the Lens through a simulated phone camera, from sample photos and videos or your webcam. See Previewing Your Lens and Pairing to Snapchat.
Inspector and Logger
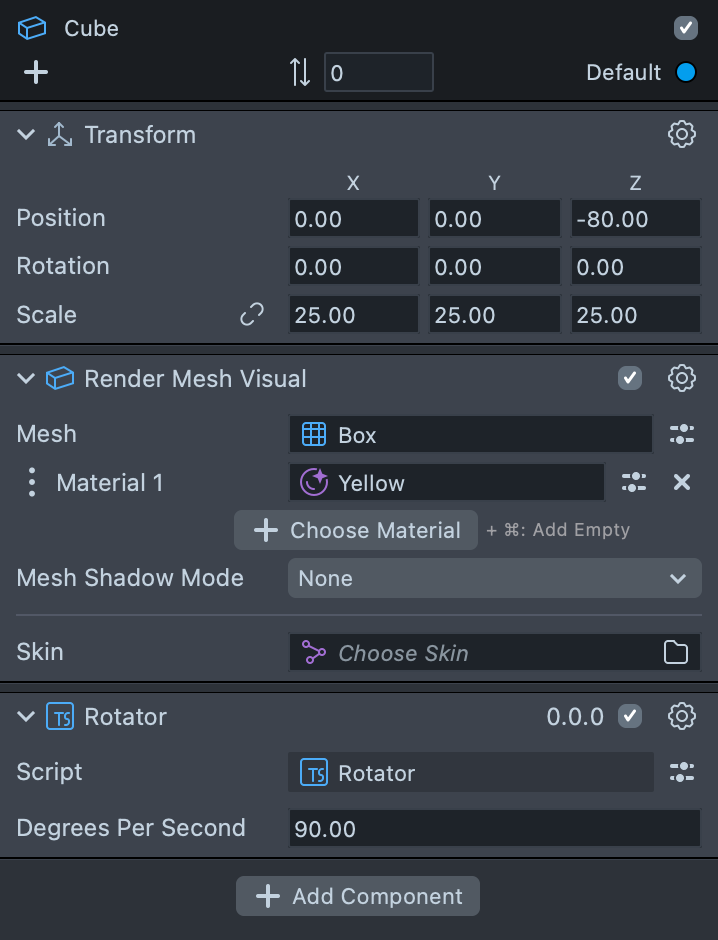
The Inspector panel edits the selected object's components, as Unity's Inspector does. Inputs
that a script declares with @input appear there, like public fields on a MonoBehaviour.
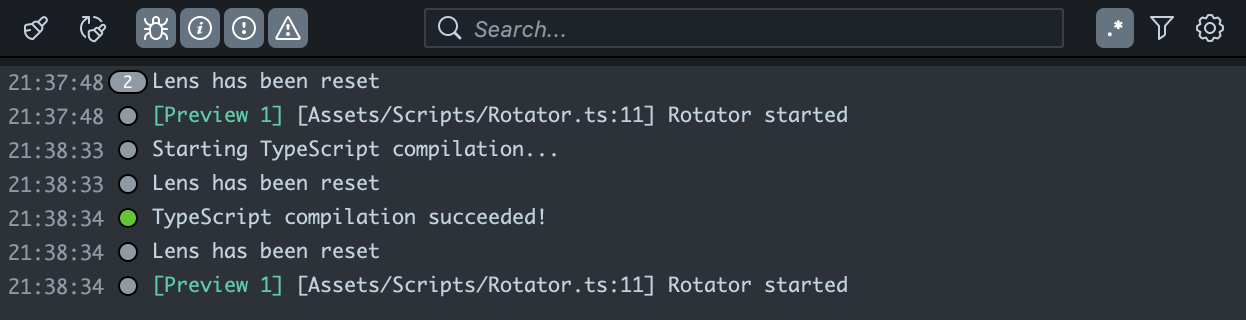
The Logger panel shows print output and errors, like Unity's Console.
Scene objects, components, and prefabs
A scene object is Lens Studio's GameObject: a container for components such as meshes, images, audio, and scripts. Every scene object has a Transform you can't remove. To add components, select Add Component in the Inspector.
Prefabs work like Unity's. To make one, drag a scene object from the Scene Hierarchy into the Asset Browser. Double-click a prefab to open it as the scene you're editing. After you change an instance in the Inspector, select Apply to update the prefab, or Revert to discard the change.
To create a prefab instance from a script, call
instantiate, as you'd call Instantiate in Unity:
- TypeScript
- JavaScript
// Spawner.ts: instantiates a prefab as a child of this scene object.
@component
export class Spawner extends BaseScriptComponent {
  // Drag a prefab from the Asset Browser onto this field.
  @input
  prefab: ObjectPrefab;

  onAwake() {
    // Like Instantiate(prefab, transform) in Unity.
    const copy = this.prefab.instantiate(this.getSceneObject());
    print("Spawned " + copy.name);
  }
}
// Spawner.js: instantiates a prefab as a child of this scene object.
// Drag a prefab from the Asset Browser onto this field.
// @input Asset.ObjectPrefab prefab

// Like Instantiate(prefab, transform) in Unity.
var copy = script.prefab.instantiate(script.getSceneObject());
print("Spawned " + copy.name);
To share an object with its dependencies, export it as a .lspkg package, much like a Unity
.unitypackage. See
Asset Packages Introduction.
To load and unload scenes at runtime, see
Scene Manager.
Asset Library and the Unity Asset Store
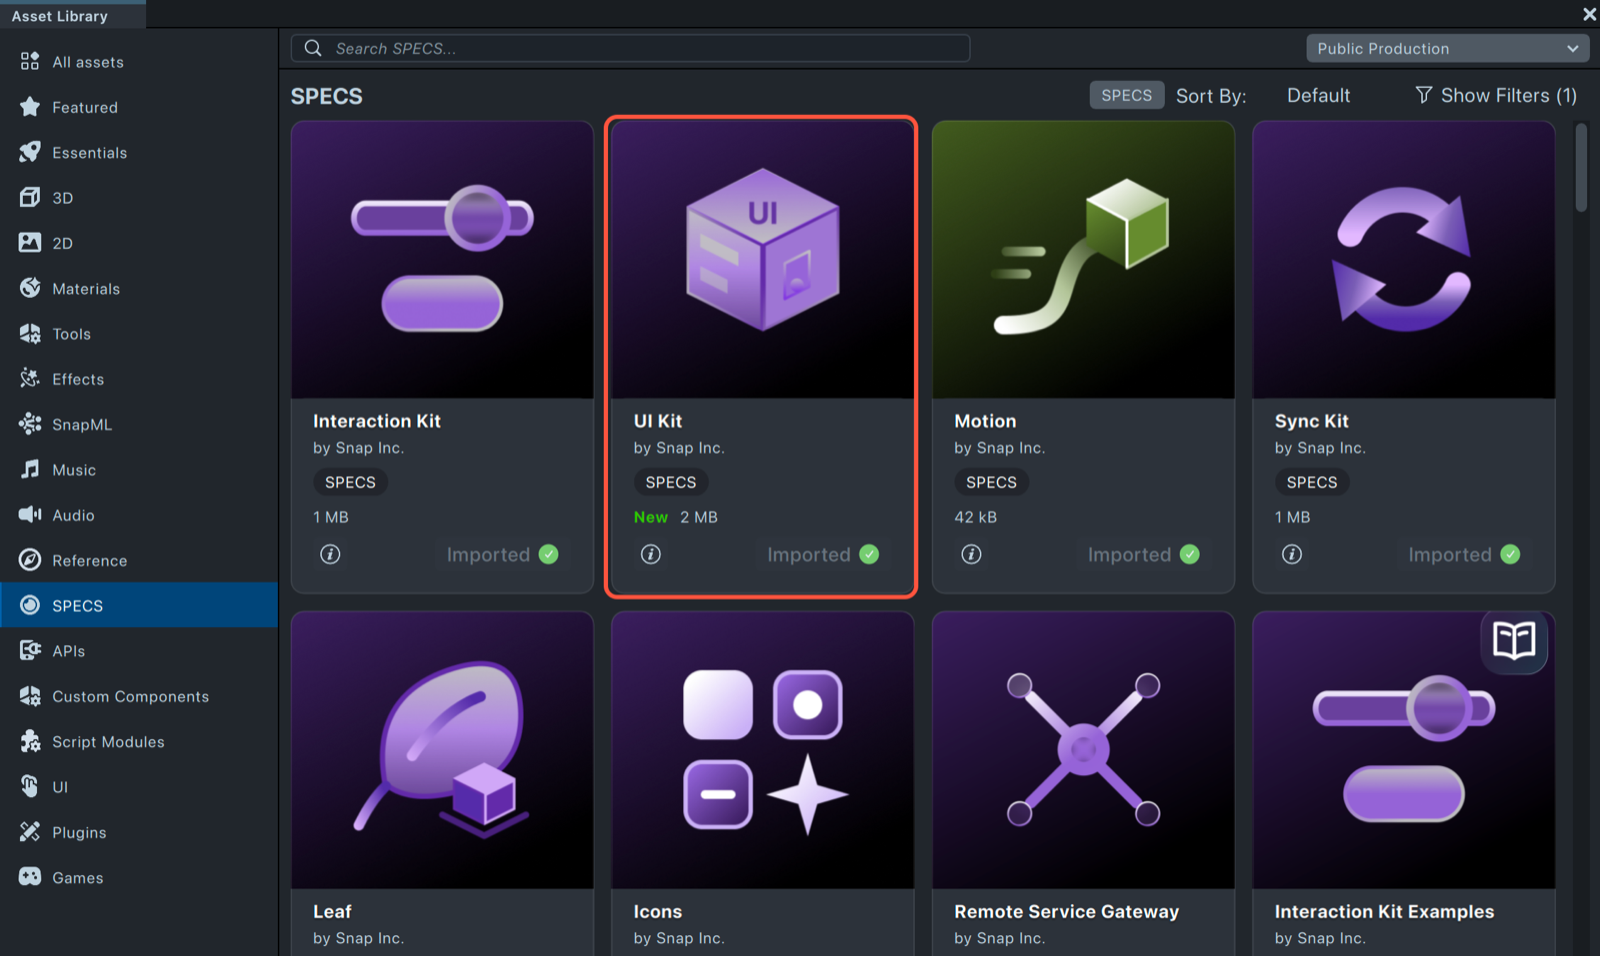
The Asset Library, in the Lens Studio toolbar, plays the role of the Unity Asset Store: it installs assets, packages, and machine learning models into your project. Its contents are made for Lens Studio. See Asset Library.
When building for SPECS, the SPECS category lists the kits for the glasses, including Interaction Kit, UI Kit, and Sync Kit.
Scripting
Lens Studio scripts are written in TypeScript or JavaScript; each sample on this page comes in both. A script is a component that you attach to a scene object. For the full API, see the Full API List.
Lifecycle events: Awake, Start, and Update
A script component's onAwake method runs once when the script starts, like Unity's Awake. For
the rest of the lifecycle, bind to events with createEvent: OnStartEvent is Unity's Start, and
UpdateEvent is Update. See Script Events.
- TypeScript
- JavaScript
// Rotator.ts: rotates its scene object around the vertical axis.
@component
export class Rotator extends BaseScriptComponent {
  // Shows in the Inspector, like a public field on a MonoBehaviour.
  @input
  degreesPerSecond: number = 90;

  // Runs once when the script is created, like Unity's Awake().
  onAwake() {
    // Like Unity's Start(): runs once, before the first frame update.
    this.createEvent("OnStartEvent").bind(() => print("Rotator started"));
    // Like Unity's Update(): runs every frame.
    this.createEvent("UpdateEvent").bind(() => this.spin());
  }

  private spin() {
    const transform = this.getSceneObject().getTransform();
    const angle = MathUtils.DegToRad * this.degreesPerSecond * getDeltaTime();
    const step = quat.angleAxis(angle, vec3.up());
    transform.setLocalRotation(step.multiply(transform.getLocalRotation()));
  }
}
// Rotator.js: rotates its scene object around the vertical axis.
// Shows in the Inspector, like a public field on a MonoBehaviour.
// @input float degreesPerSecond = 90

// Code at the top level runs once when the script is created, like Unity's Awake().

// Like Unity's Start(): runs once, before the first frame update.
script.createEvent("OnStartEvent").bind(function () {
  print("Rotator started");
});

// Like Unity's Update(): runs every frame.
script.createEvent("UpdateEvent").bind(function () {
  var transform = script.getSceneObject().getTransform();
  var angle = MathUtils.DegToRad * script.degreesPerSecond * getDeltaTime();
  var step = quat.angleAxis(angle, vec3.up());
  transform.setLocalRotation(step.multiply(transform.getLocalRotation()));
});
Inspector inputs and references to other scripts
A field marked @input appears in the Inspector, where you set a value or drag in an object,
asset, or component, like a public or [SerializeField] field in Unity. To get another script on a
scene object, call getComponent with the script's type name, as you'd call
GetComponent<T>():
- TypeScript
- JavaScript
// RotatorController.ts: finds the Rotator on another scene object and changes its speed.
import { Rotator } from "./Rotator";

@component
export class RotatorController extends BaseScriptComponent {
  // Drag a scene object onto this field in the Inspector.
  @input
  target: SceneObject;

  onAwake() {
    // Like GetComponent<Rotator>() in Unity.
    const rotator = this.target.getComponent(Rotator.getTypeName());
    rotator.degreesPerSecond = 180;
  }
}
// RotatorController.js: finds the Rotator on another scene object and changes its speed.
// Drag a scene object onto this field in the Inspector.
// @input SceneObject target

// Like GetComponents<MonoBehaviour>() in Unity: a JavaScript script's inputs are
// properties of its ScriptComponent, so look for the one with degreesPerSecond.
var scripts = script.target.getComponents("Component.ScriptComponent");
scripts.forEach(function (rotator) {
  if (rotator.degreesPerSecond !== undefined) {
    rotator.degreesPerSecond = 180;
  }
});
Script execution order
Scripts run in the order of their scene objects in the Scene Hierarchy, top first. That
applies to onAwake and to each event, such as OnStartEvent. Unity sets this order in its Script
Execution Order settings; in Lens Studio, put an object that others depend on higher in the
hierarchy.
Respond to input
When building for SPECS, the user selects things by pinching them. Add an Interactable from
Interaction Kit (and a collider) to the object, then listen for its events, as you'd listen for a
Button's onClick in Unity. See the
Interaction Kit guide.
- TypeScript
- JavaScript
// PinchButton.ts: responds when the user pinches an Interactable on SPECS.
import { Interactable } from "InteractionKit.lspkg/Components/Interaction/Interactable/Interactable";

@component
export class PinchButton extends BaseScriptComponent {
  // An Interactable from Interaction Kit, with a collider, on the object to pinch.
  @input
  interactable: Interactable;

  onAwake() {
    // Like a Button's onClick in Unity: fires when a pinch on the object is released.
    this.interactable.onTriggerEnd.add(() => print("Pinched"));
  }
}
// PinchButton.js: responds when the user pinches an Interactable on SPECS.
// An Interactable from Interaction Kit, with a collider, on the object to pinch.
// @input Component.ScriptComponent interactable

script.createEvent("OnStartEvent").bind(function () {
  // Like a Button's onClick in Unity: fires when a pinch on the object is released.
  script.interactable.onTriggerEnd.add(function () {
    print("Pinched");
  });
});
The user taps the screen. Bind to TapEvent with createEvent, or add an
Interaction component to an object and listen for its taps.
Keep data between sessions, like PlayerPrefs
Script variables last only while the Lens runs. To keep a value between sessions, as with PlayerPrefs in Unity, read and write it with Persistent Storage:
- TypeScript
- JavaScript
// BestScore.ts: keeps a value between Lens sessions, like PlayerPrefs in Unity.
@component
export class BestScore extends BaseScriptComponent {
  onAwake() {
    const store = global.persistentStorageSystem.store;
    // Like PlayerPrefs.GetInt("bestScore").
    const best = store.getInt("bestScore");
    print("Best score so far: " + best);
    // Like PlayerPrefs.SetInt("bestScore", value).
    store.putInt("bestScore", best + 1);
  }
}
// BestScore.js: keeps a value between Lens sessions, like PlayerPrefs in Unity.
var store = global.persistentStorageSystem.store;
// Like PlayerPrefs.GetInt("bestScore").
var best = store.getInt("bestScore");
print("Best score so far: " + best);
// Like PlayerPrefs.SetInt("bestScore", value).
store.putInt("bestScore", best + 1);
Physics
Lens Studio has a built-in physics engine. Its pieces map to Unity's like this:
- A Physics Body is a Rigidbody with its collider built in, so an object with a Physics Body doesn't need a separate Physics Collider. Turn off Dynamic to make the body a static collider.
- Physics Constraints are Unity's joints, in three types: Fixed, Point, and Hinge. Like a joint, a constraint needs a Physics Body.
- Unity keeps physics settings in its Project Settings. In Lens Studio they're an asset: create Physics World Settings in the Asset Browser, then select the Scene asset and set it as the Physics Root Settings.
See Physics Assets and Components.
UI
When building for SPECS, build UI with UI Kit: buttons, toggles, sliders, frames, and layout components that you place in the world and that respond to Interaction Kit's pinch and poke. See the UI Kit guide.
A Screen Transform is the building block of screen UI, like Unity's RectTransform. Unity's Canvas has screen-space and world-space modes in one component; Lens Studio splits them:
- On the screen: put objects with a Screen Transform under an orthographic camera. See Screen Transform Overview.
- In the world: add a Canvas component as the parent of Screen Transforms, such as text and images.
For ready-made buttons, toggles, and scroll views, see UI Widgets; for automatic layout, like Unity's layout groups, see Flexbox Layout.
Rendering and effects
The Material Editor is Lens Studio's Shader Graph: you build materials from nodes, and it's how you make custom shaders. To write shader code, use a Code Node, which takes GLSL rather than Unity's HLSL. See Welcome to Material Editor and Introduction to Code Nodes.
The VFX Editor is Lens Studio's Visual Effect Graph: a node-based editor for GPU particles. See the VFX Editor overview.
For effects that read the rendered image or its depth, see Screen Texture Provider, Depth Render Target, and Post Effect. For particles that collide with the scene, see the VFX Editor's Collisions guide.
Build and release
A Lens runs on one of Snap's platforms; there's no build to export as with a Unity player. When it's ready, select Publish in the toolbar.
When building for SPECS, test on the glasses with Send a Lens to SPECS, then follow the SPECS publishing guide.
See Submitting Your Lens.